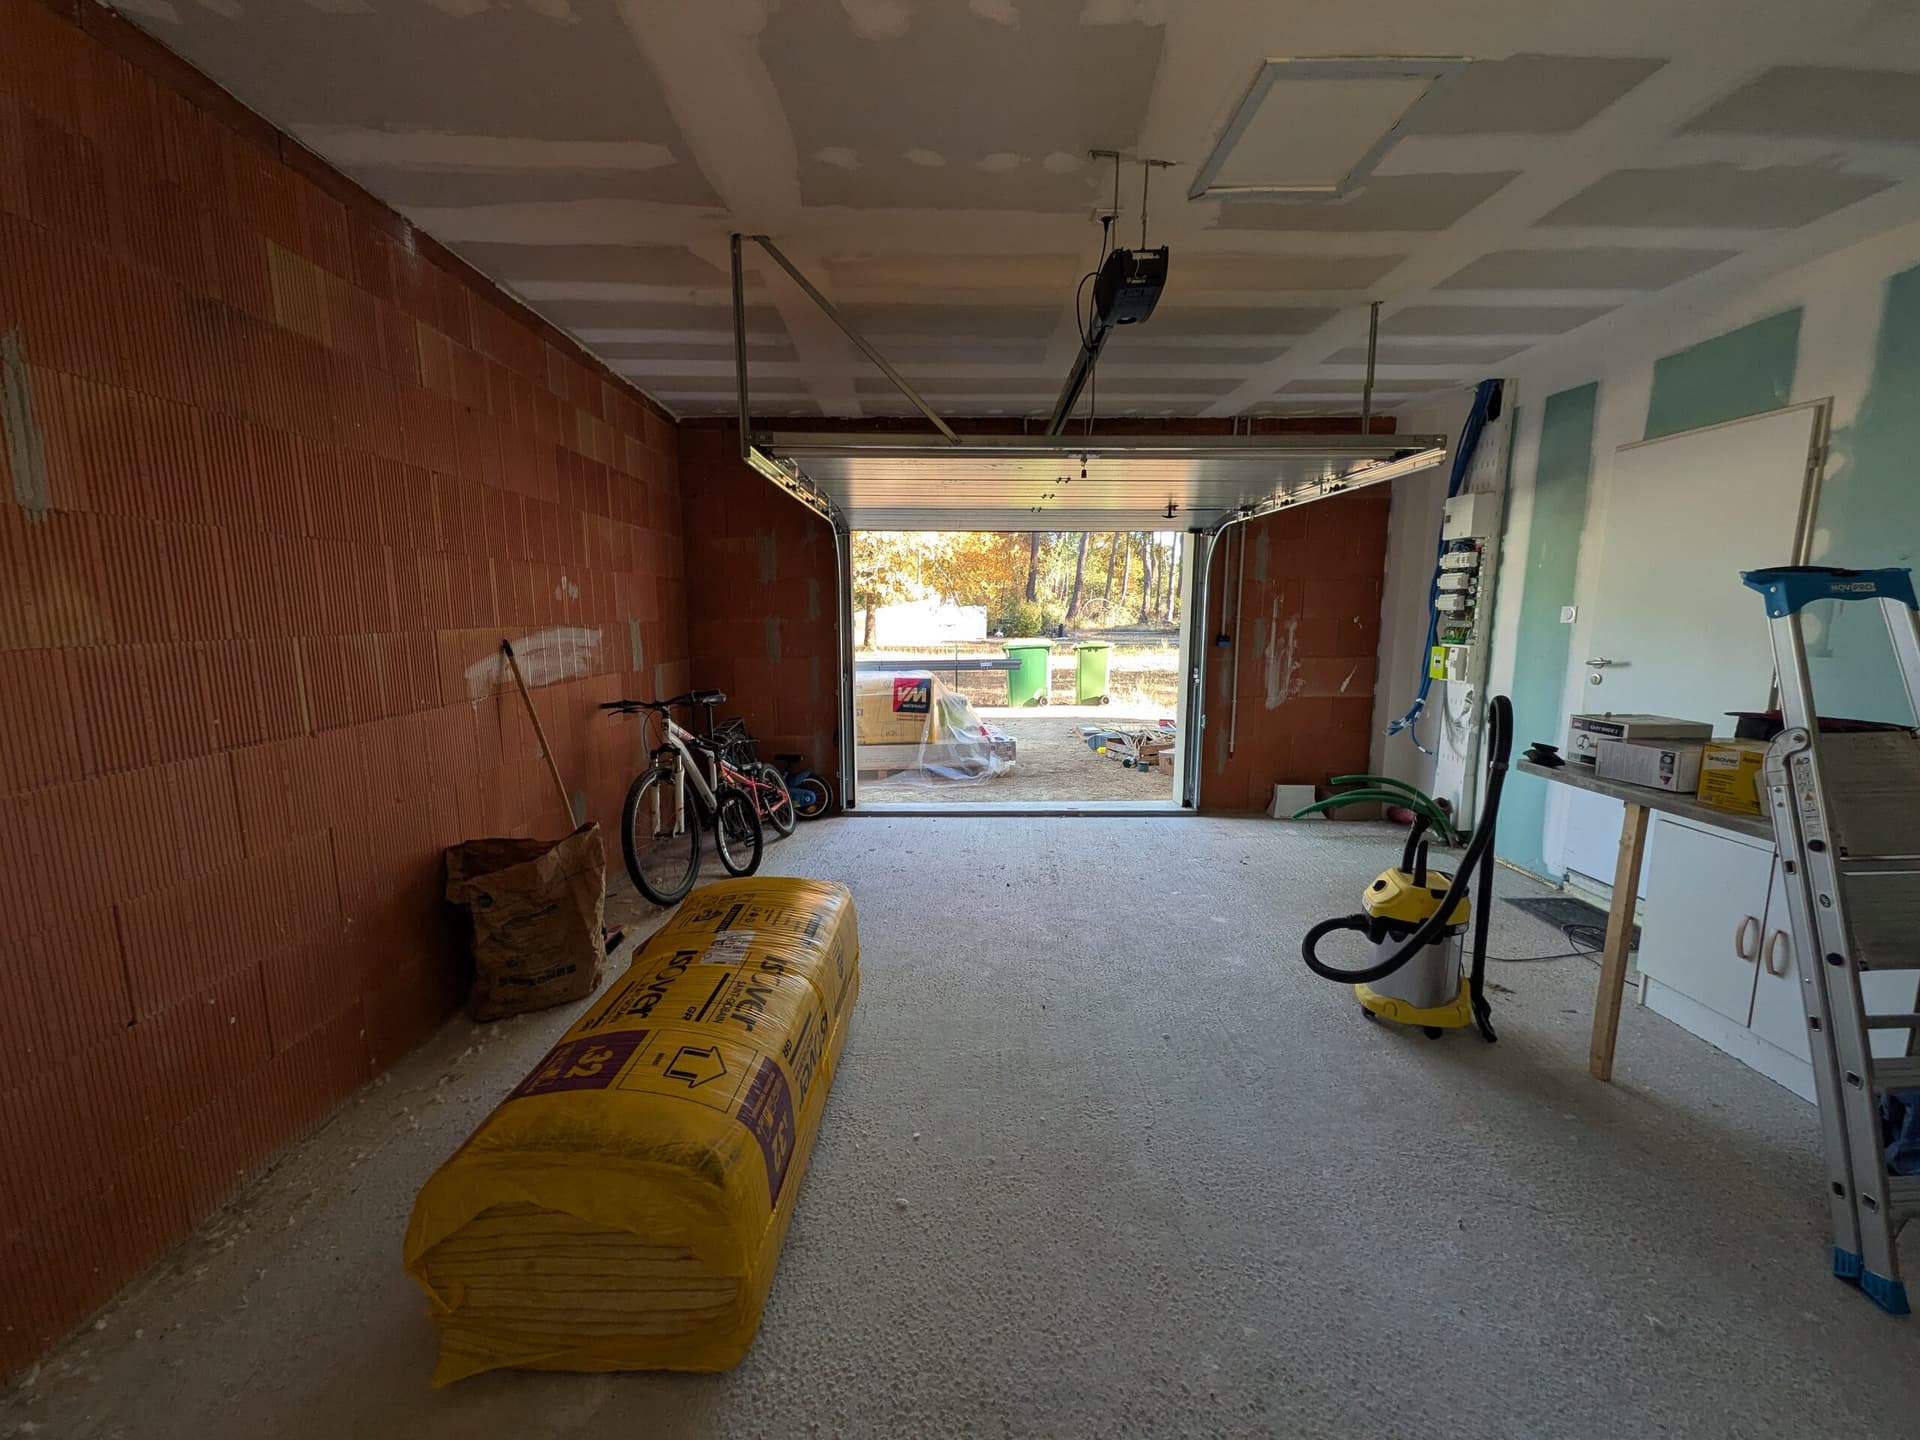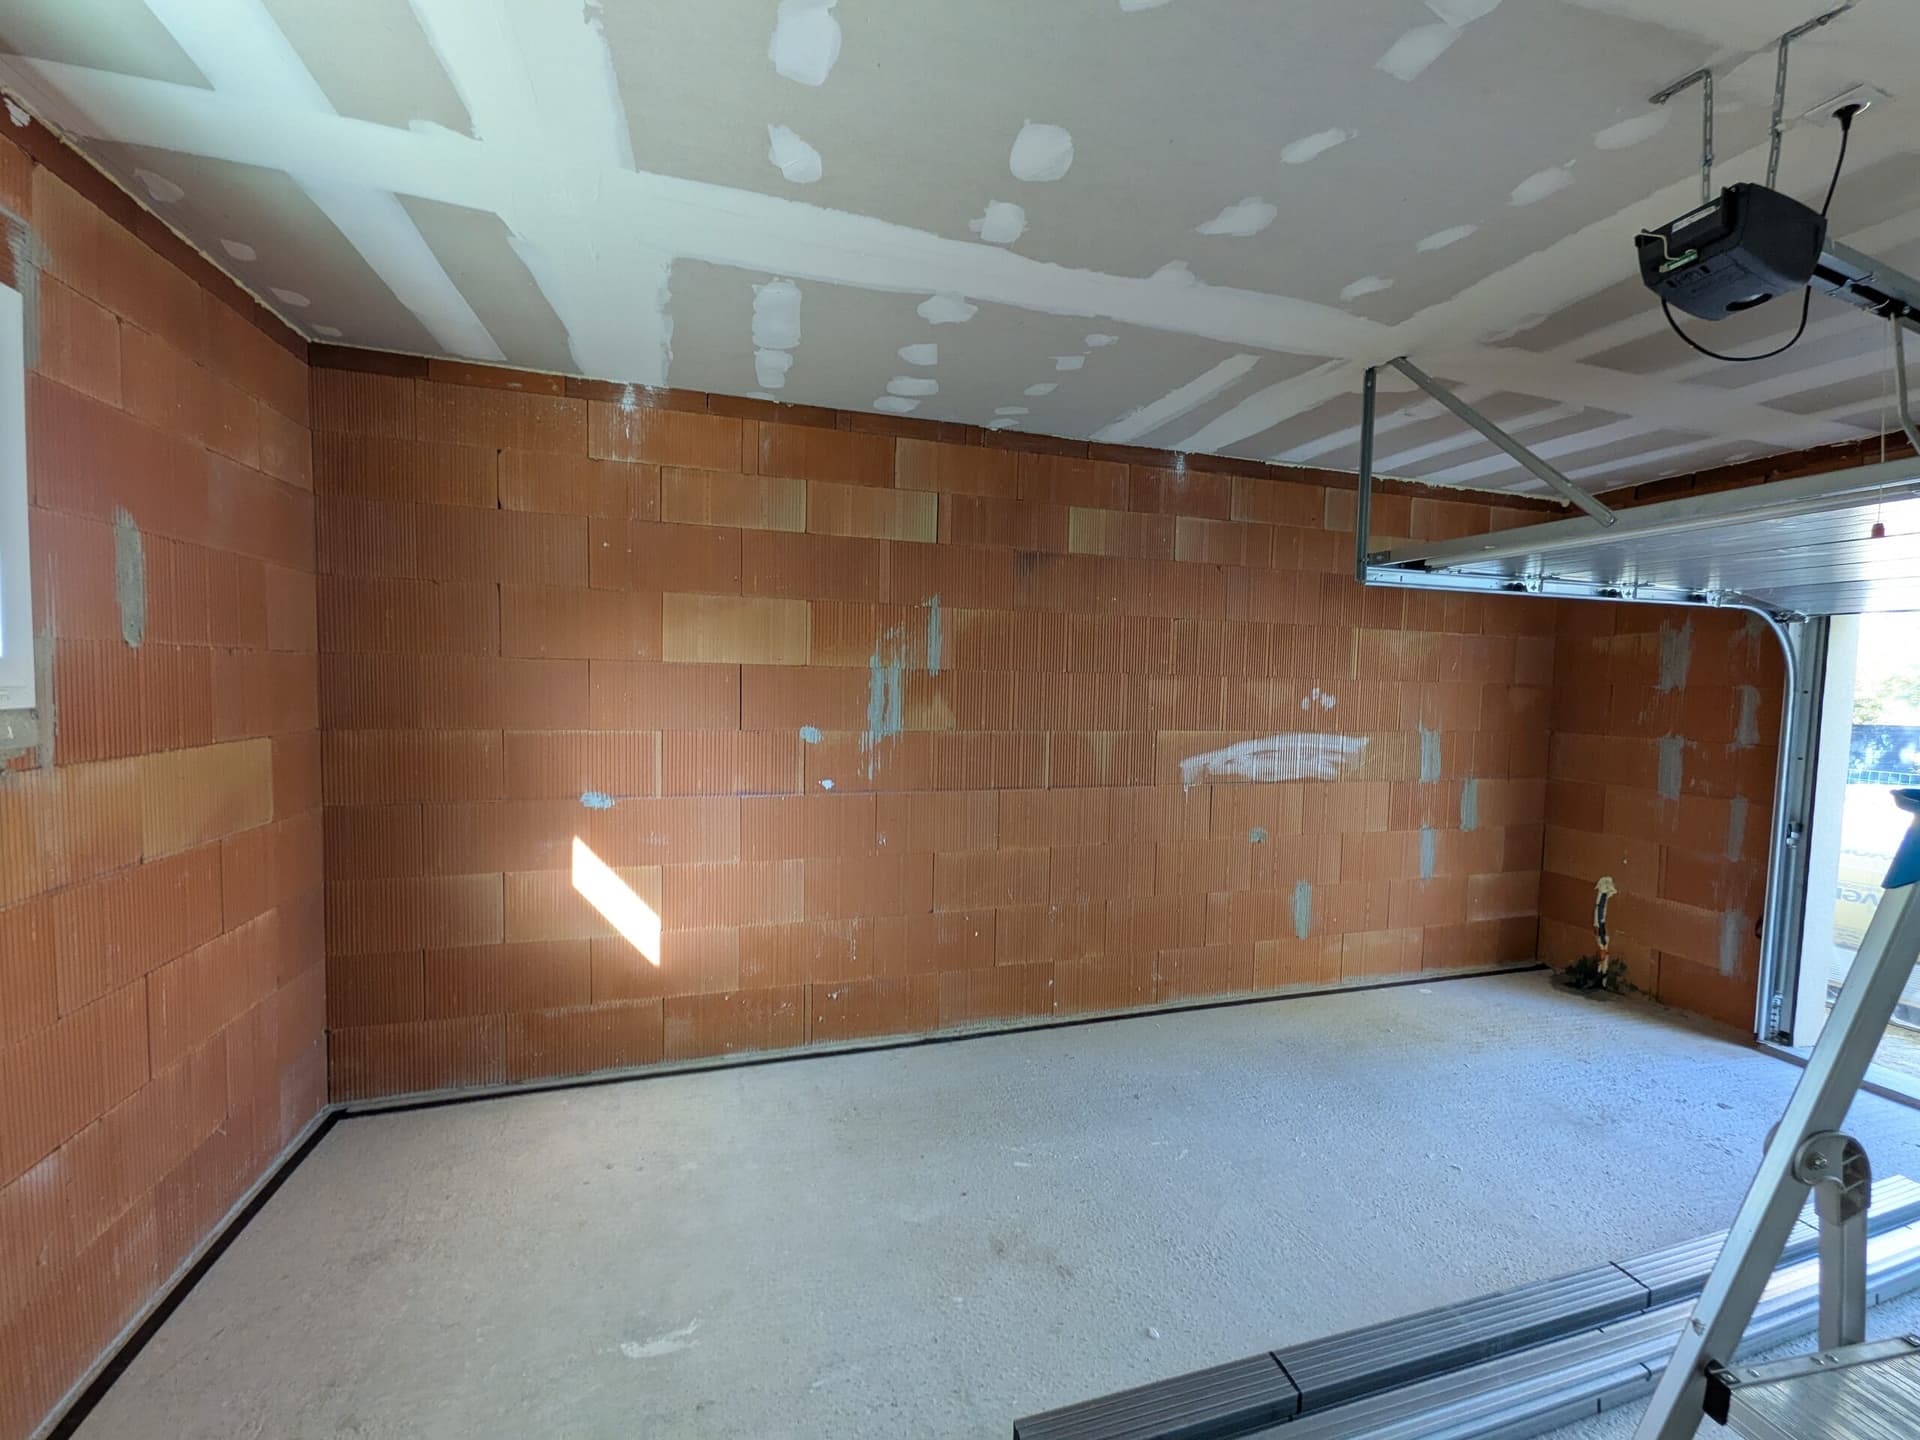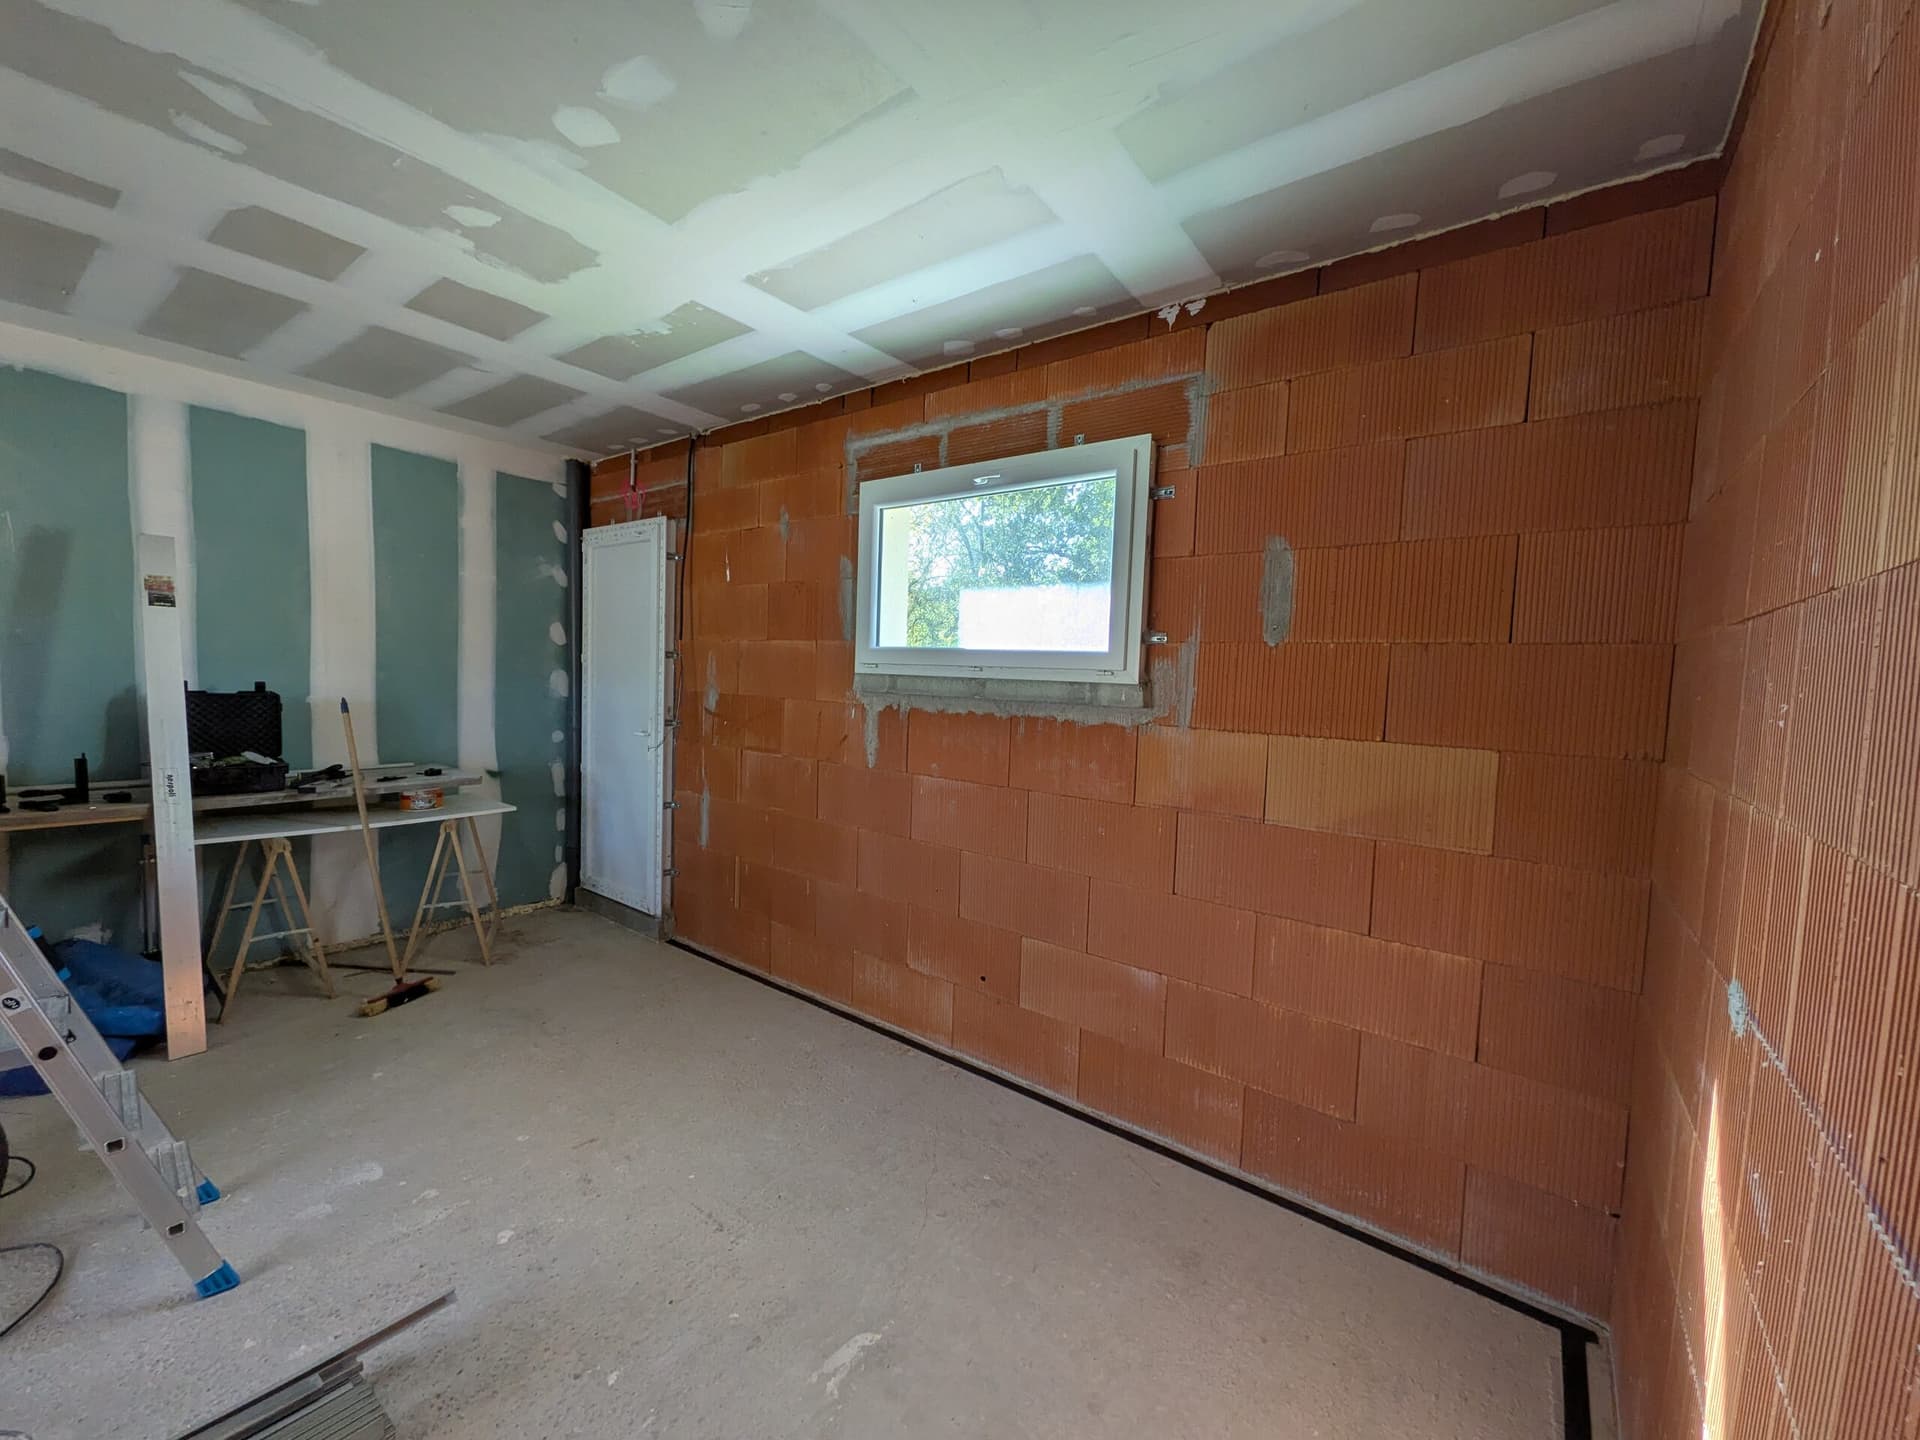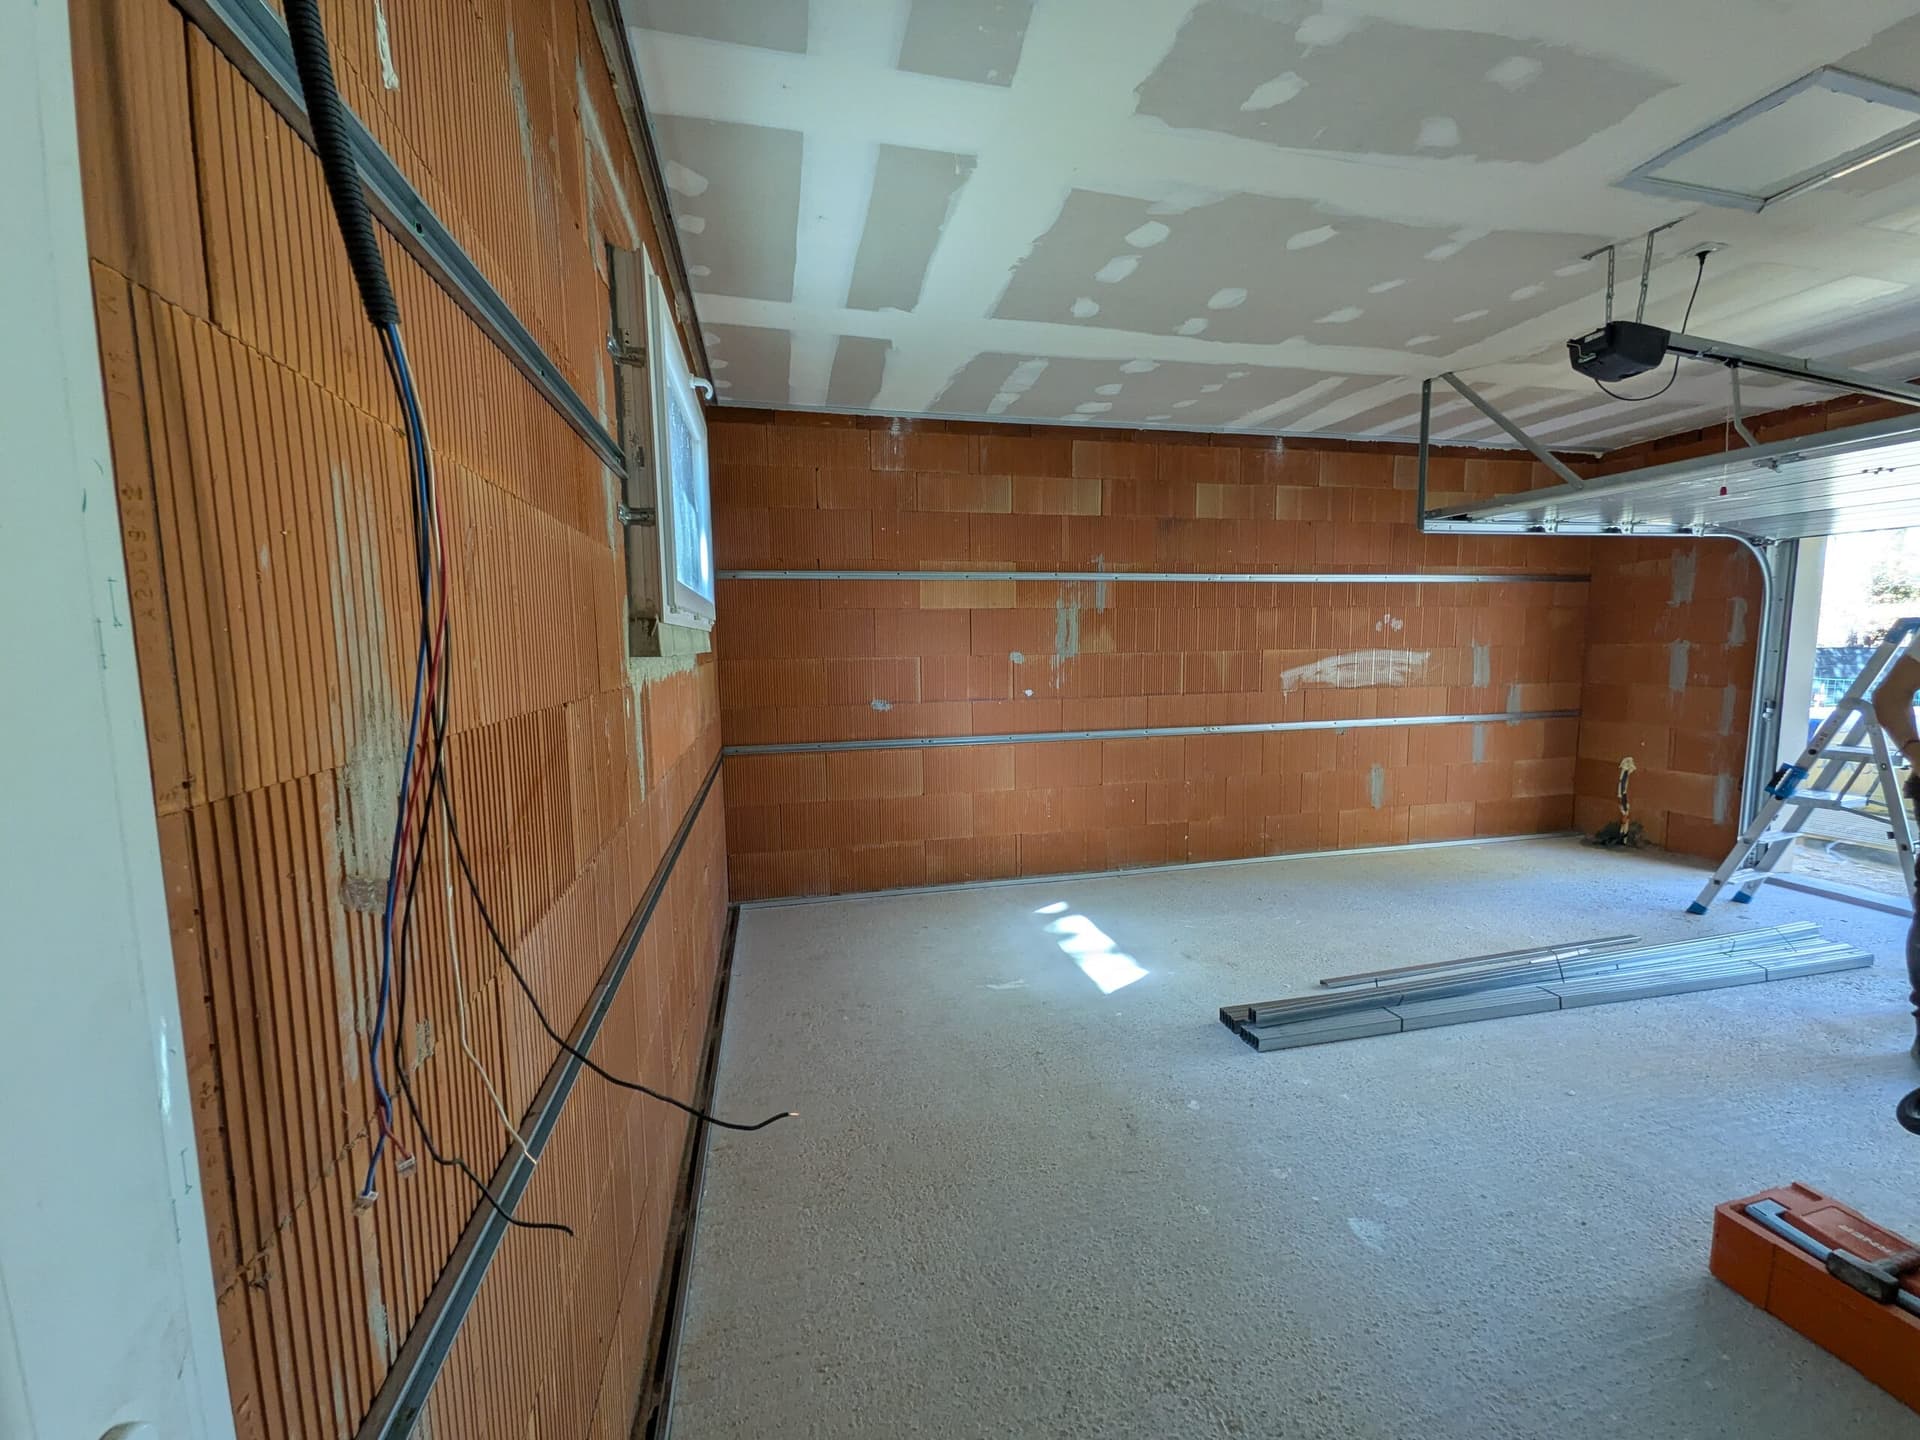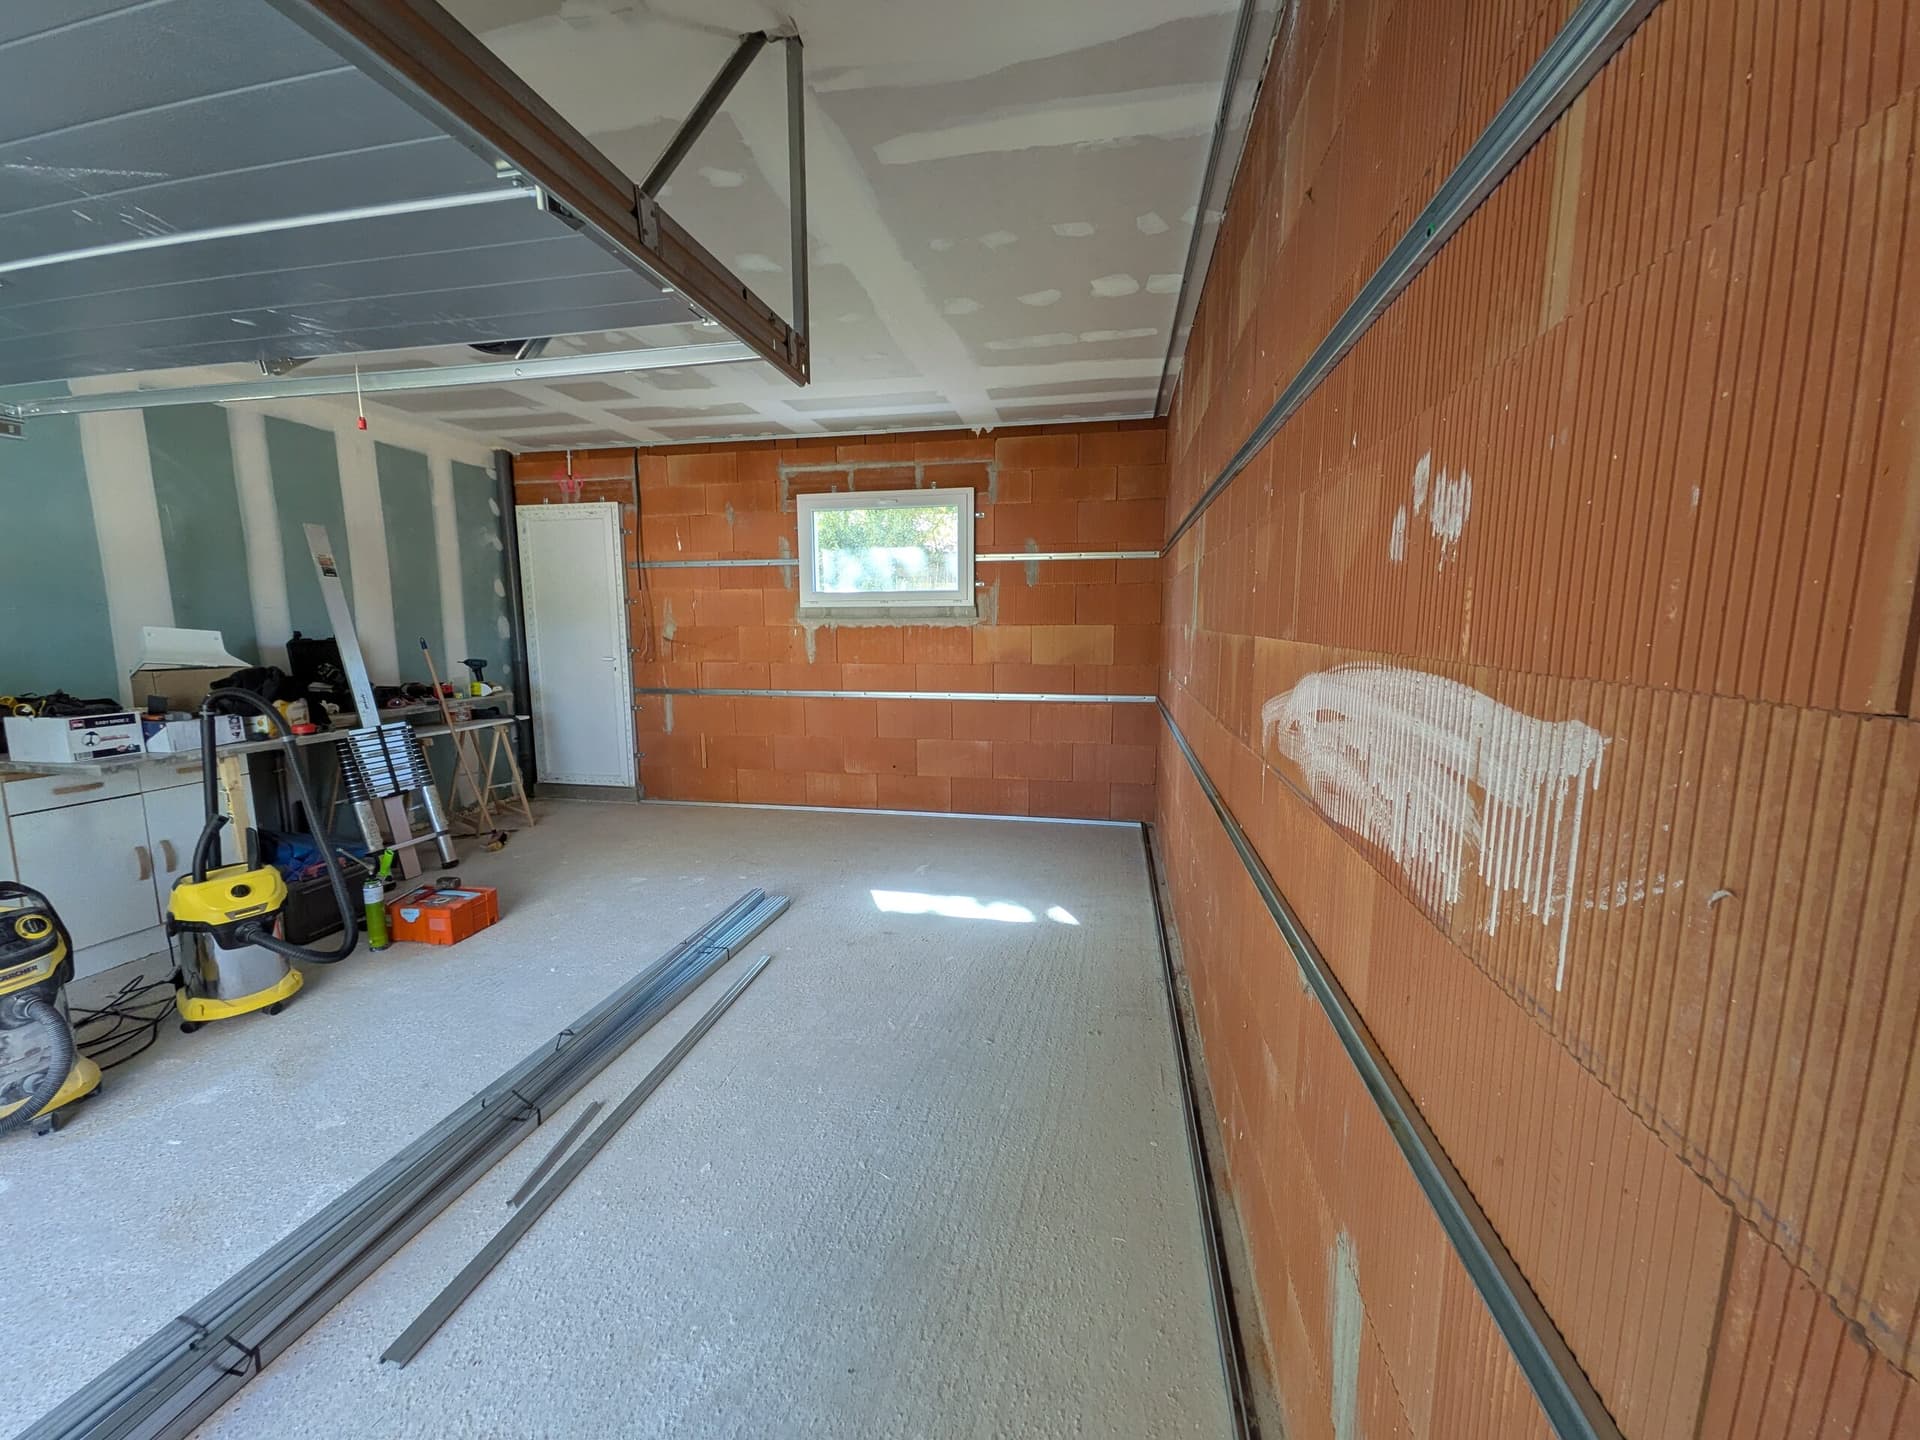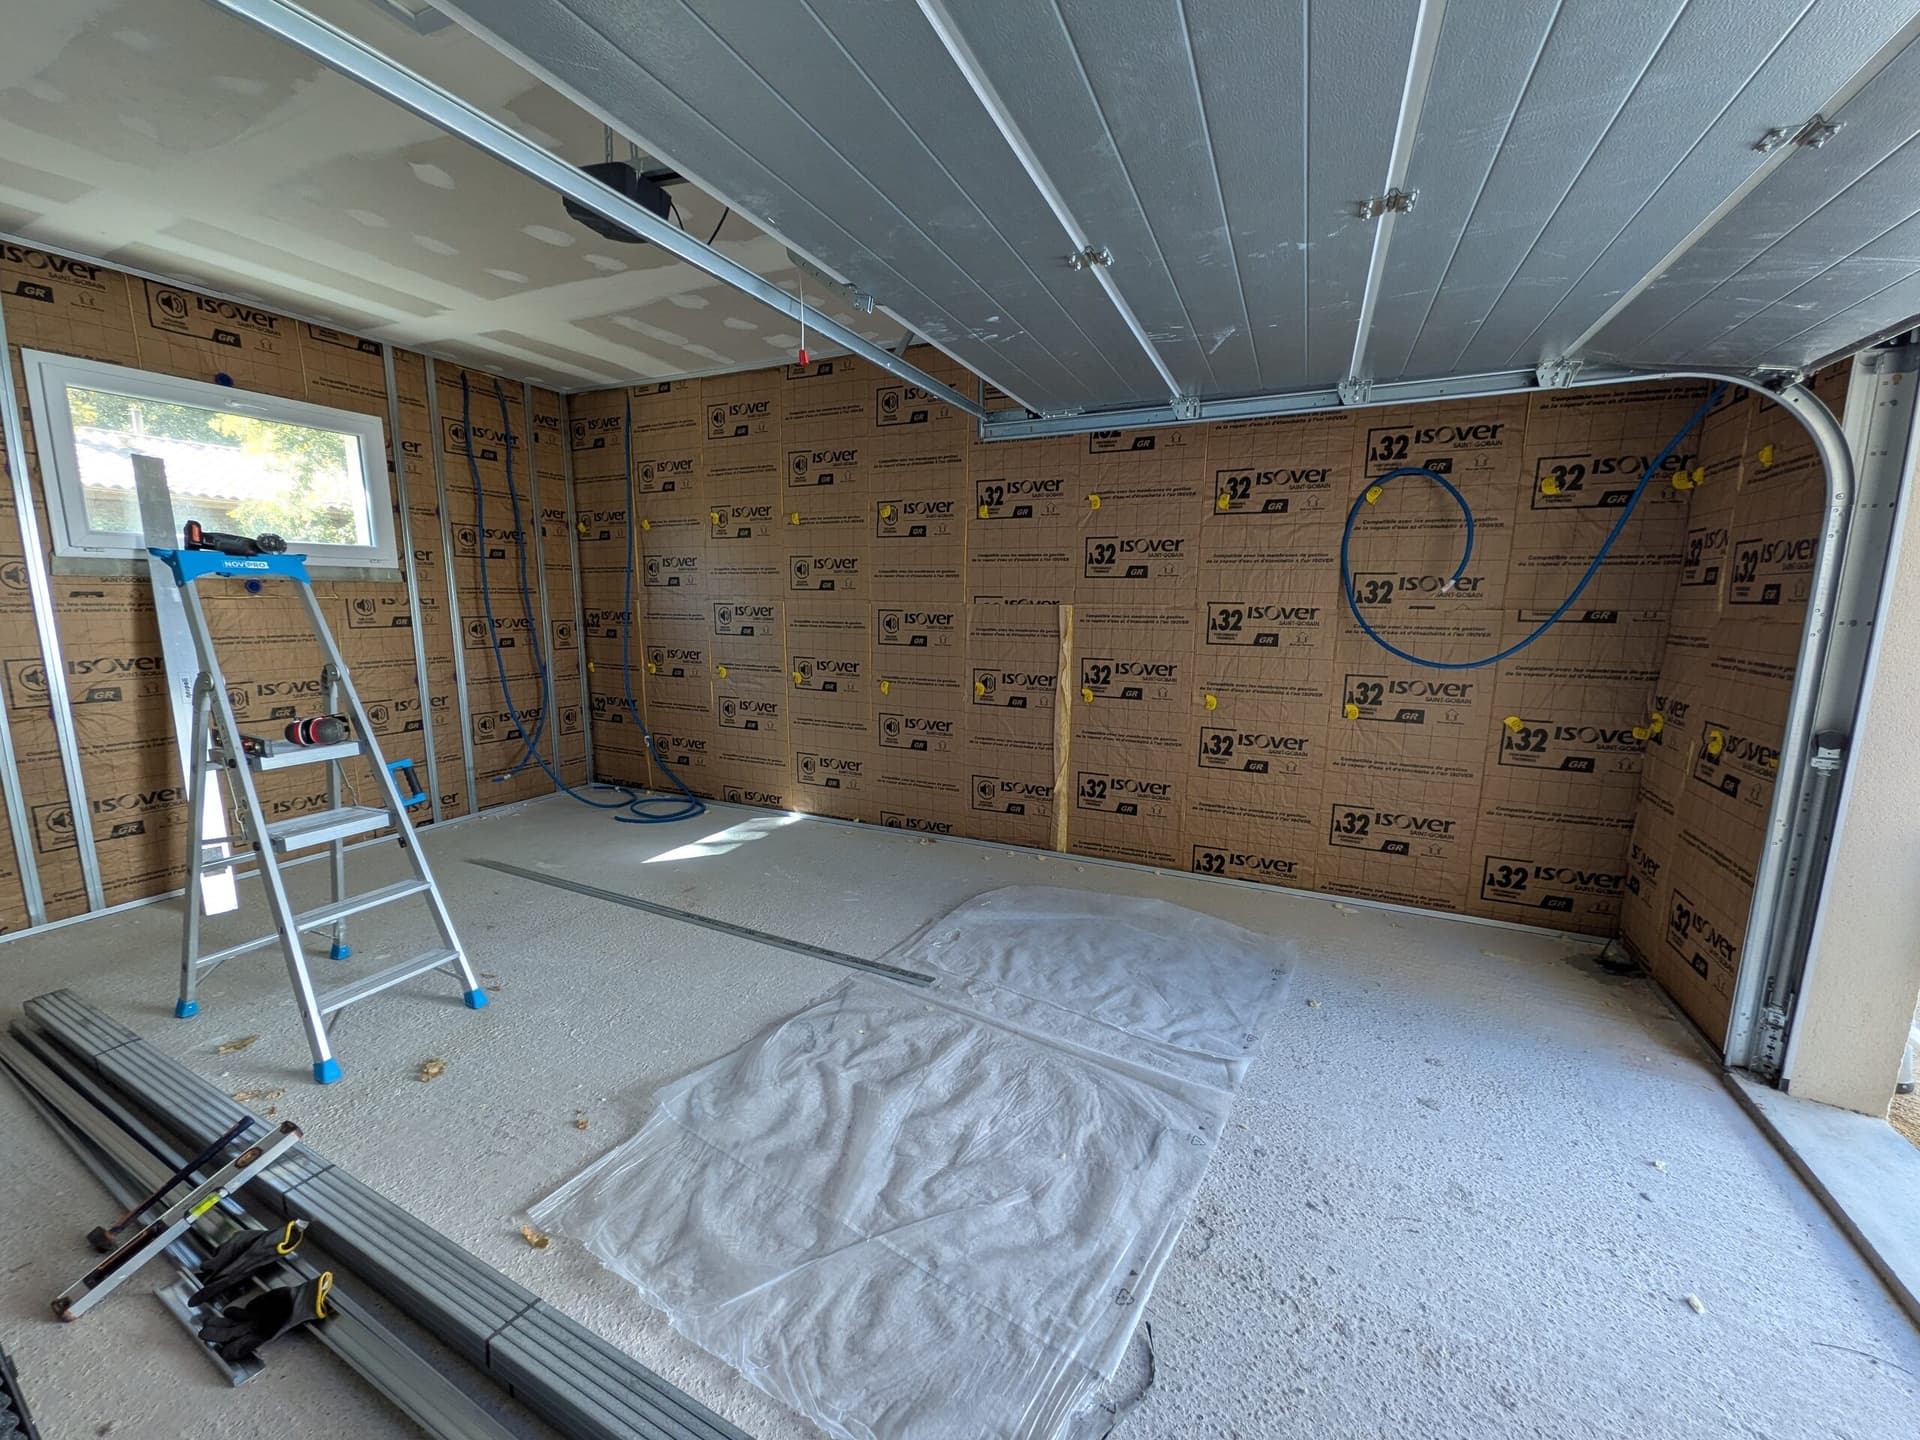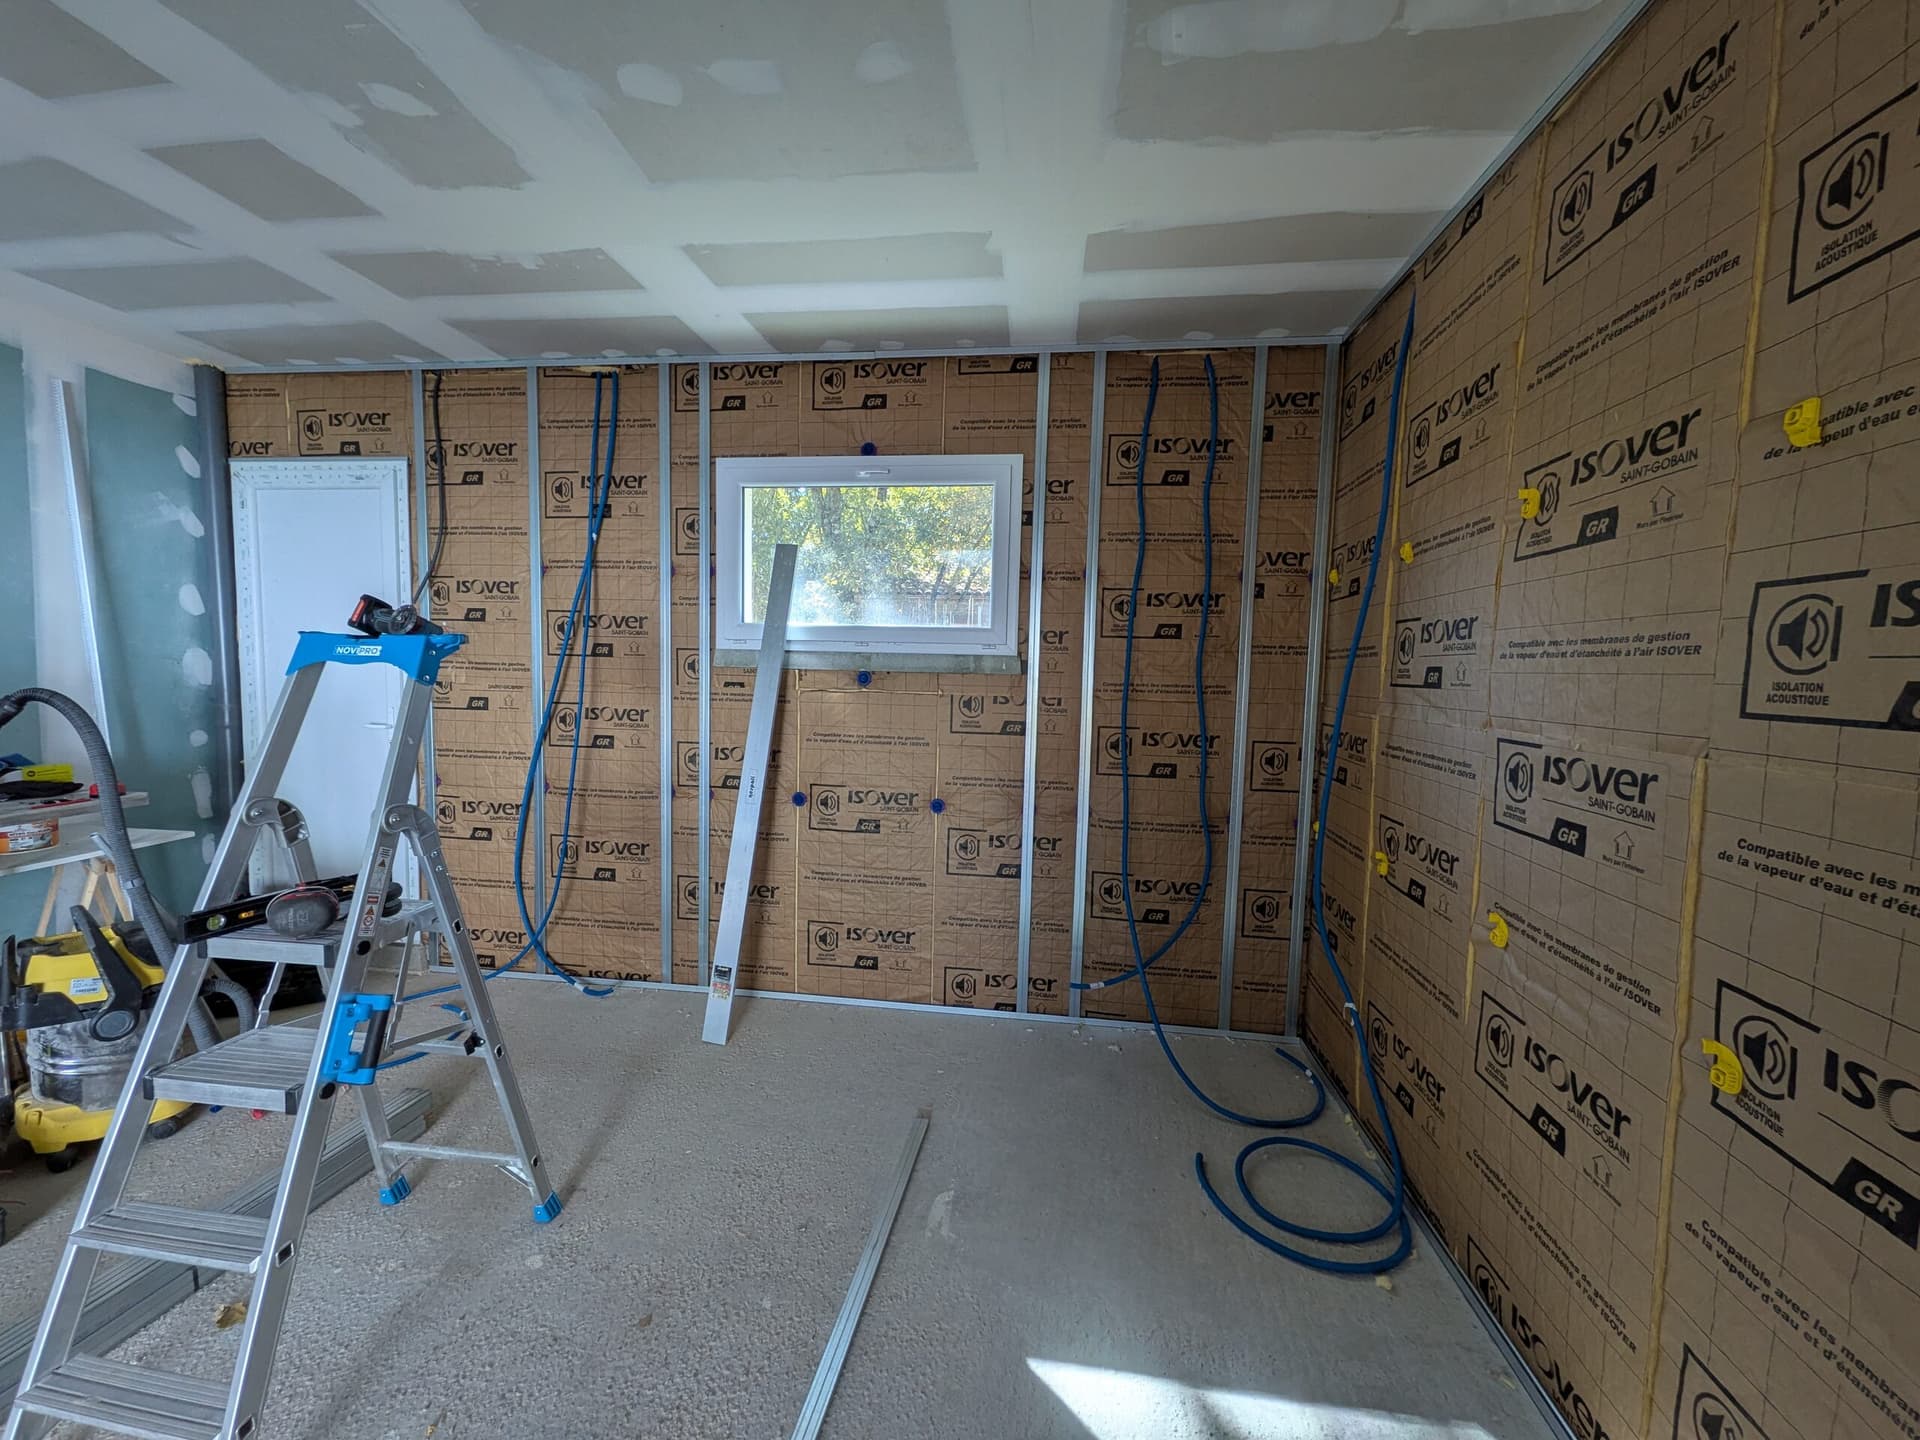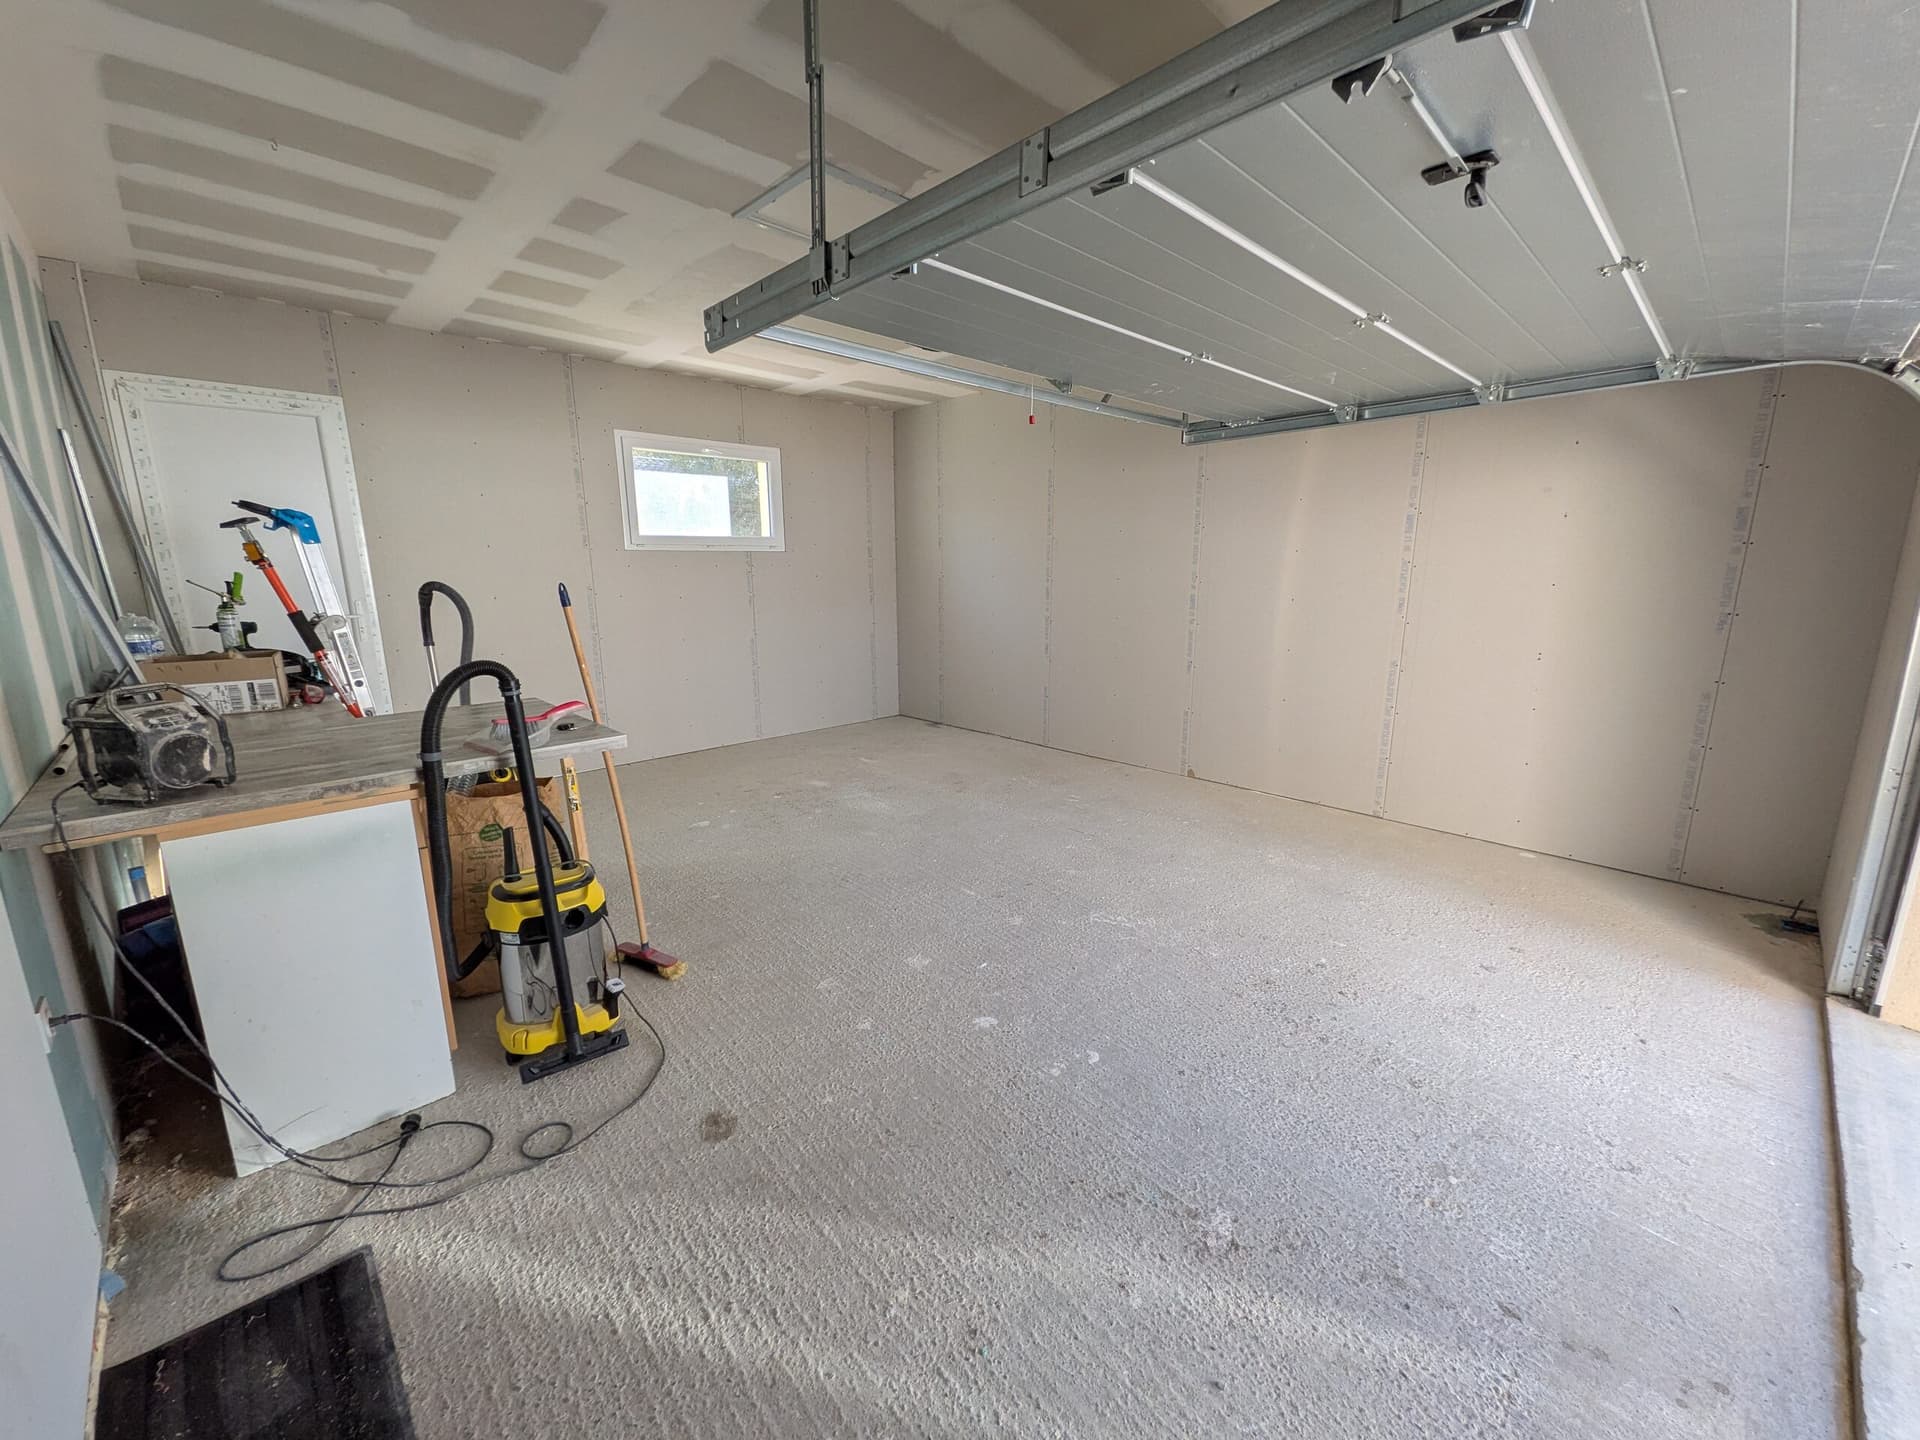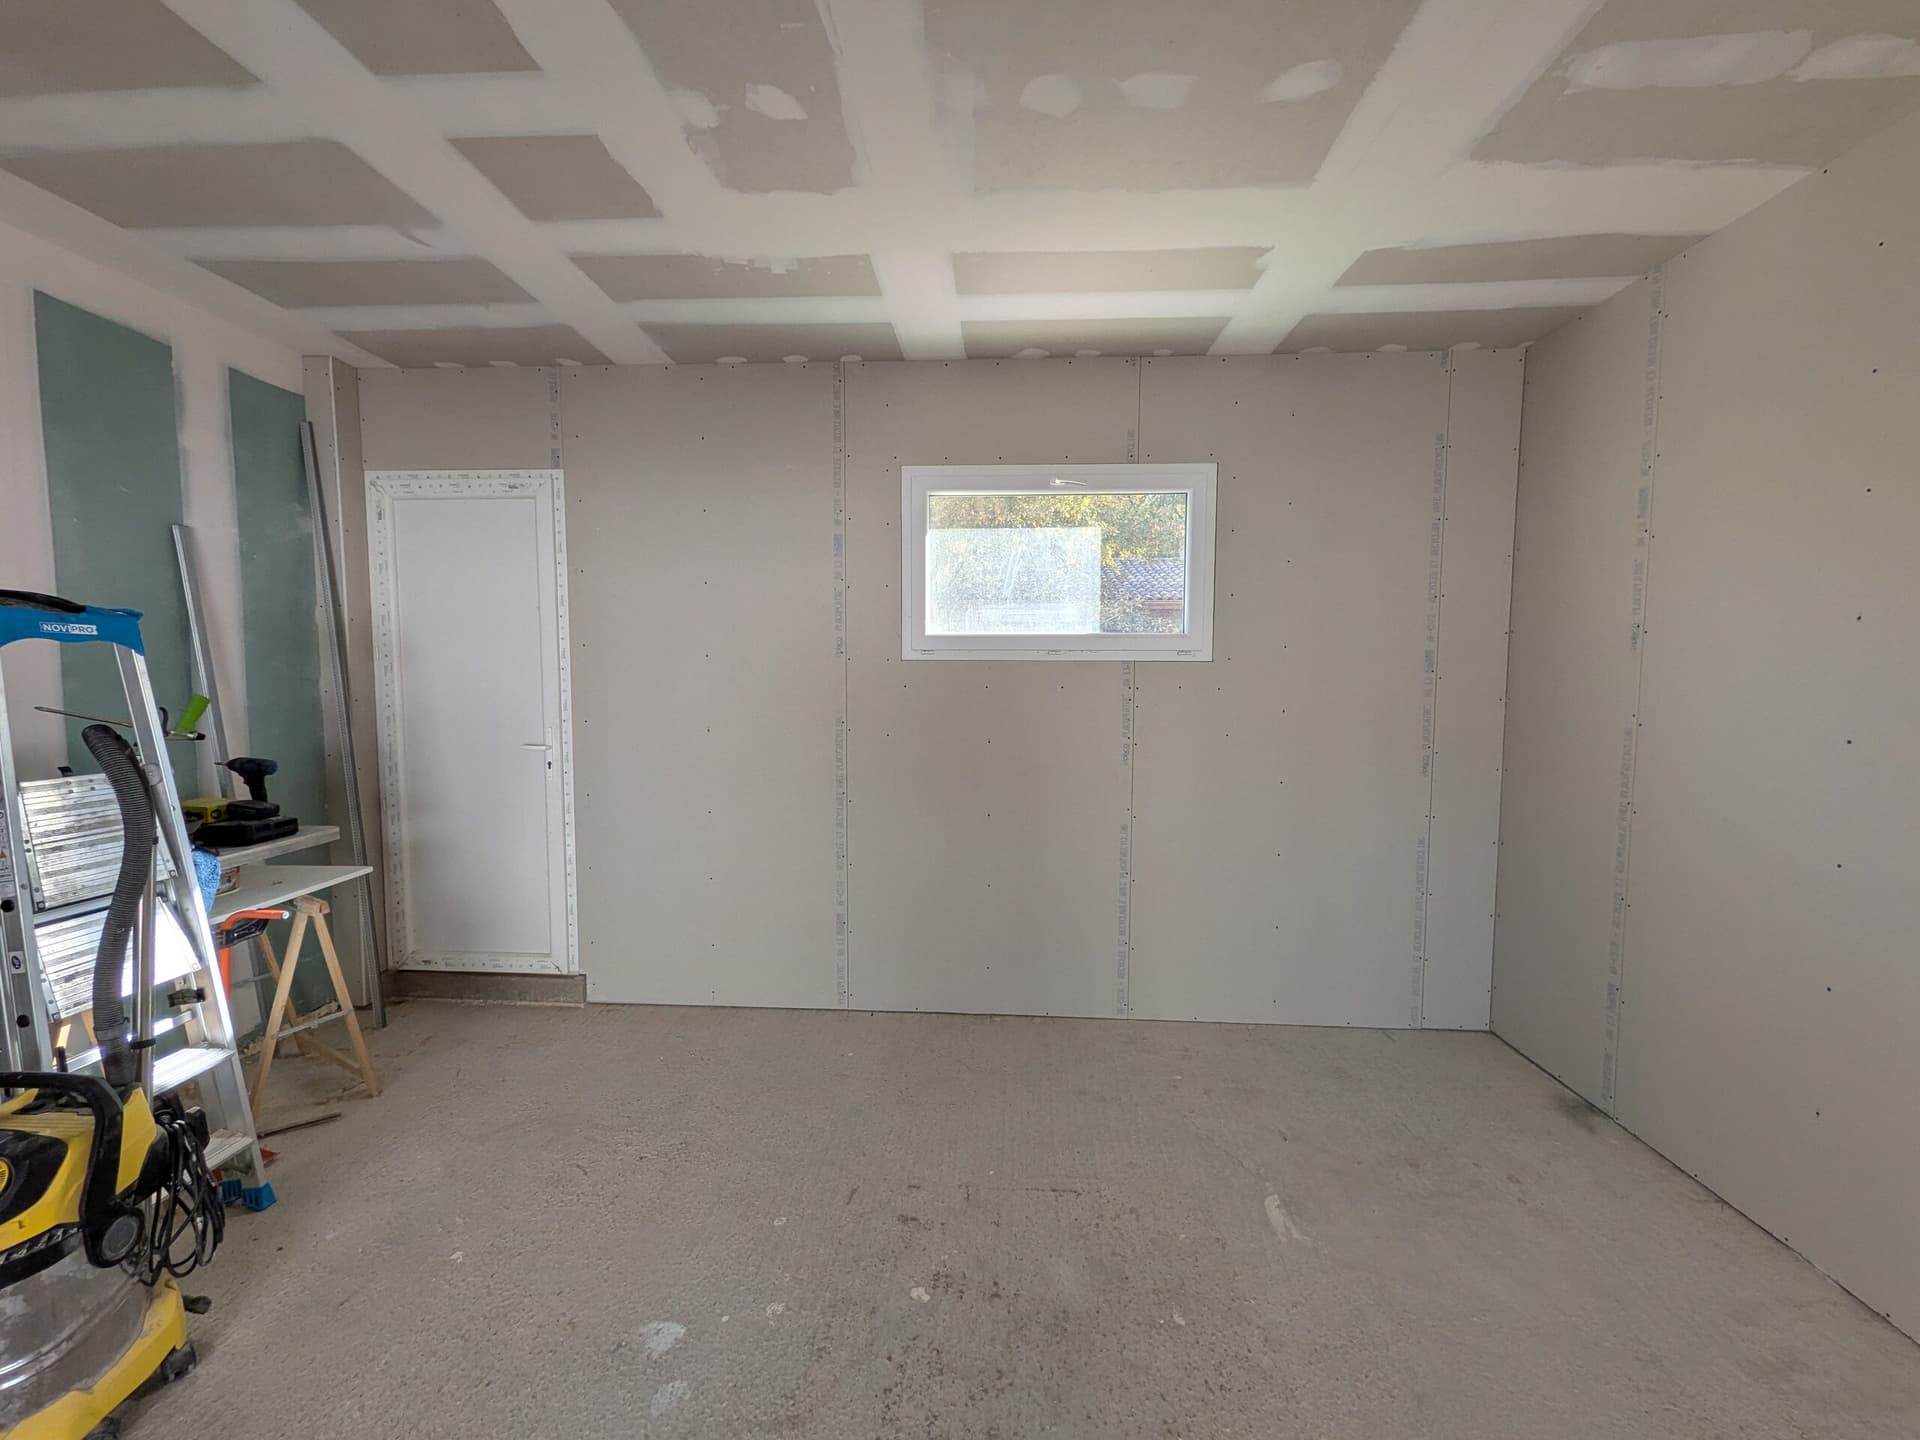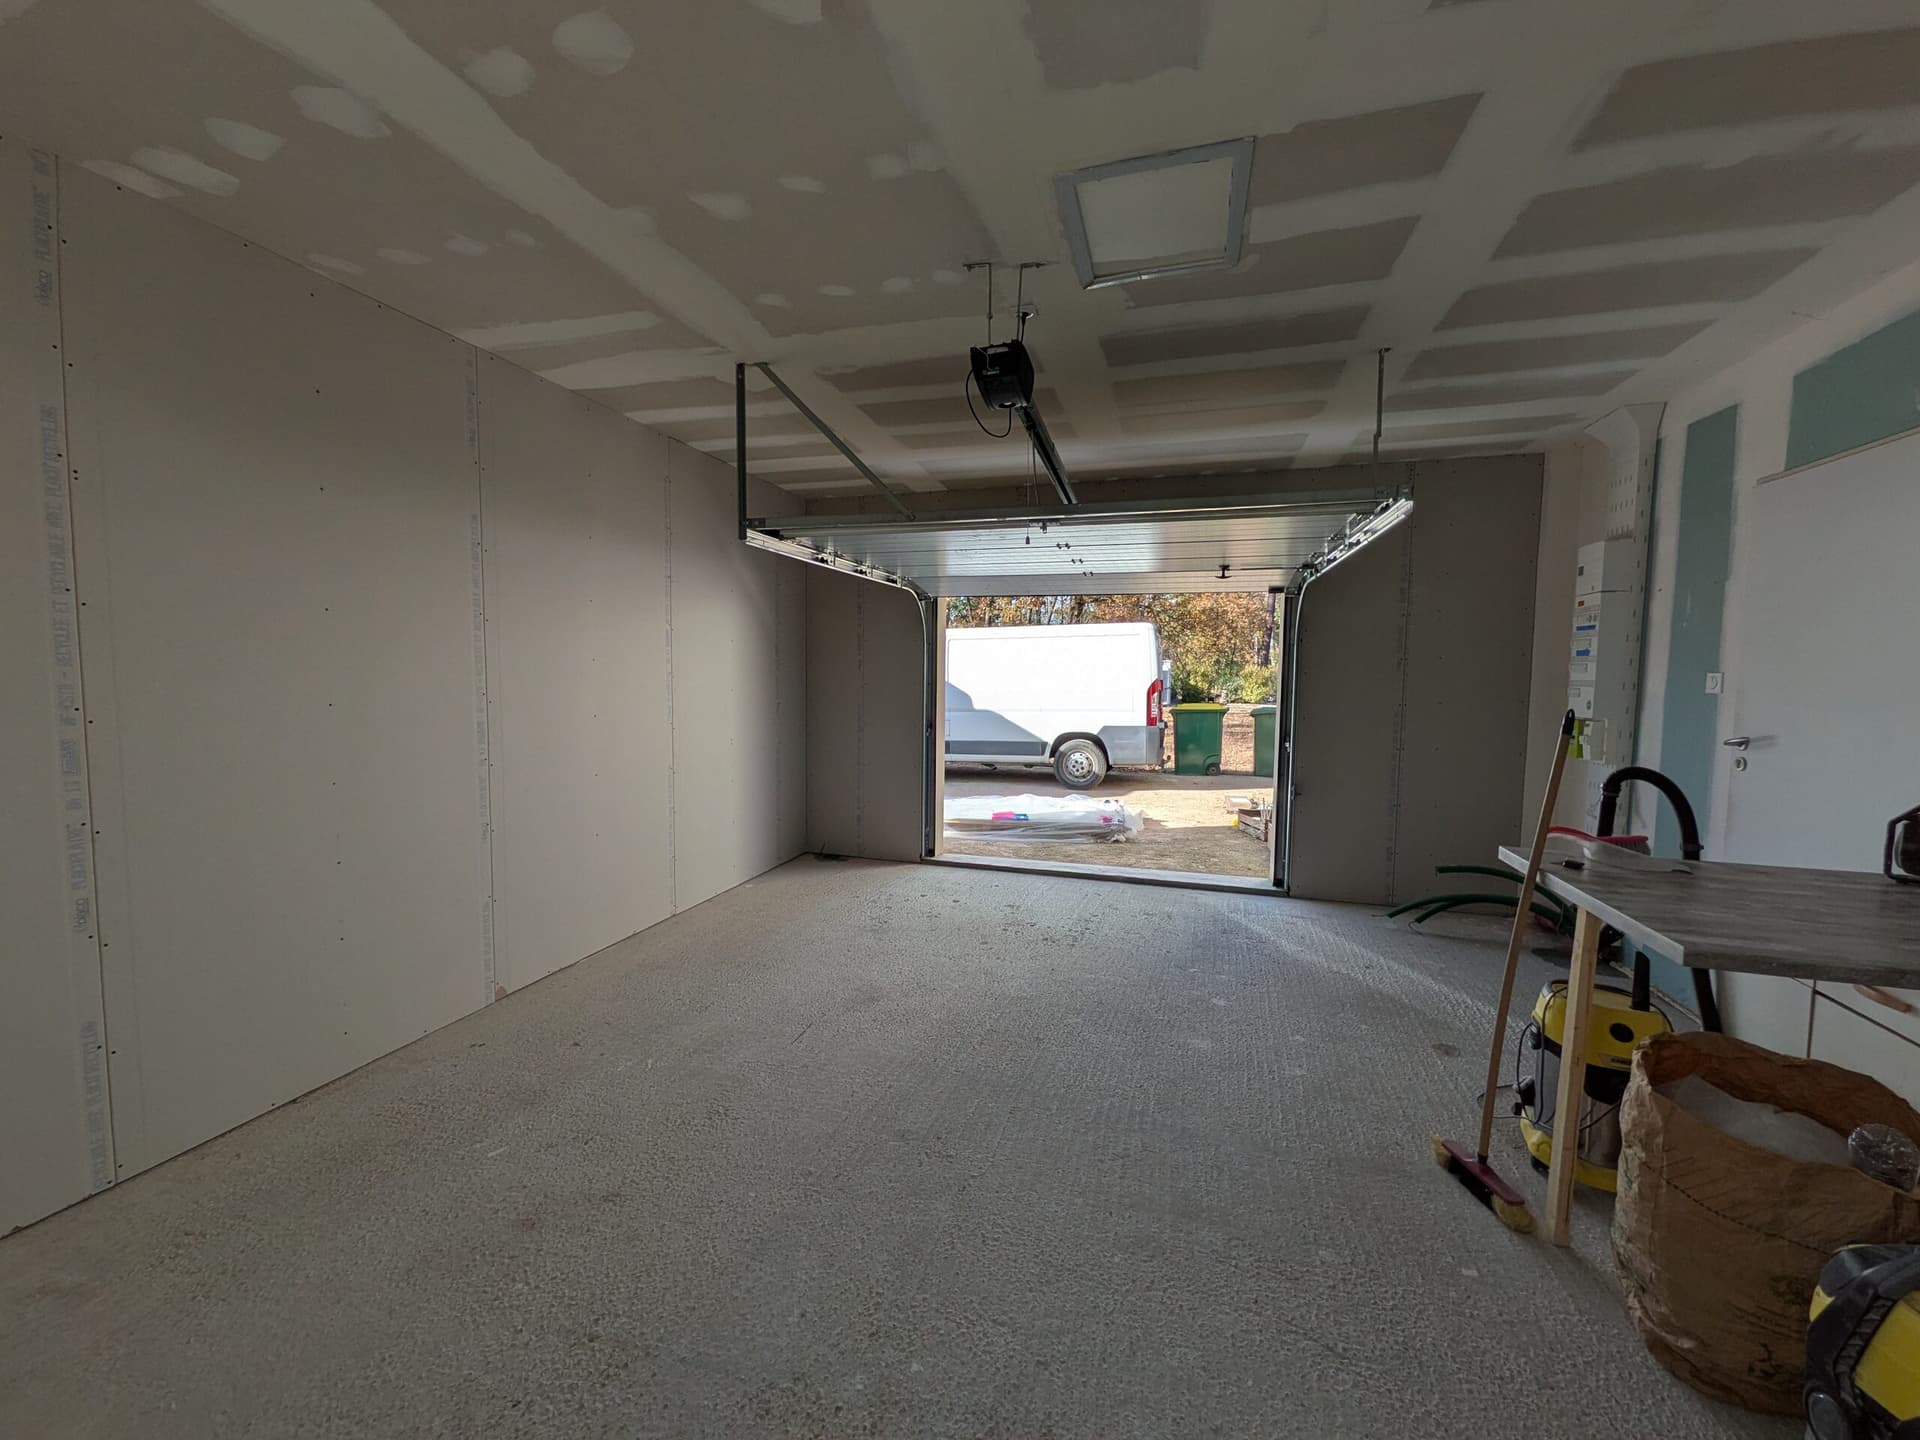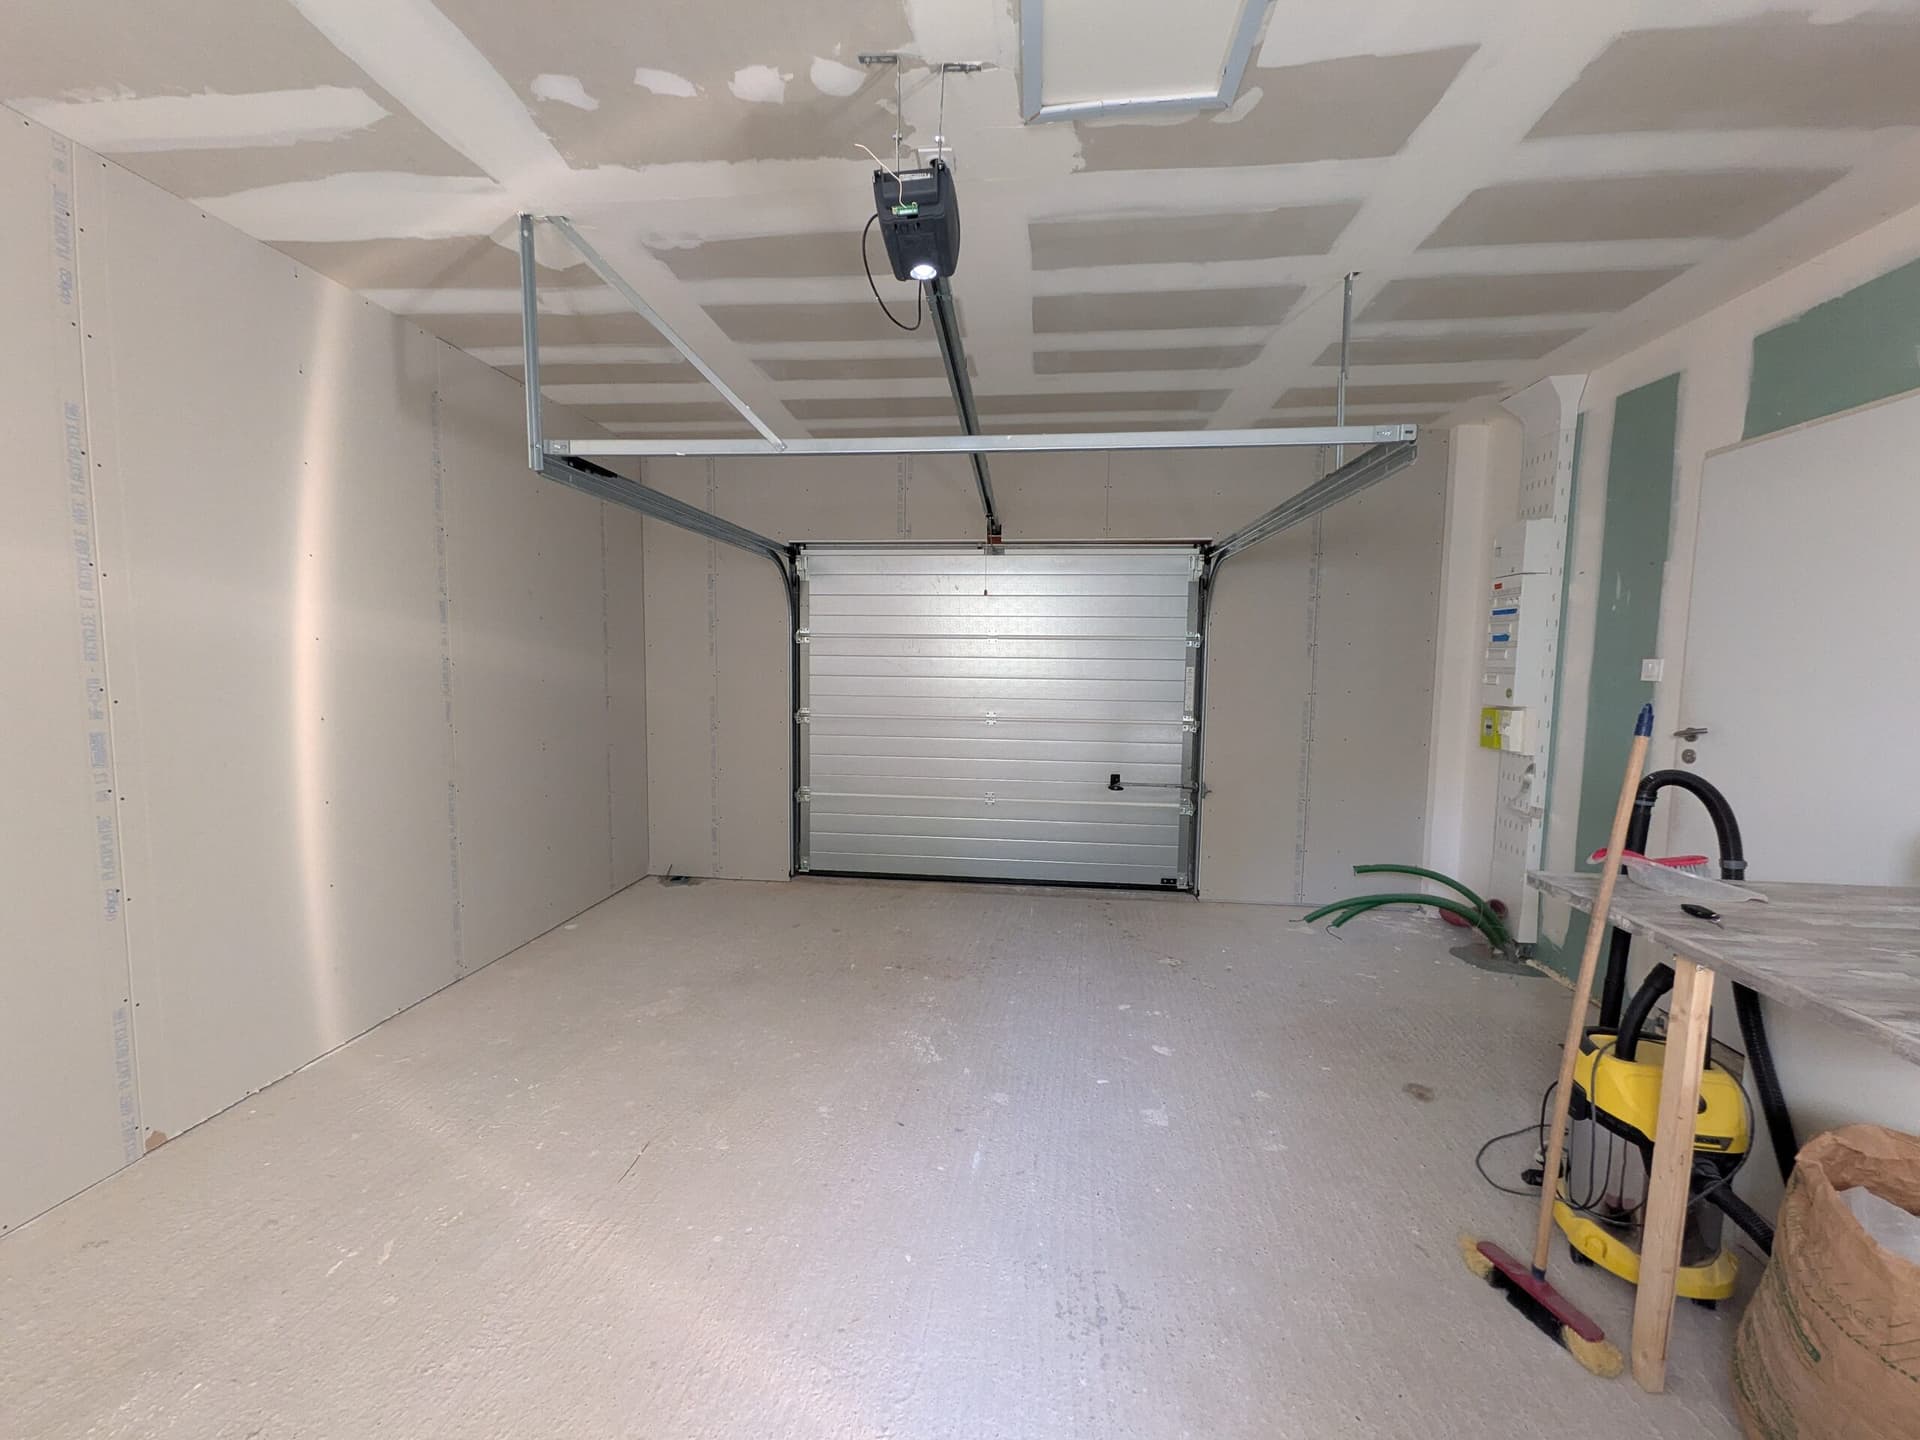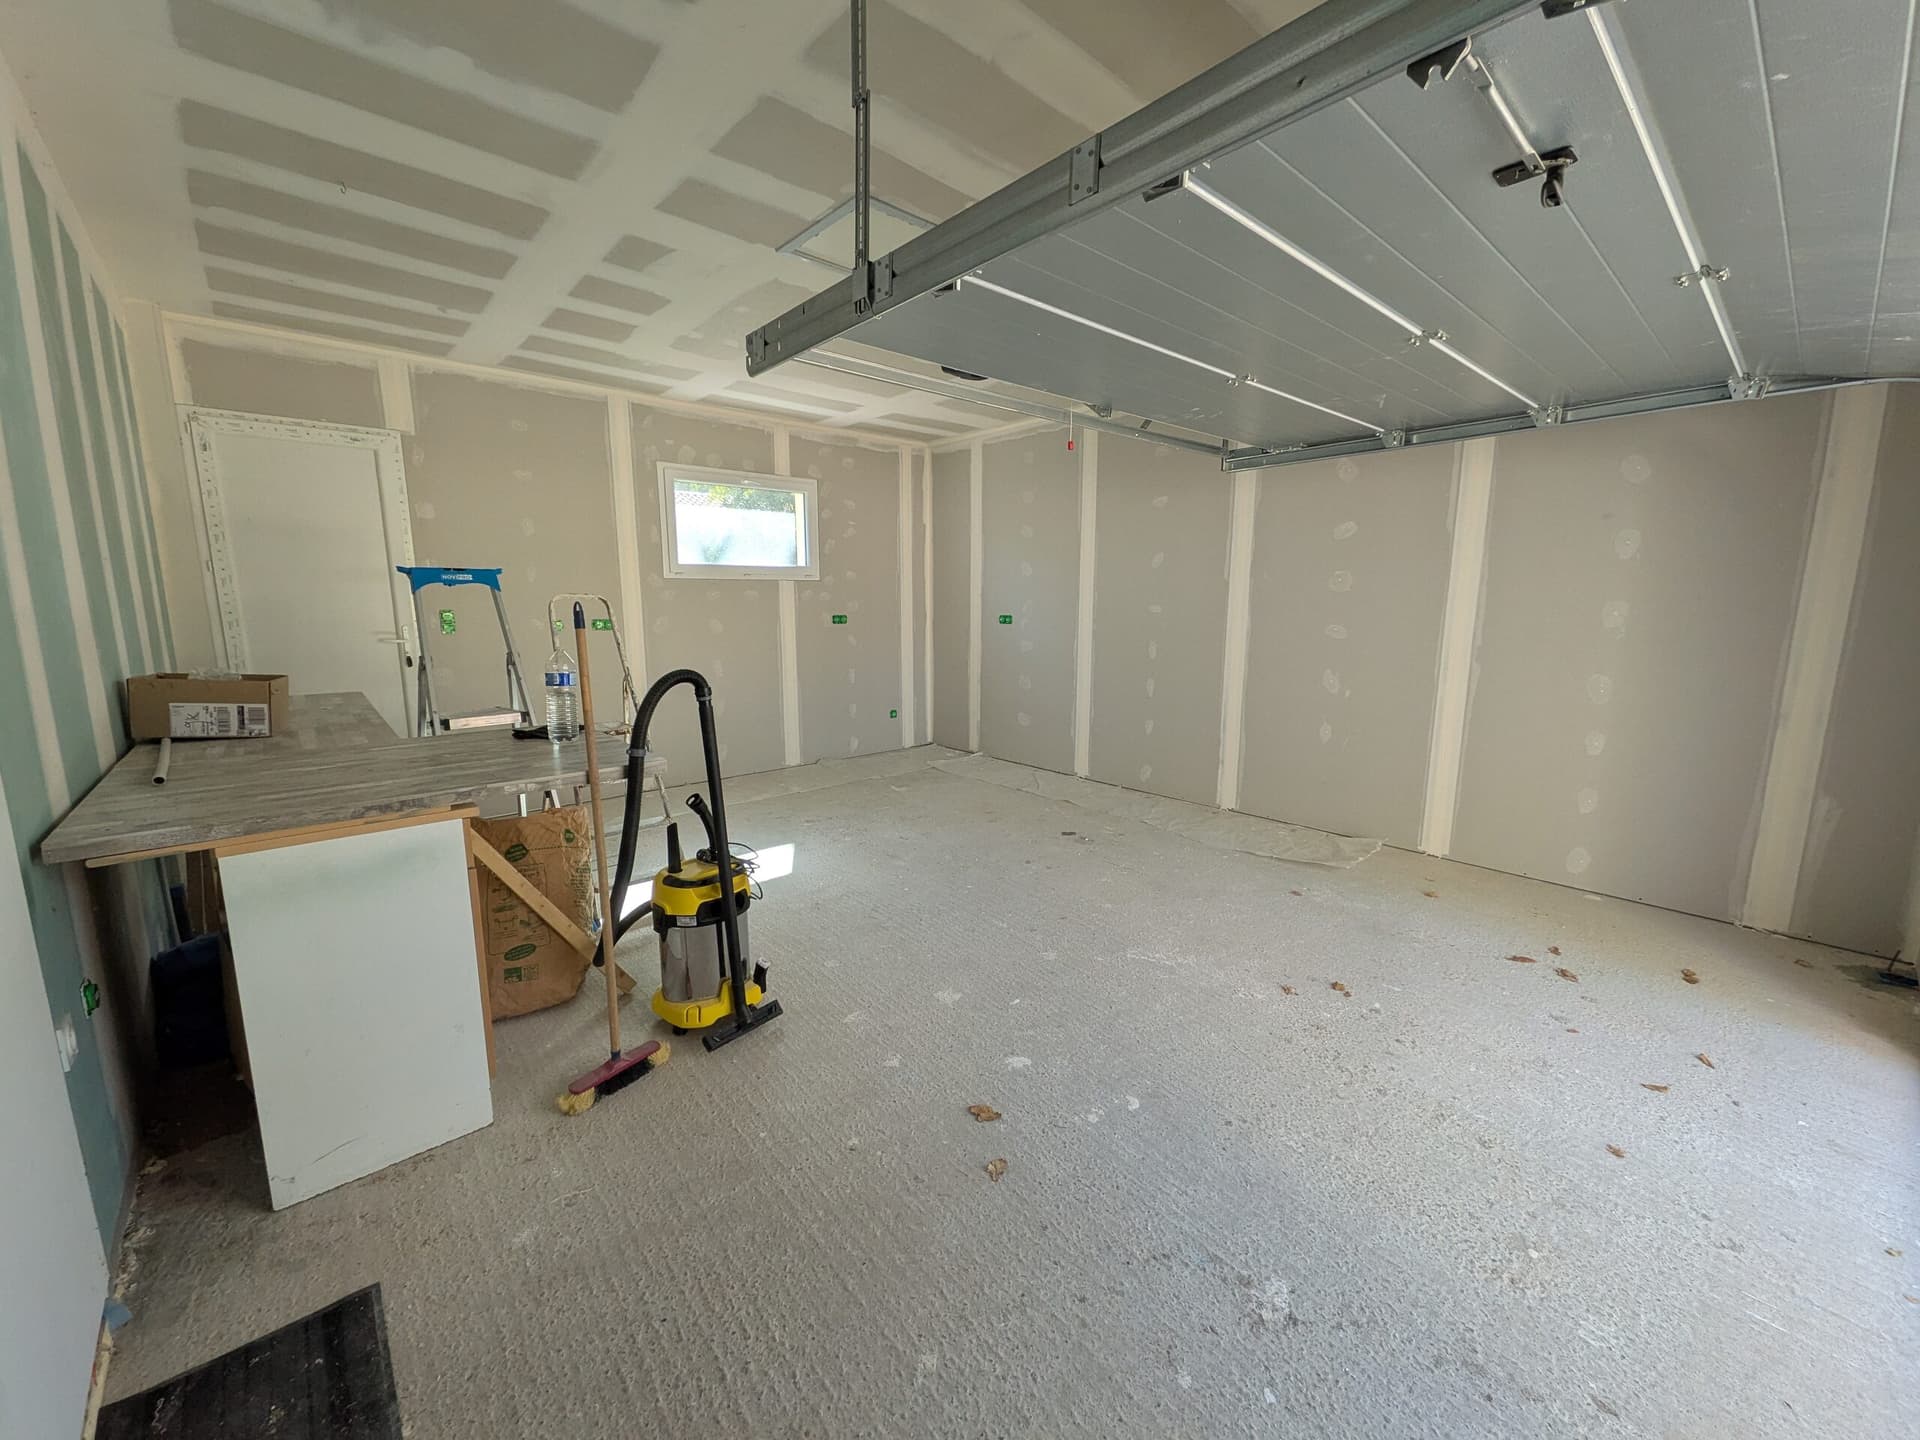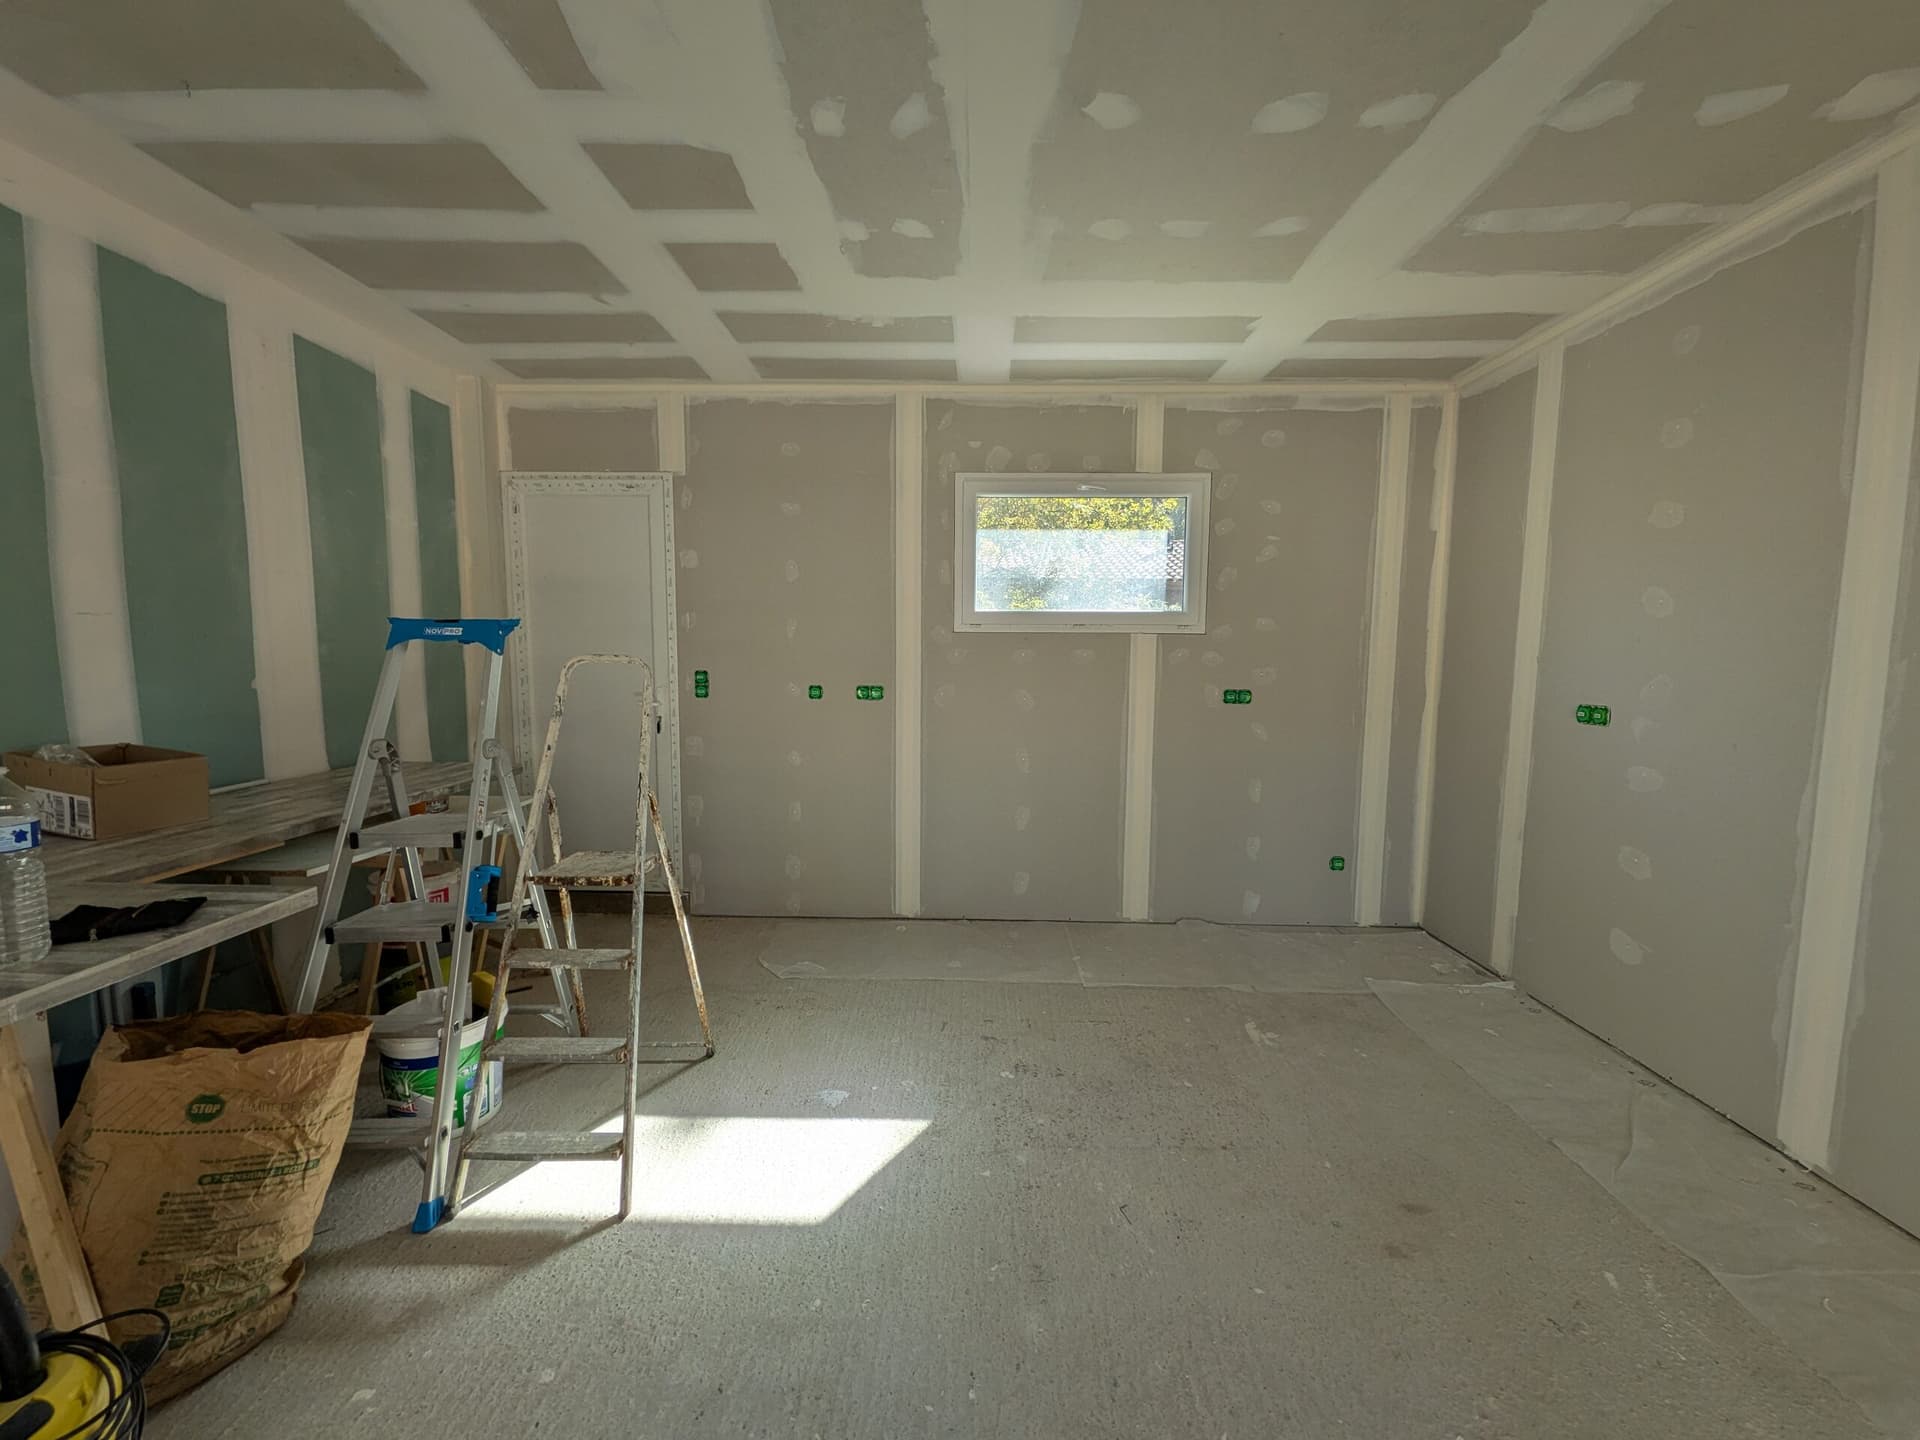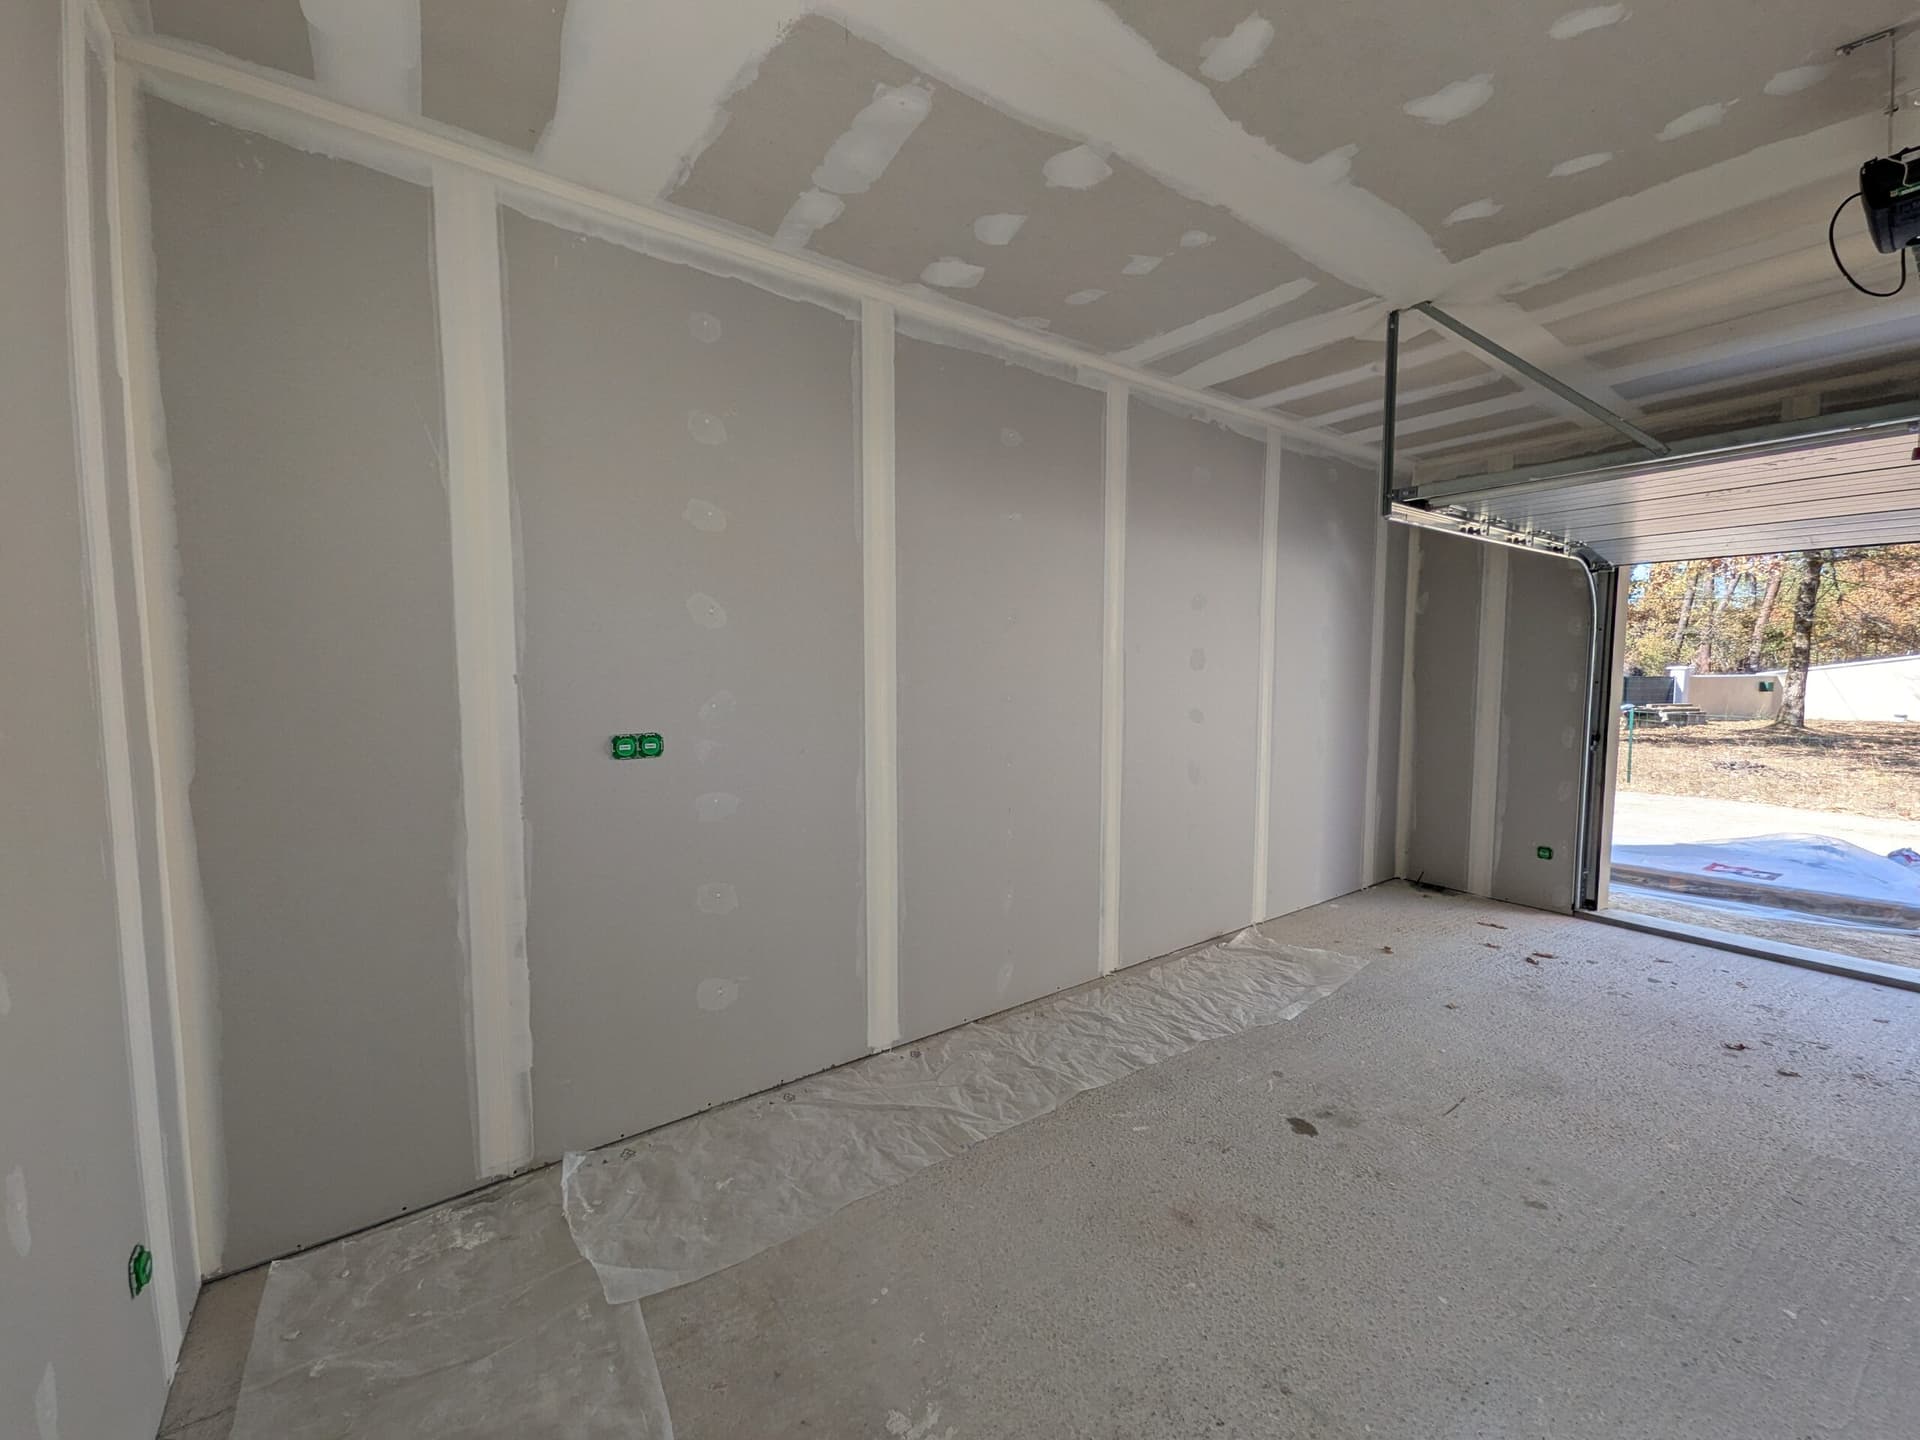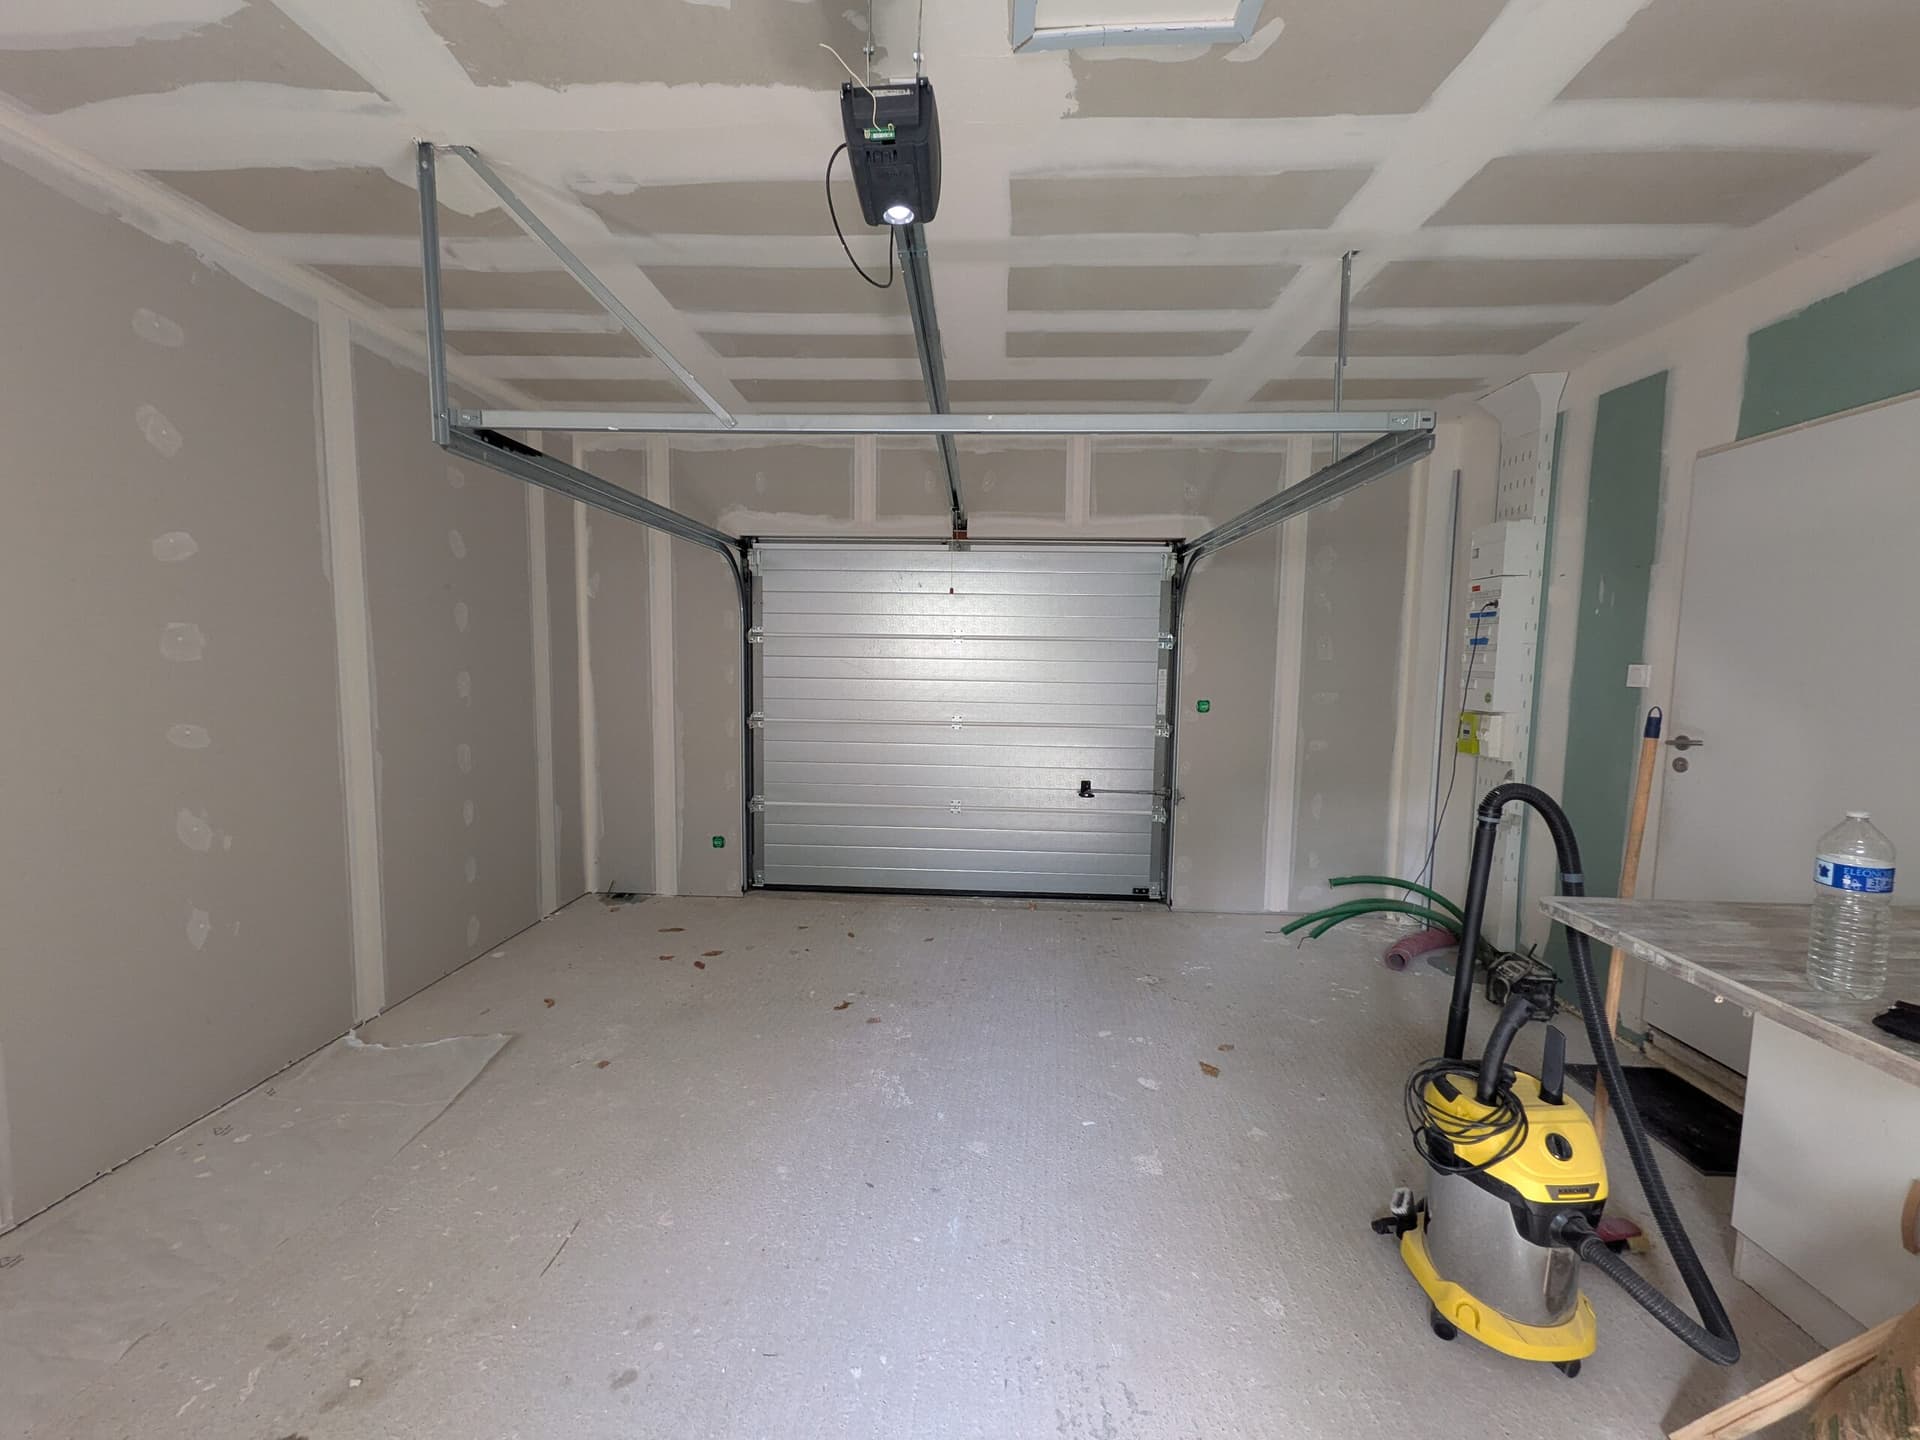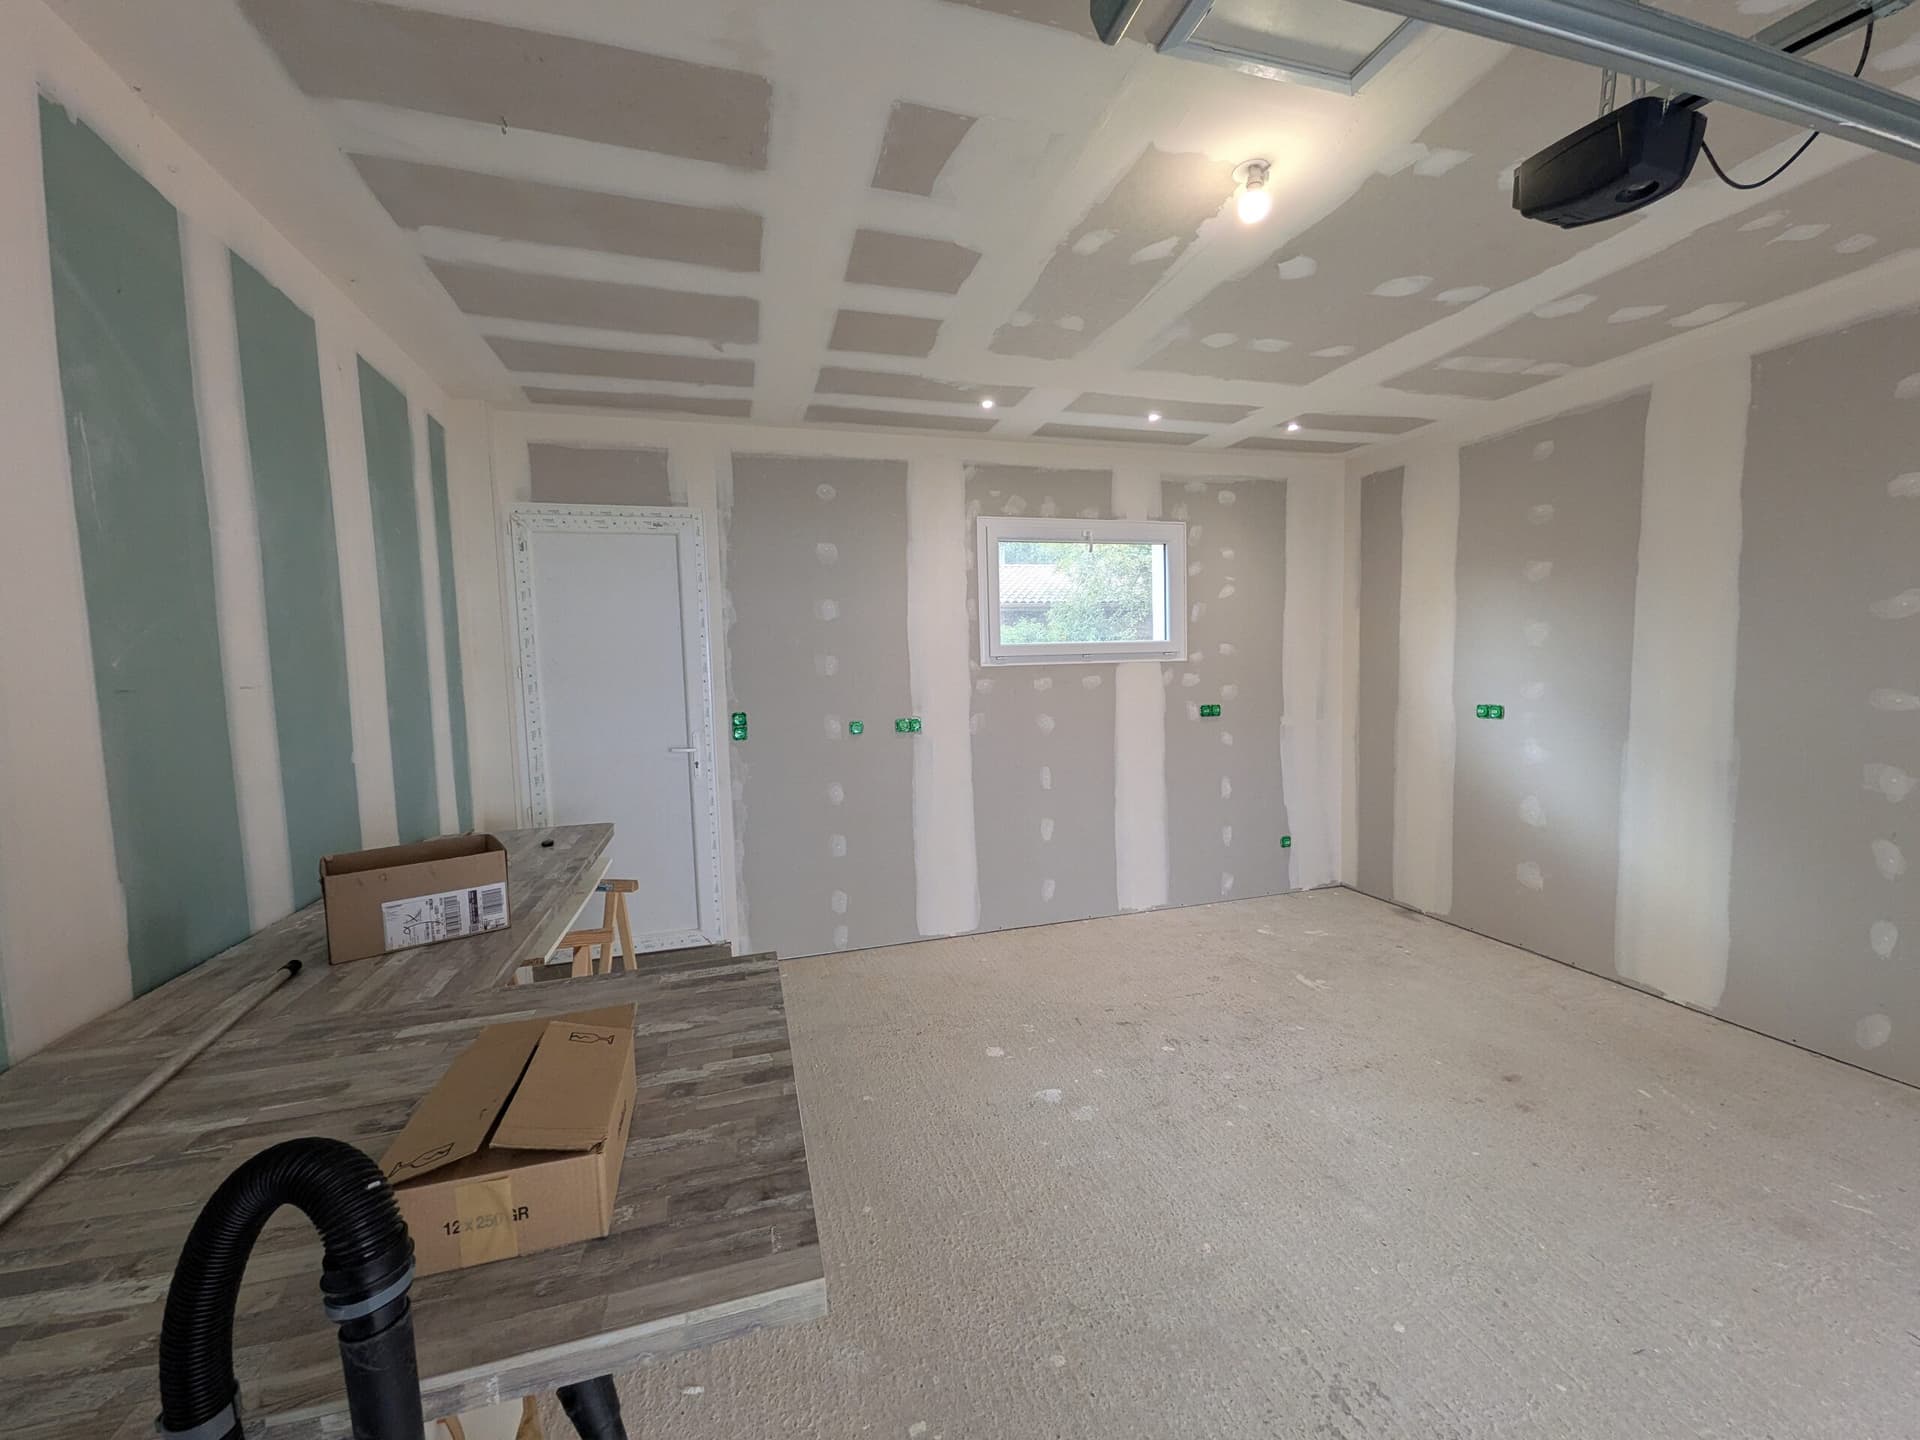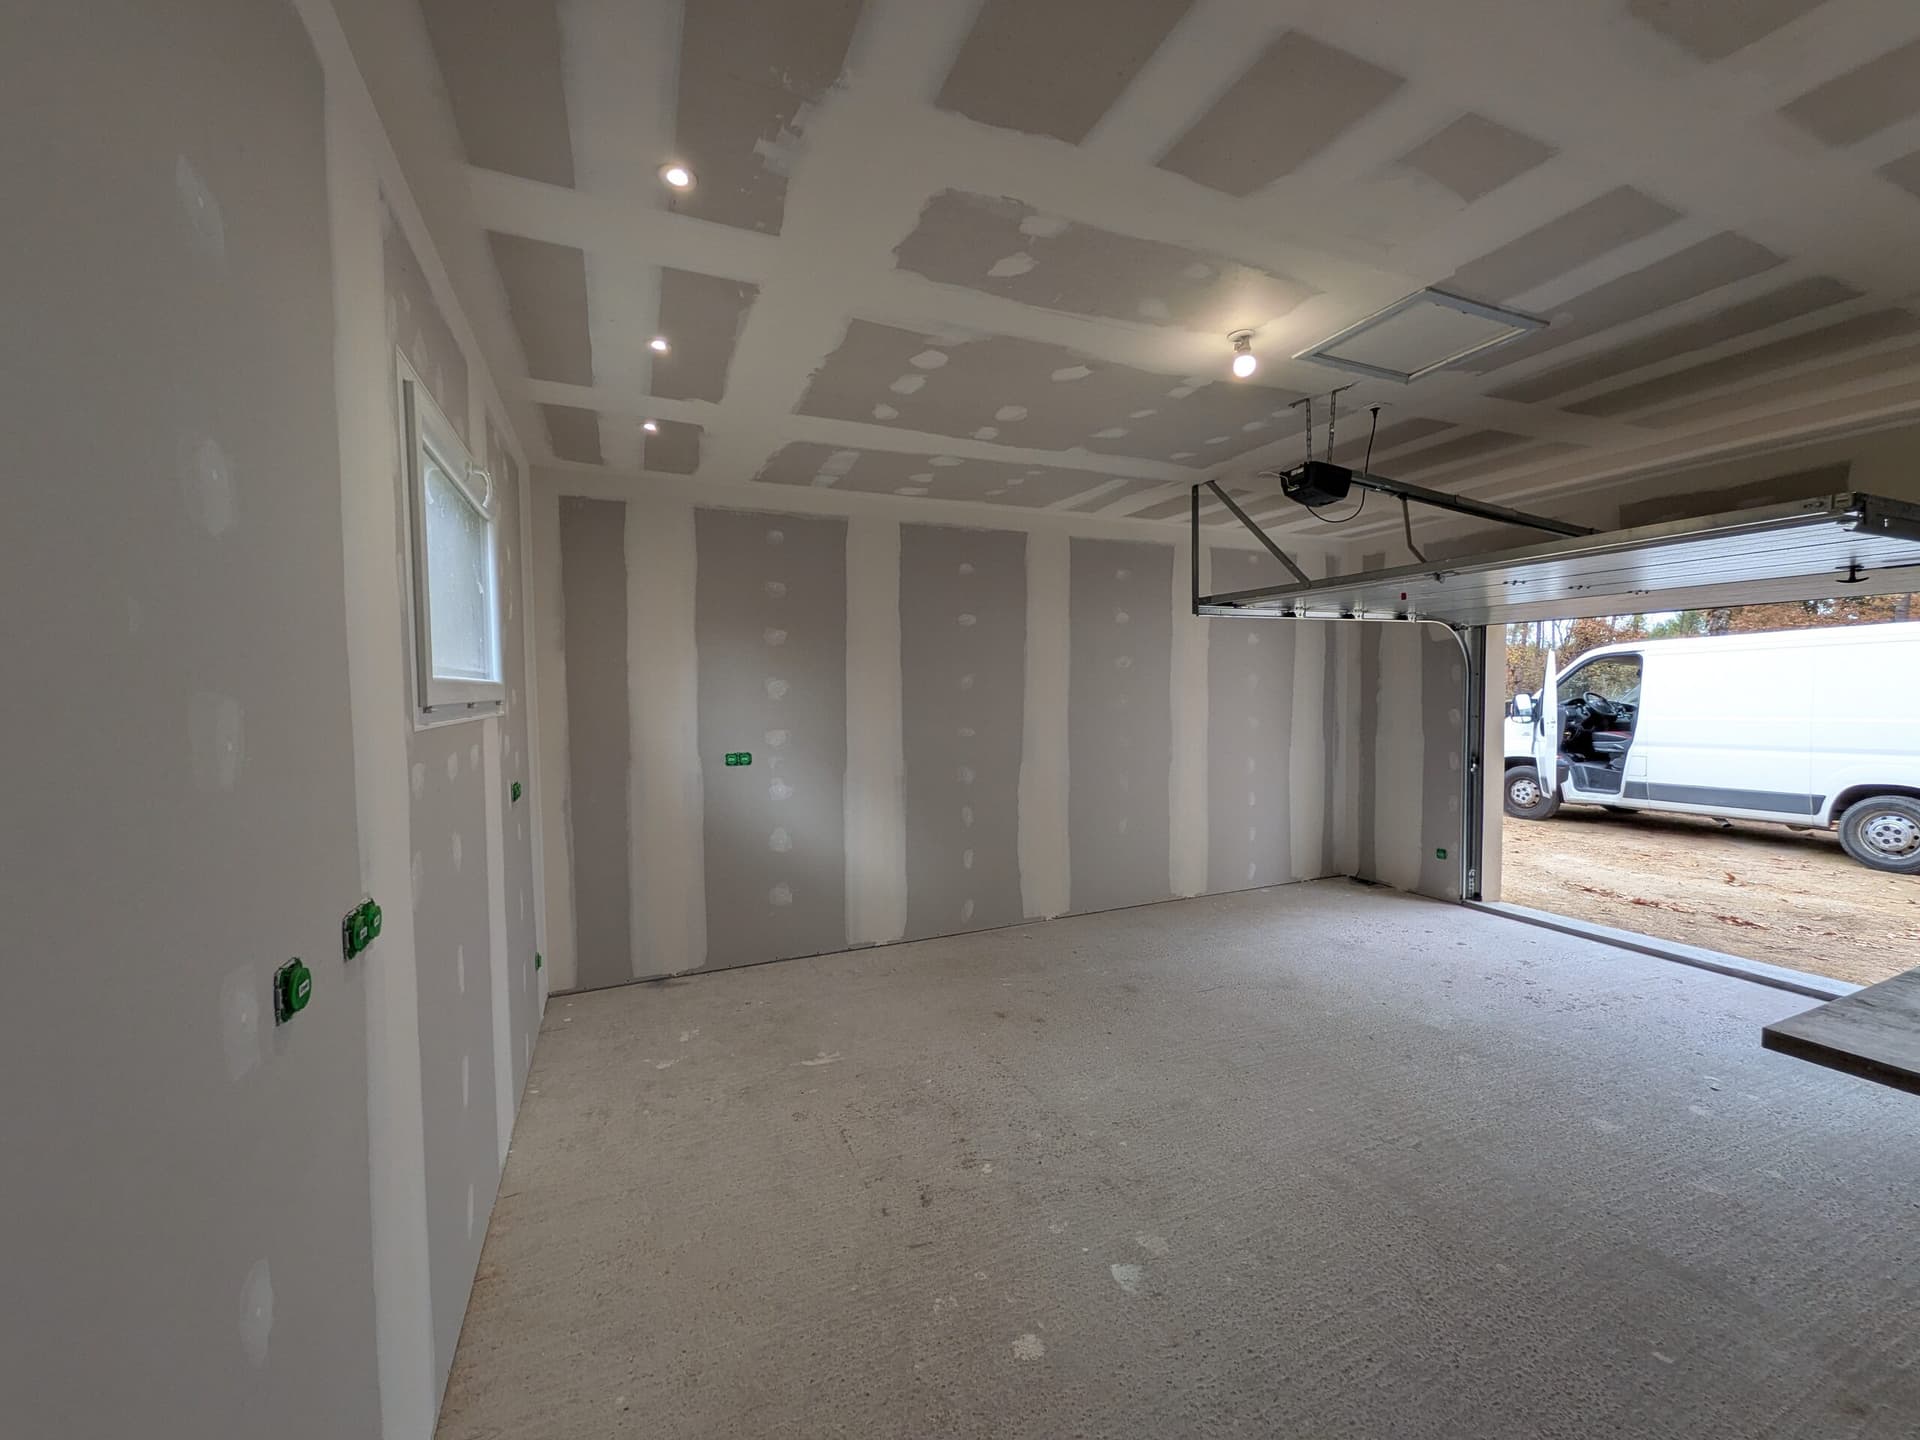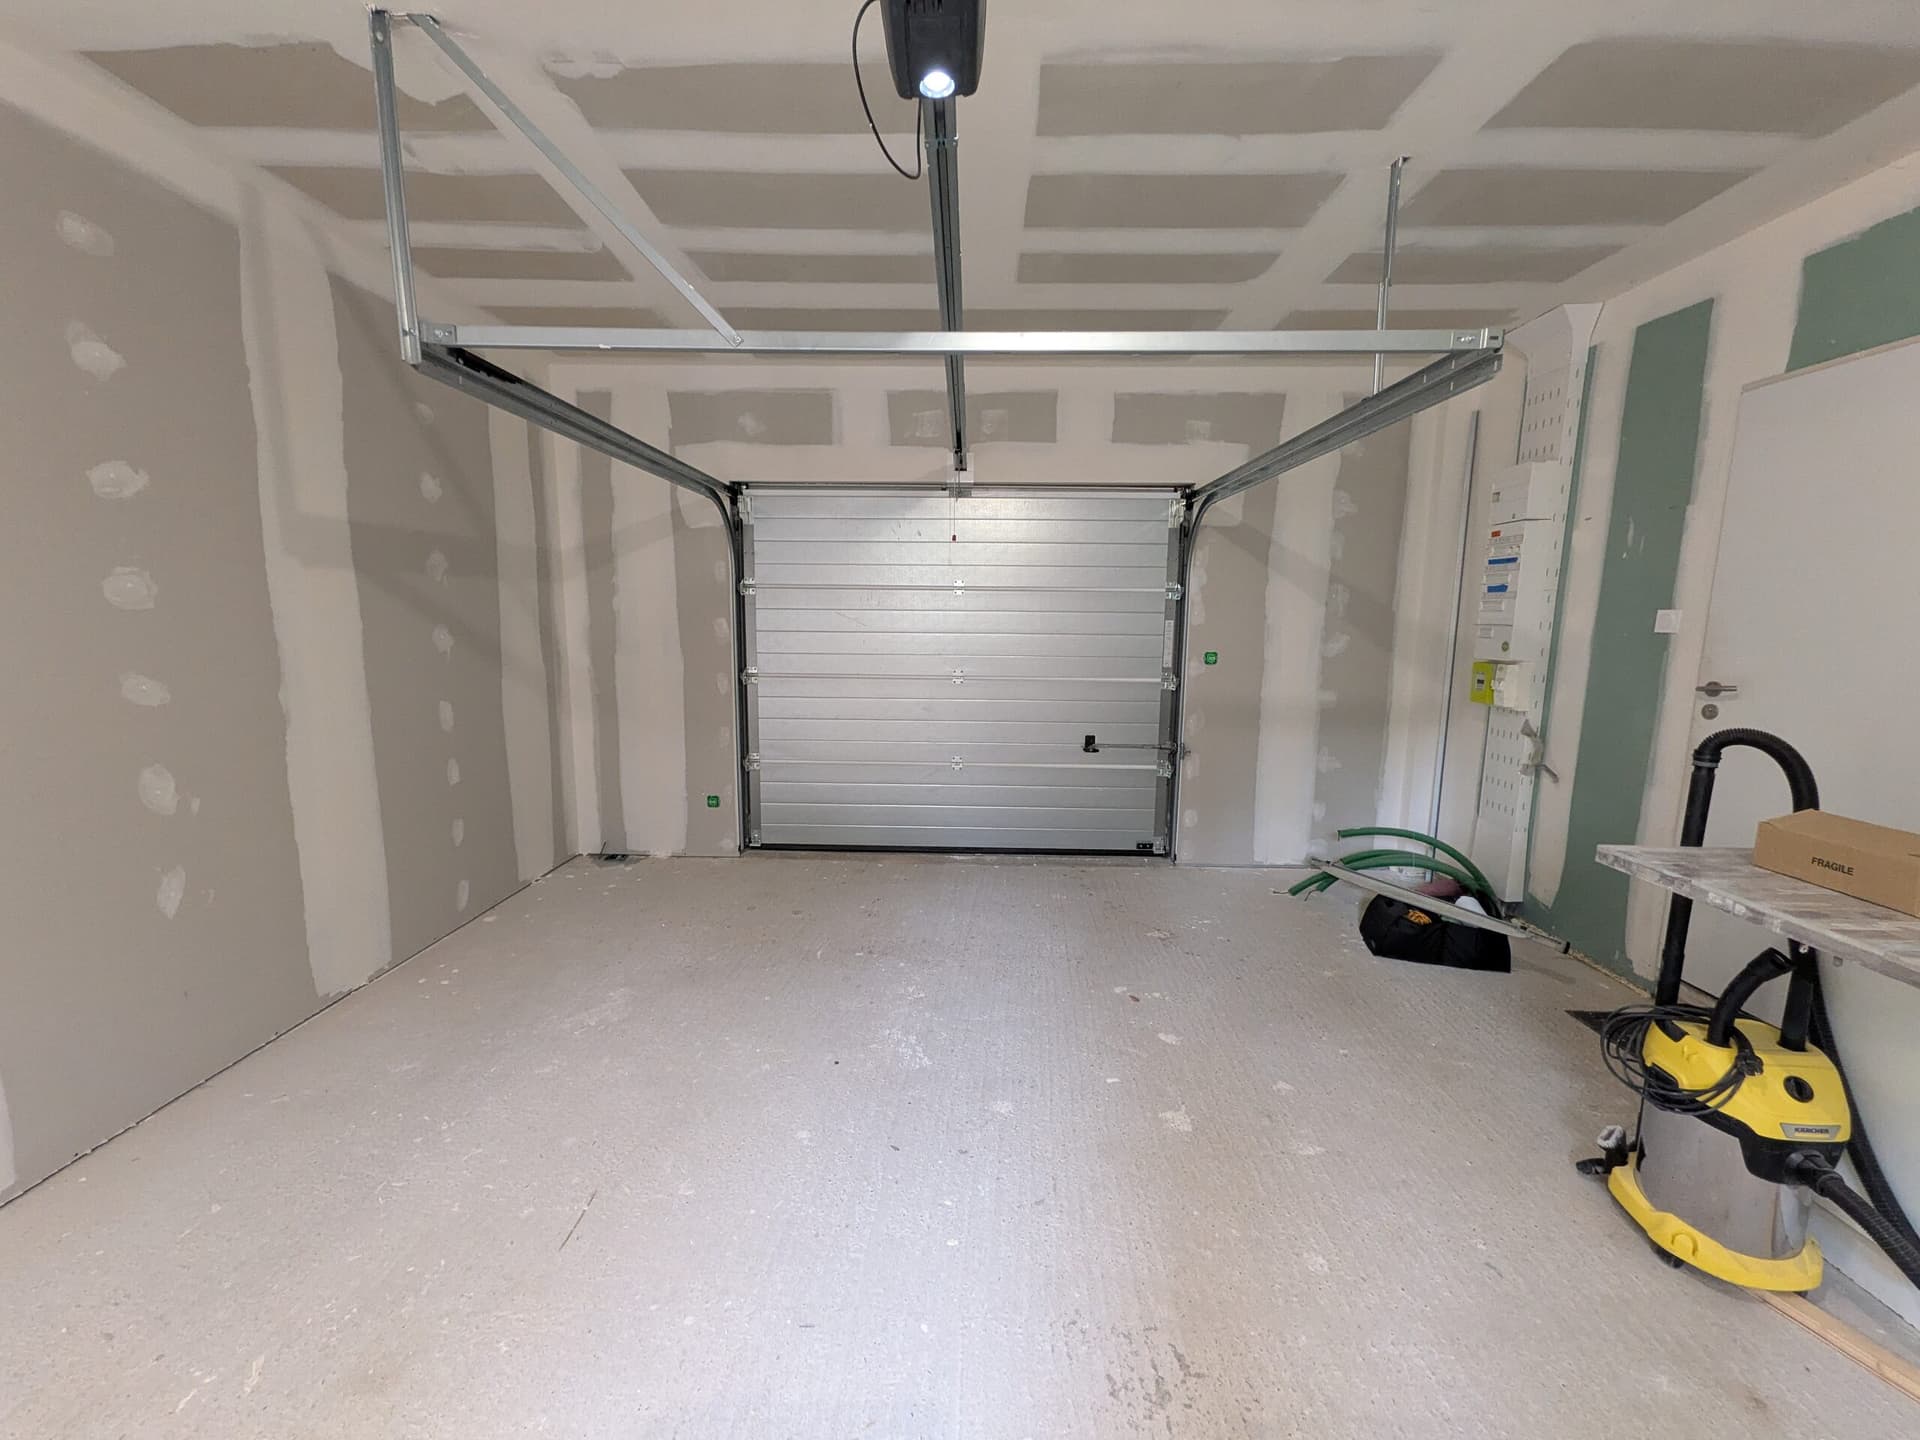
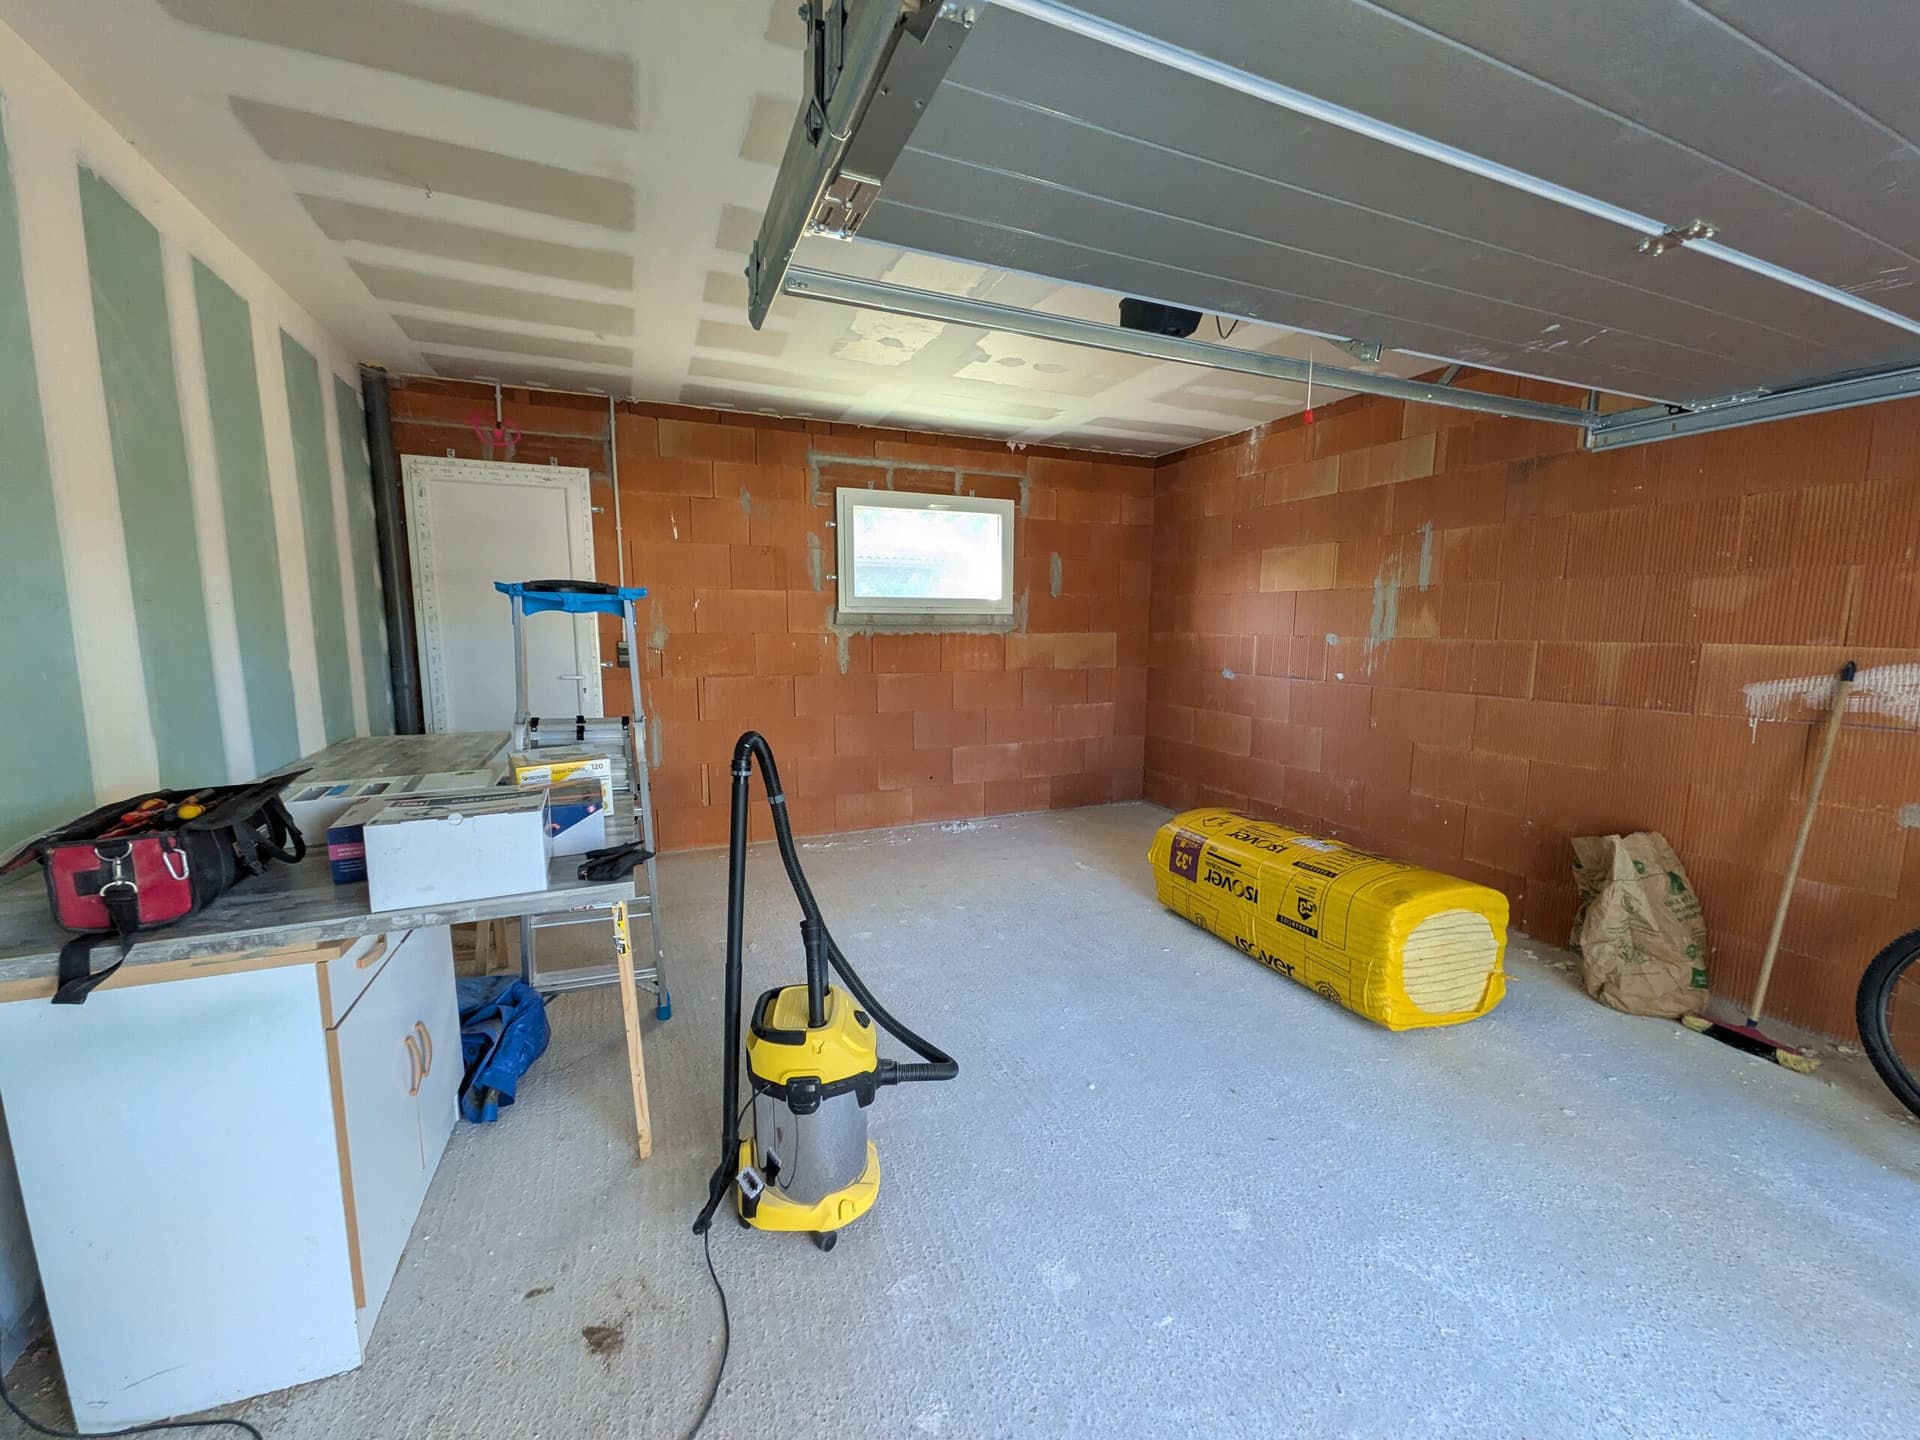
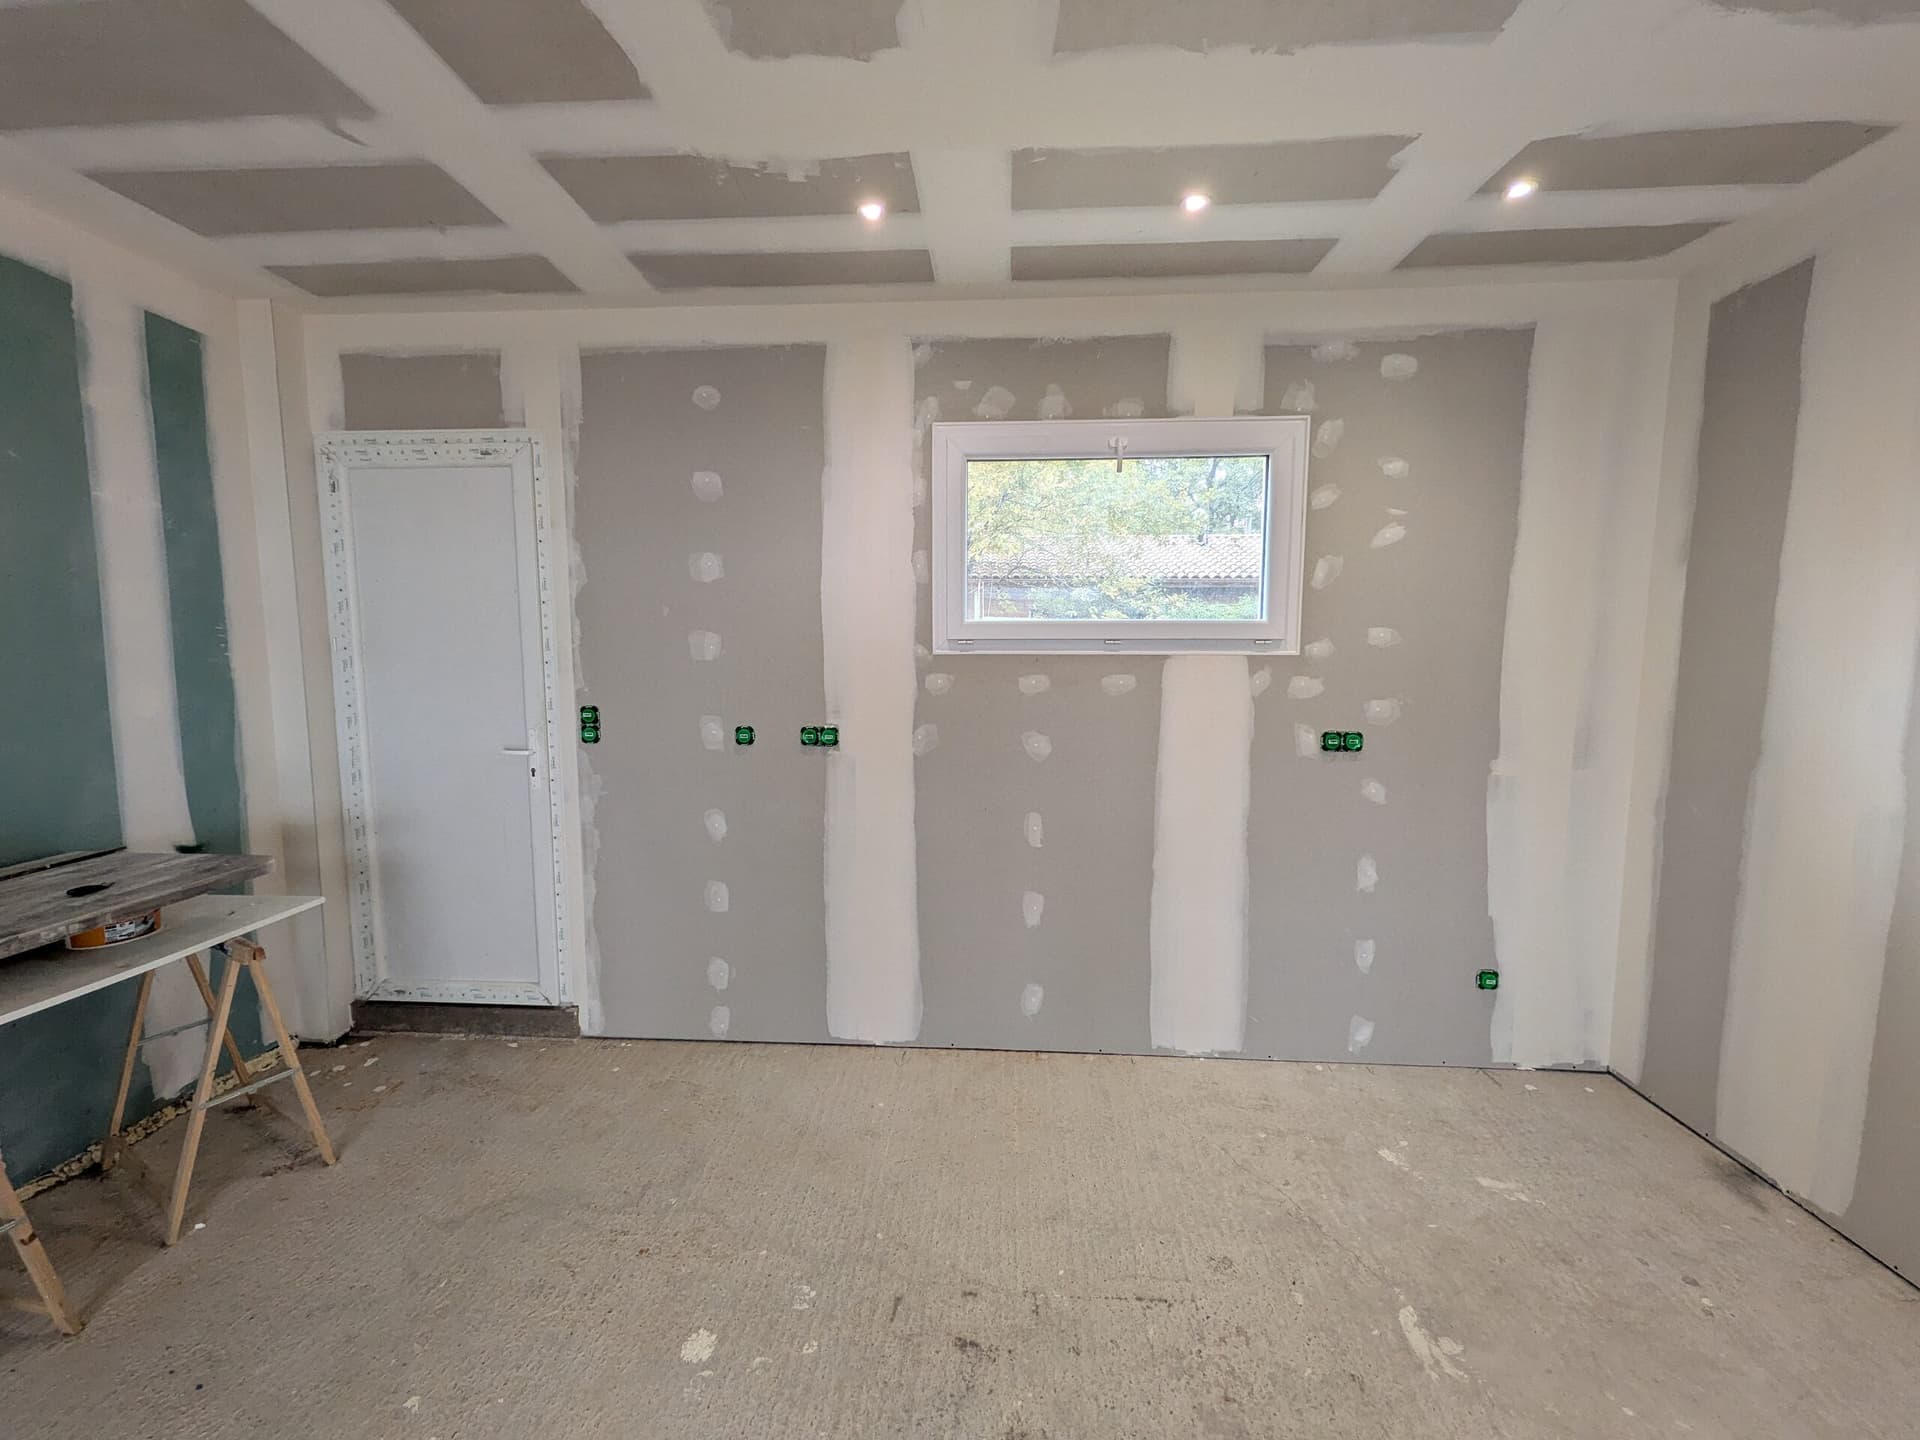
Three walls of a 30 m² garage in Lugos insulated and lined with the Optima system, GR32 glass wool and BA13 plasterboard, joints taped in three coats, and four new electrical circuits for the workbench, the compressor and the freezer, with cables run through the loft.
In Lugos, a 30 m² garage with bare brick walls: the customer wanted it insulated, lined with plasterboard, and set up for a workbench to come, along with a compressor and a freezer. The ceiling was already boarded, and so was the party wall with the house. That left three walls to do.
The bulk of the job took 5 days with a team of two. Cyril then came back on his own for the last two coats of filler on the joints. Running the cables through the loft took two hours.
What we did
- Isover Optima system metal framing on all three walls
- GR32 glass wool insulation: 45 mm on the wall with the side door and the window, 75 mm on the other two walls
- Lining in standard BA13 plasterboard
- Three-coat taping on every joint and corner
- Cables run through the loft, with pre-wired conduits left waiting inside the lining
- A new row added to the consumer unit: one RCD and four circuit breakers
- Three double sockets for the workbench and one socket by the garage door
- One socket for the compressor and one for the freezer, each on its own circuit
- Three spotlights above the workbench, on a single switch
- A DCL (standard French ceiling light connector) refitted for the central light point
Two insulation thicknesses, and why
The Optima system puts a metal frame in front of the wall. The glass wool fits between the studs, and the plasterboard is screwed on top. So the thickness of the insulation sets the thickness of the lining, and how far the new wall comes into the room.
On the two walls with no openings, nothing limited that: we fitted 75 mm of glass wool, to insulate as well as possible.
On the wall with the side door and the window, the frames were already in place, set at a given depth in the wall. A thicker lining would have stood proud of the frames: the door and window would have ended up recessed, at the back of a reveal that needed boxing in. At 45 mm, the lining finishes almost flush with the frames, and the boards butt neatly up against them.
Three-coat taping
The first coat beds the tape in filler, over every joint between two boards and in every corner. The next two, each once the previous one is dry, widen and smooth the joint. Three coats is what it takes for a joint to disappear under the paint.
Electrics through the loft
Rather than chasing the brick or fitting surface trunking, we ran the cables through the loft. Before the boards went up, pre-wired conduits were dropped down inside the lining, above each future socket or switch. Once the boards were on, all that was left was to set in the back boxes and fit the sockets and switch.
At the consumer unit, a new row was added, protected by its own RCD, with four circuits:
- The freezer, alone on its circuit. If a machine on the workbench trips its breaker, the freezer does not go off with it without anyone noticing.
- The compressor, also on its own. Its motor draws a lot of current on start-up, and it must not trip anything else.
- The workbench sockets and the socket by the garage door, grouped on one circuit.
- The workbench lighting: the three spotlights, on a single switch.
Want to insulate a garage or an outbuilding, or add sockets to it? See our electrical work page, or ask for a free quote.