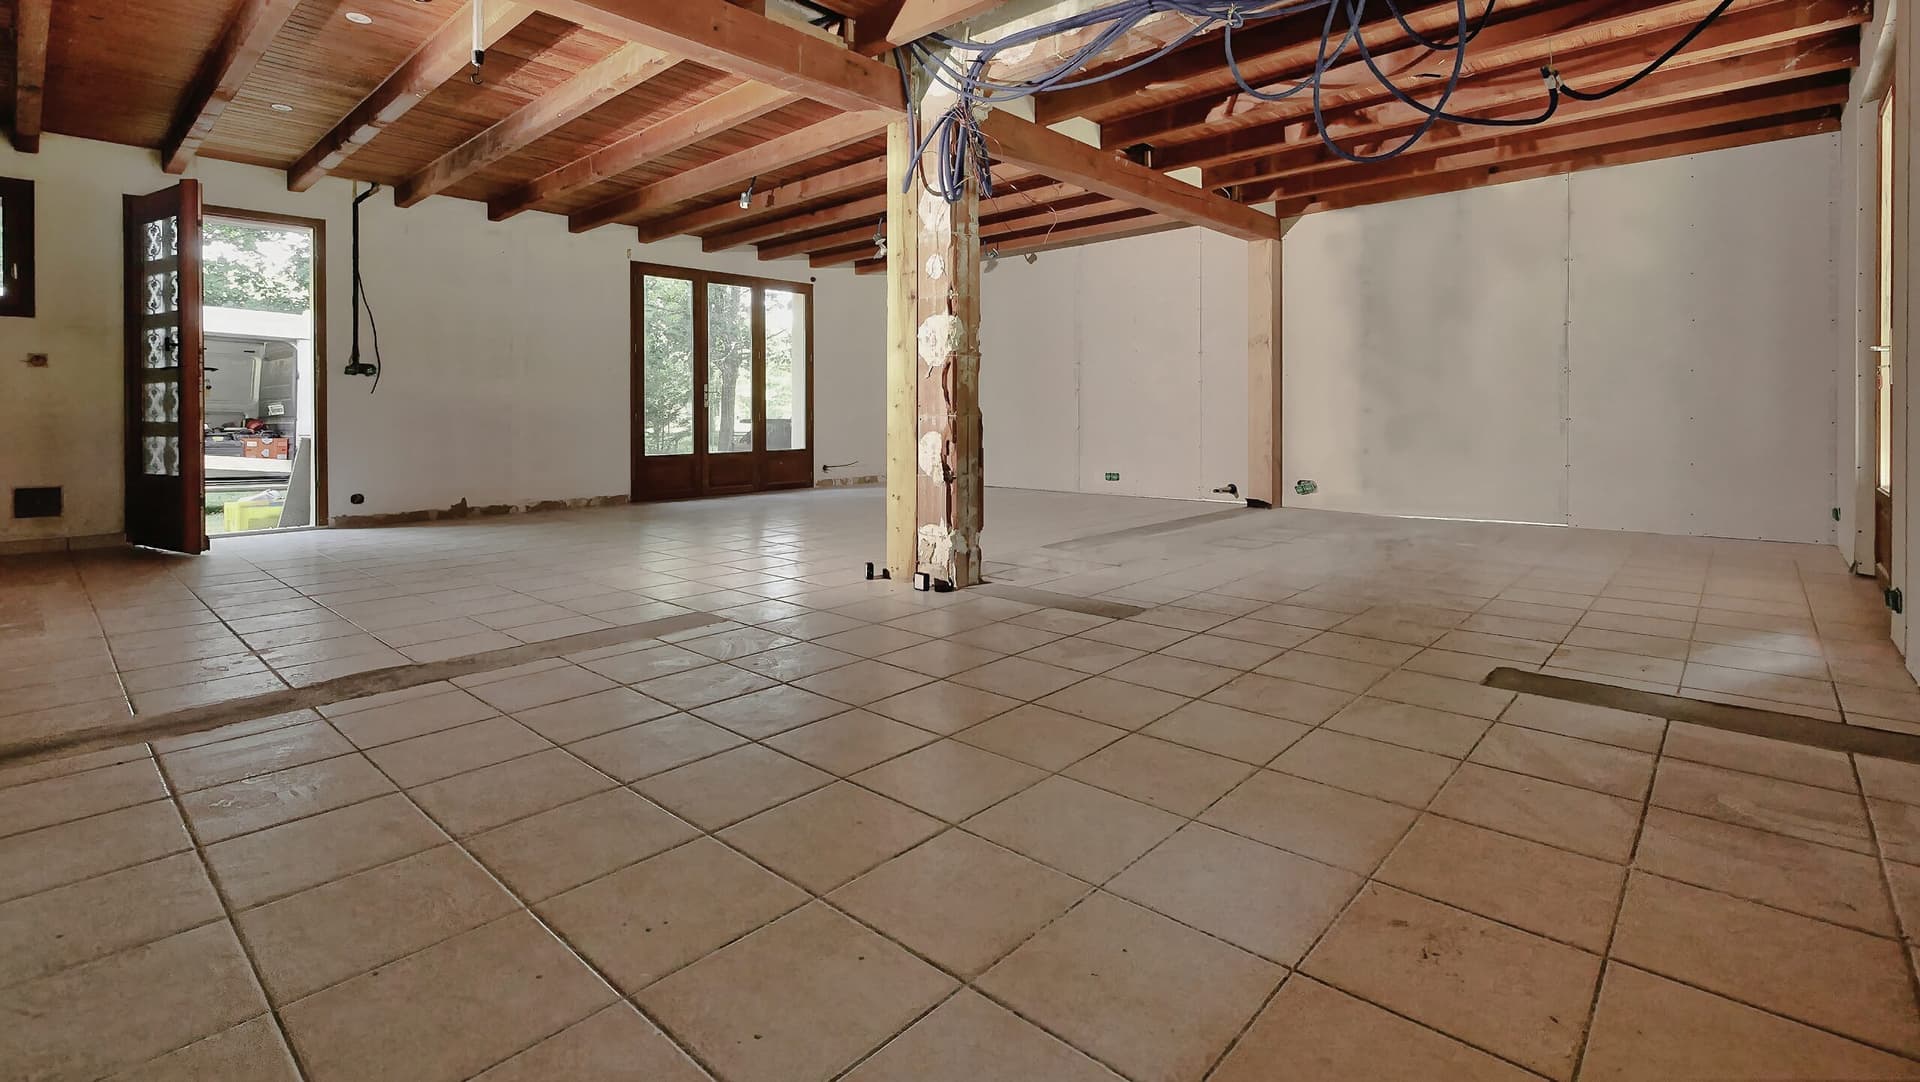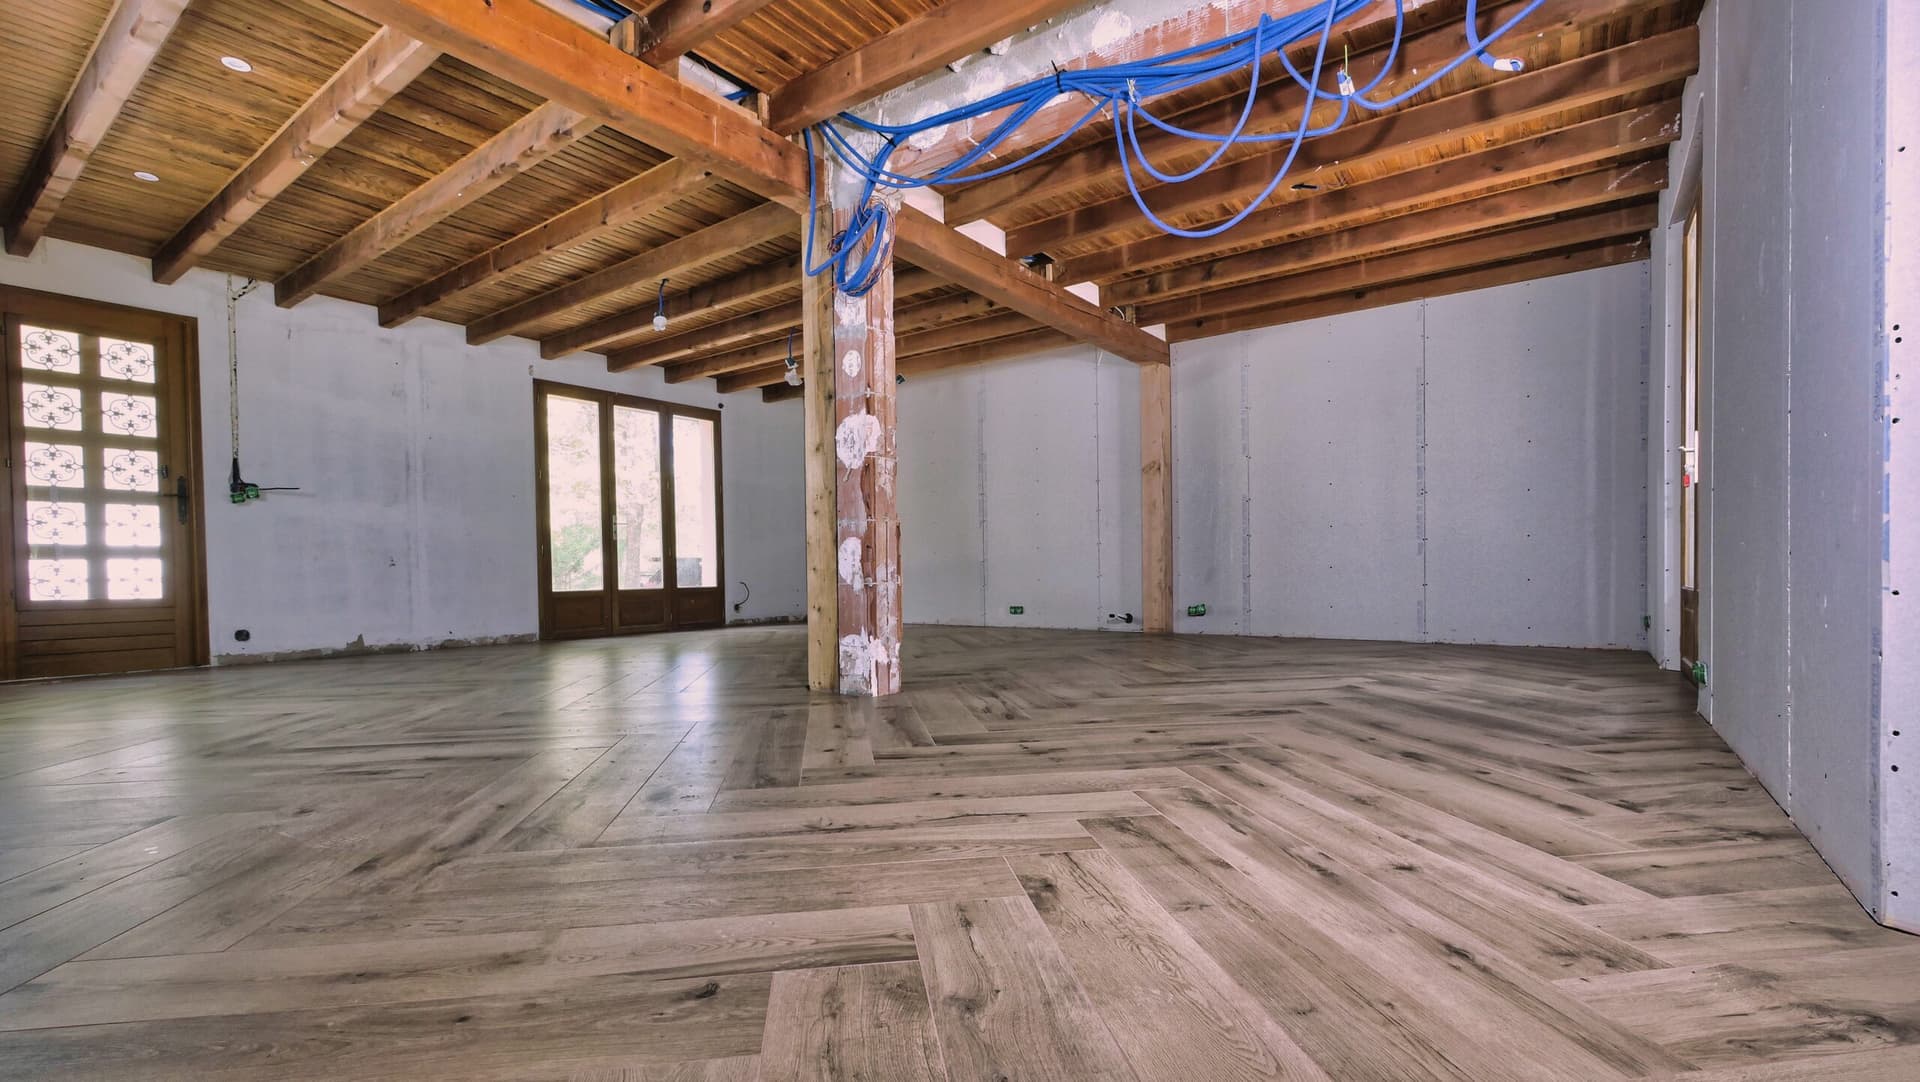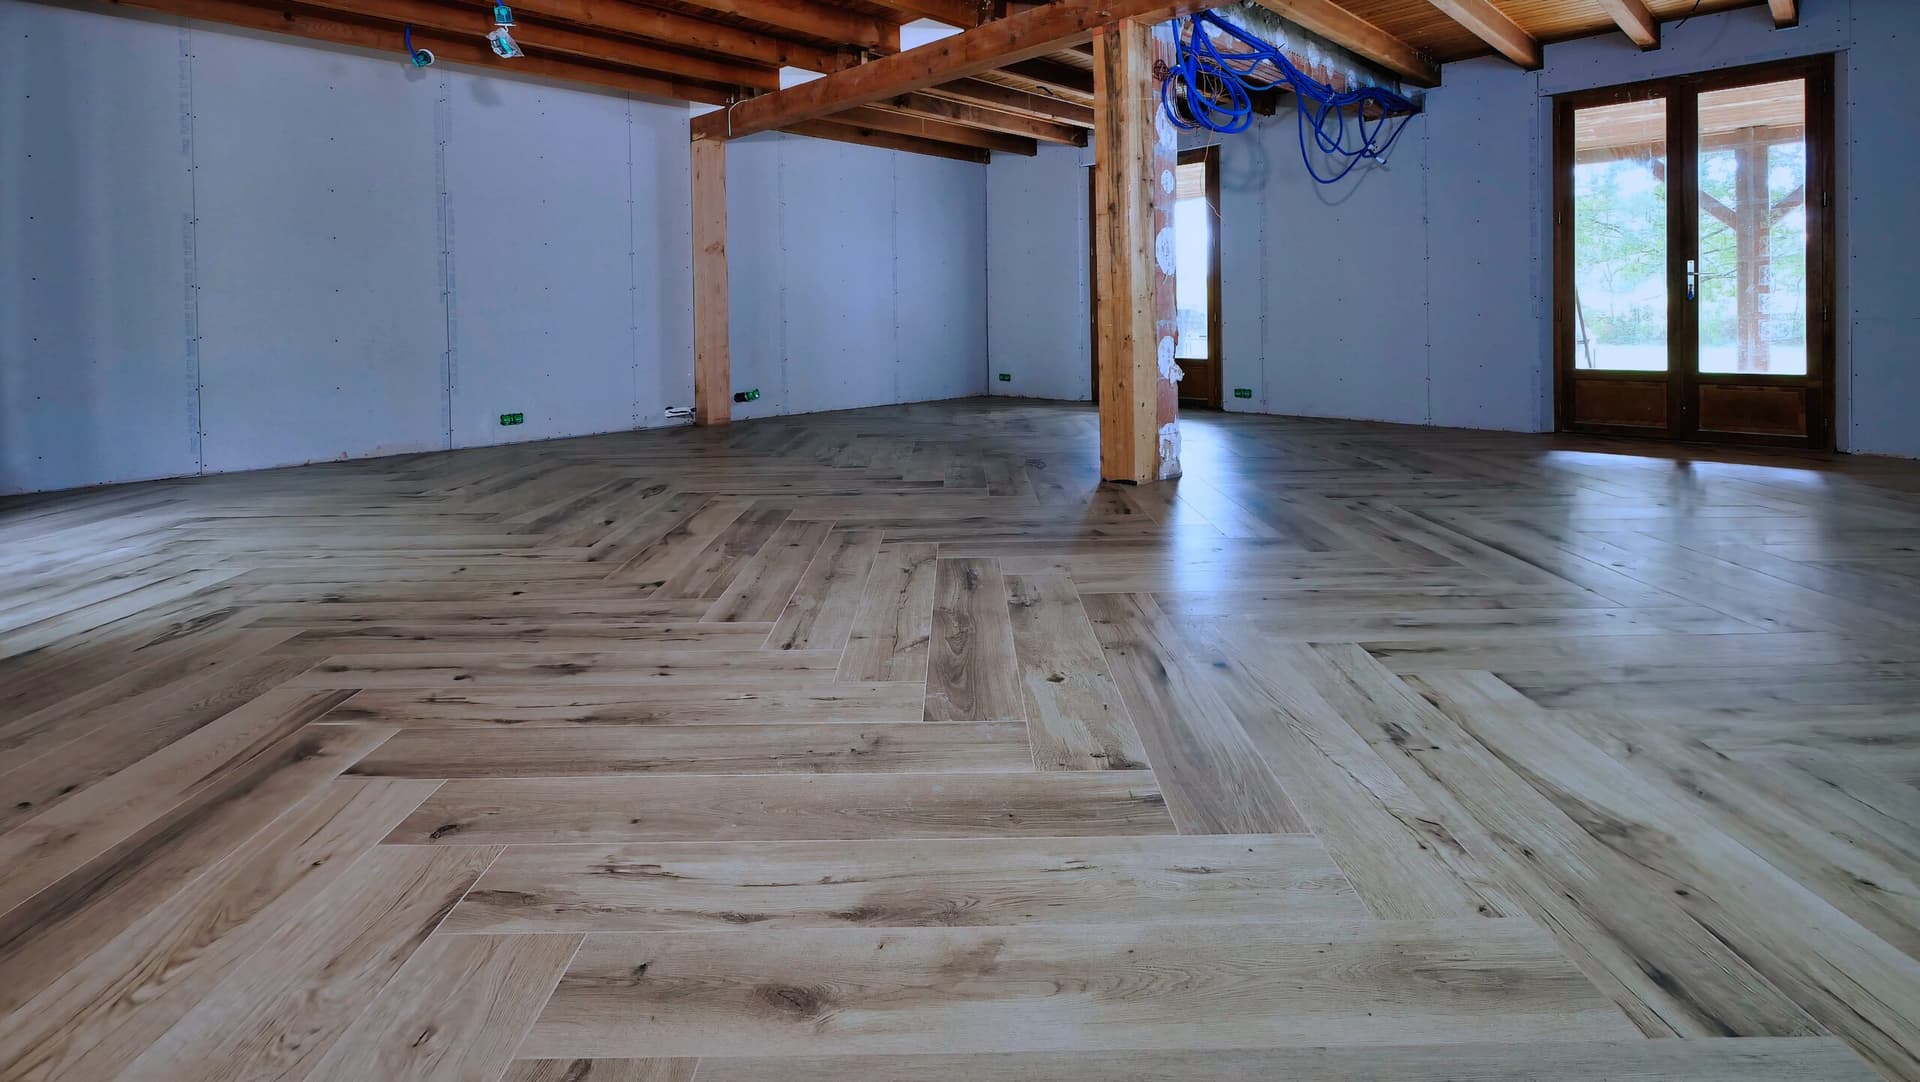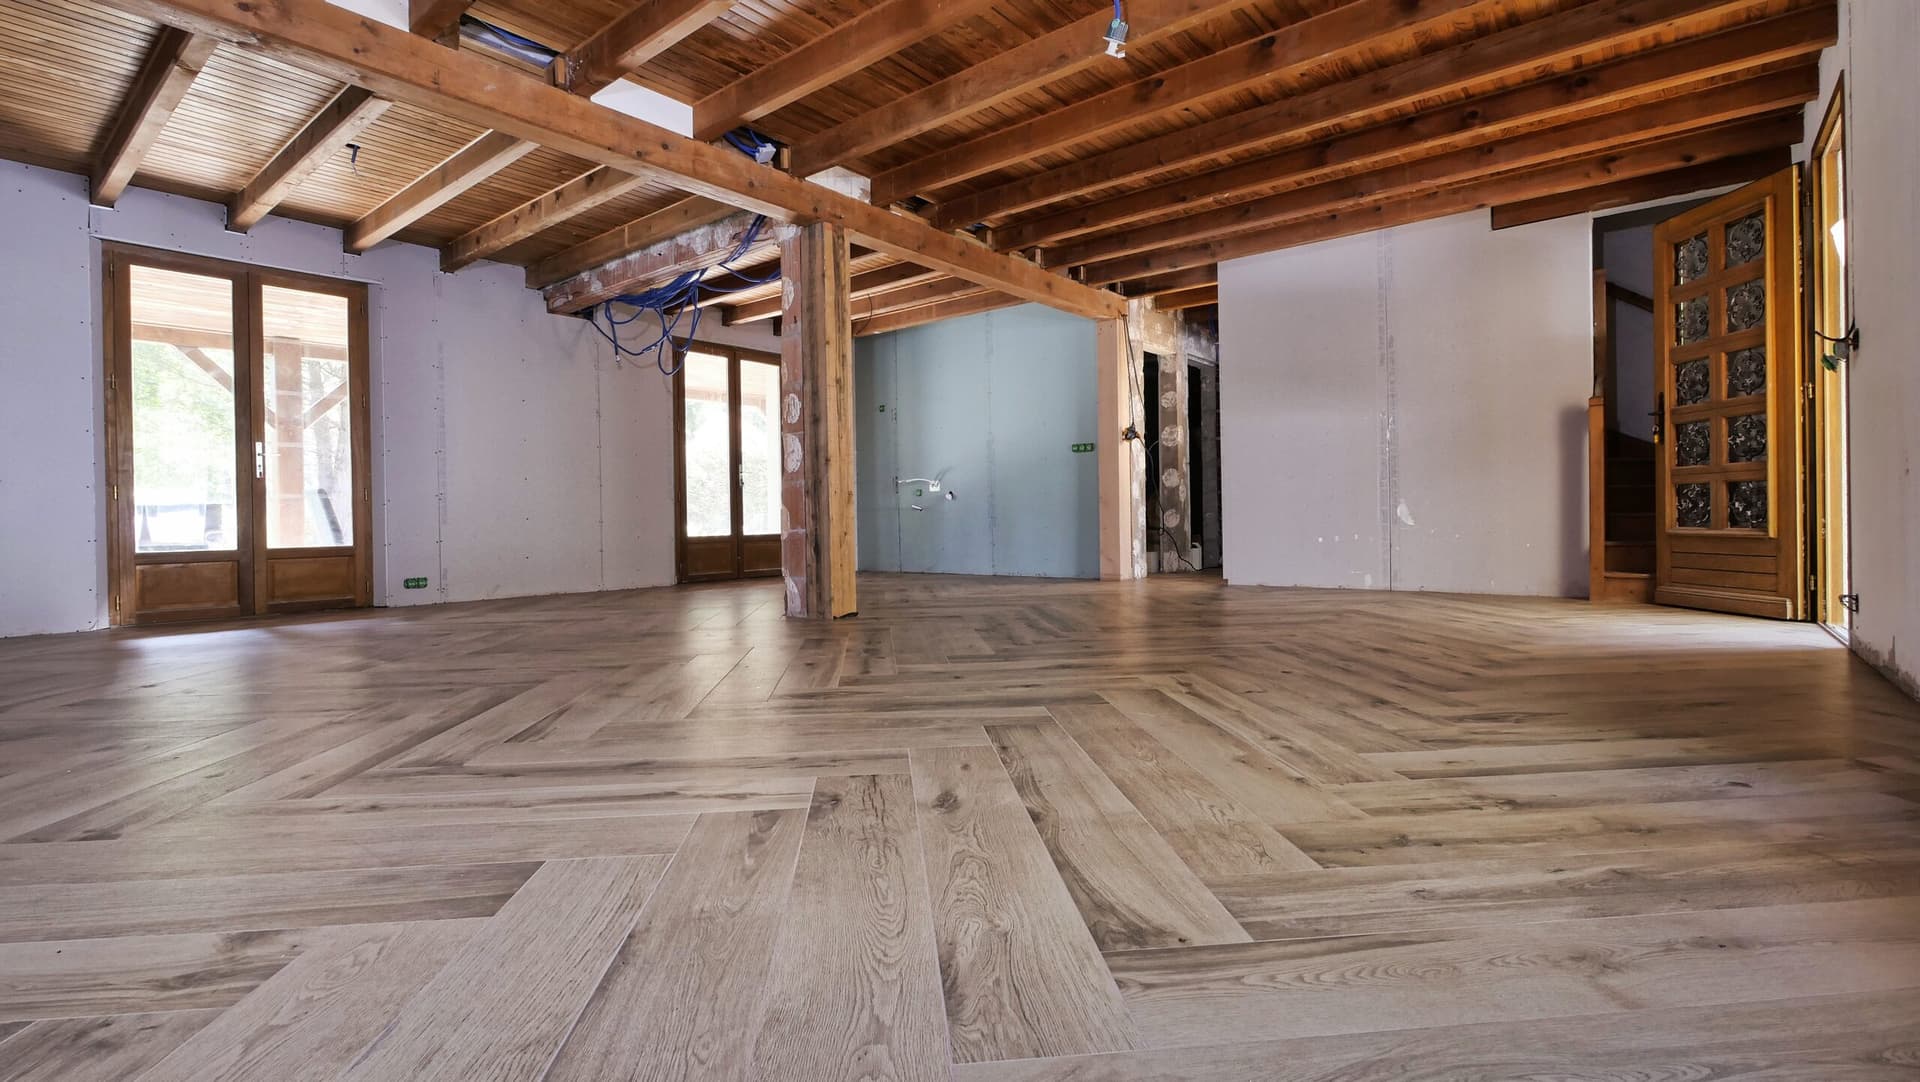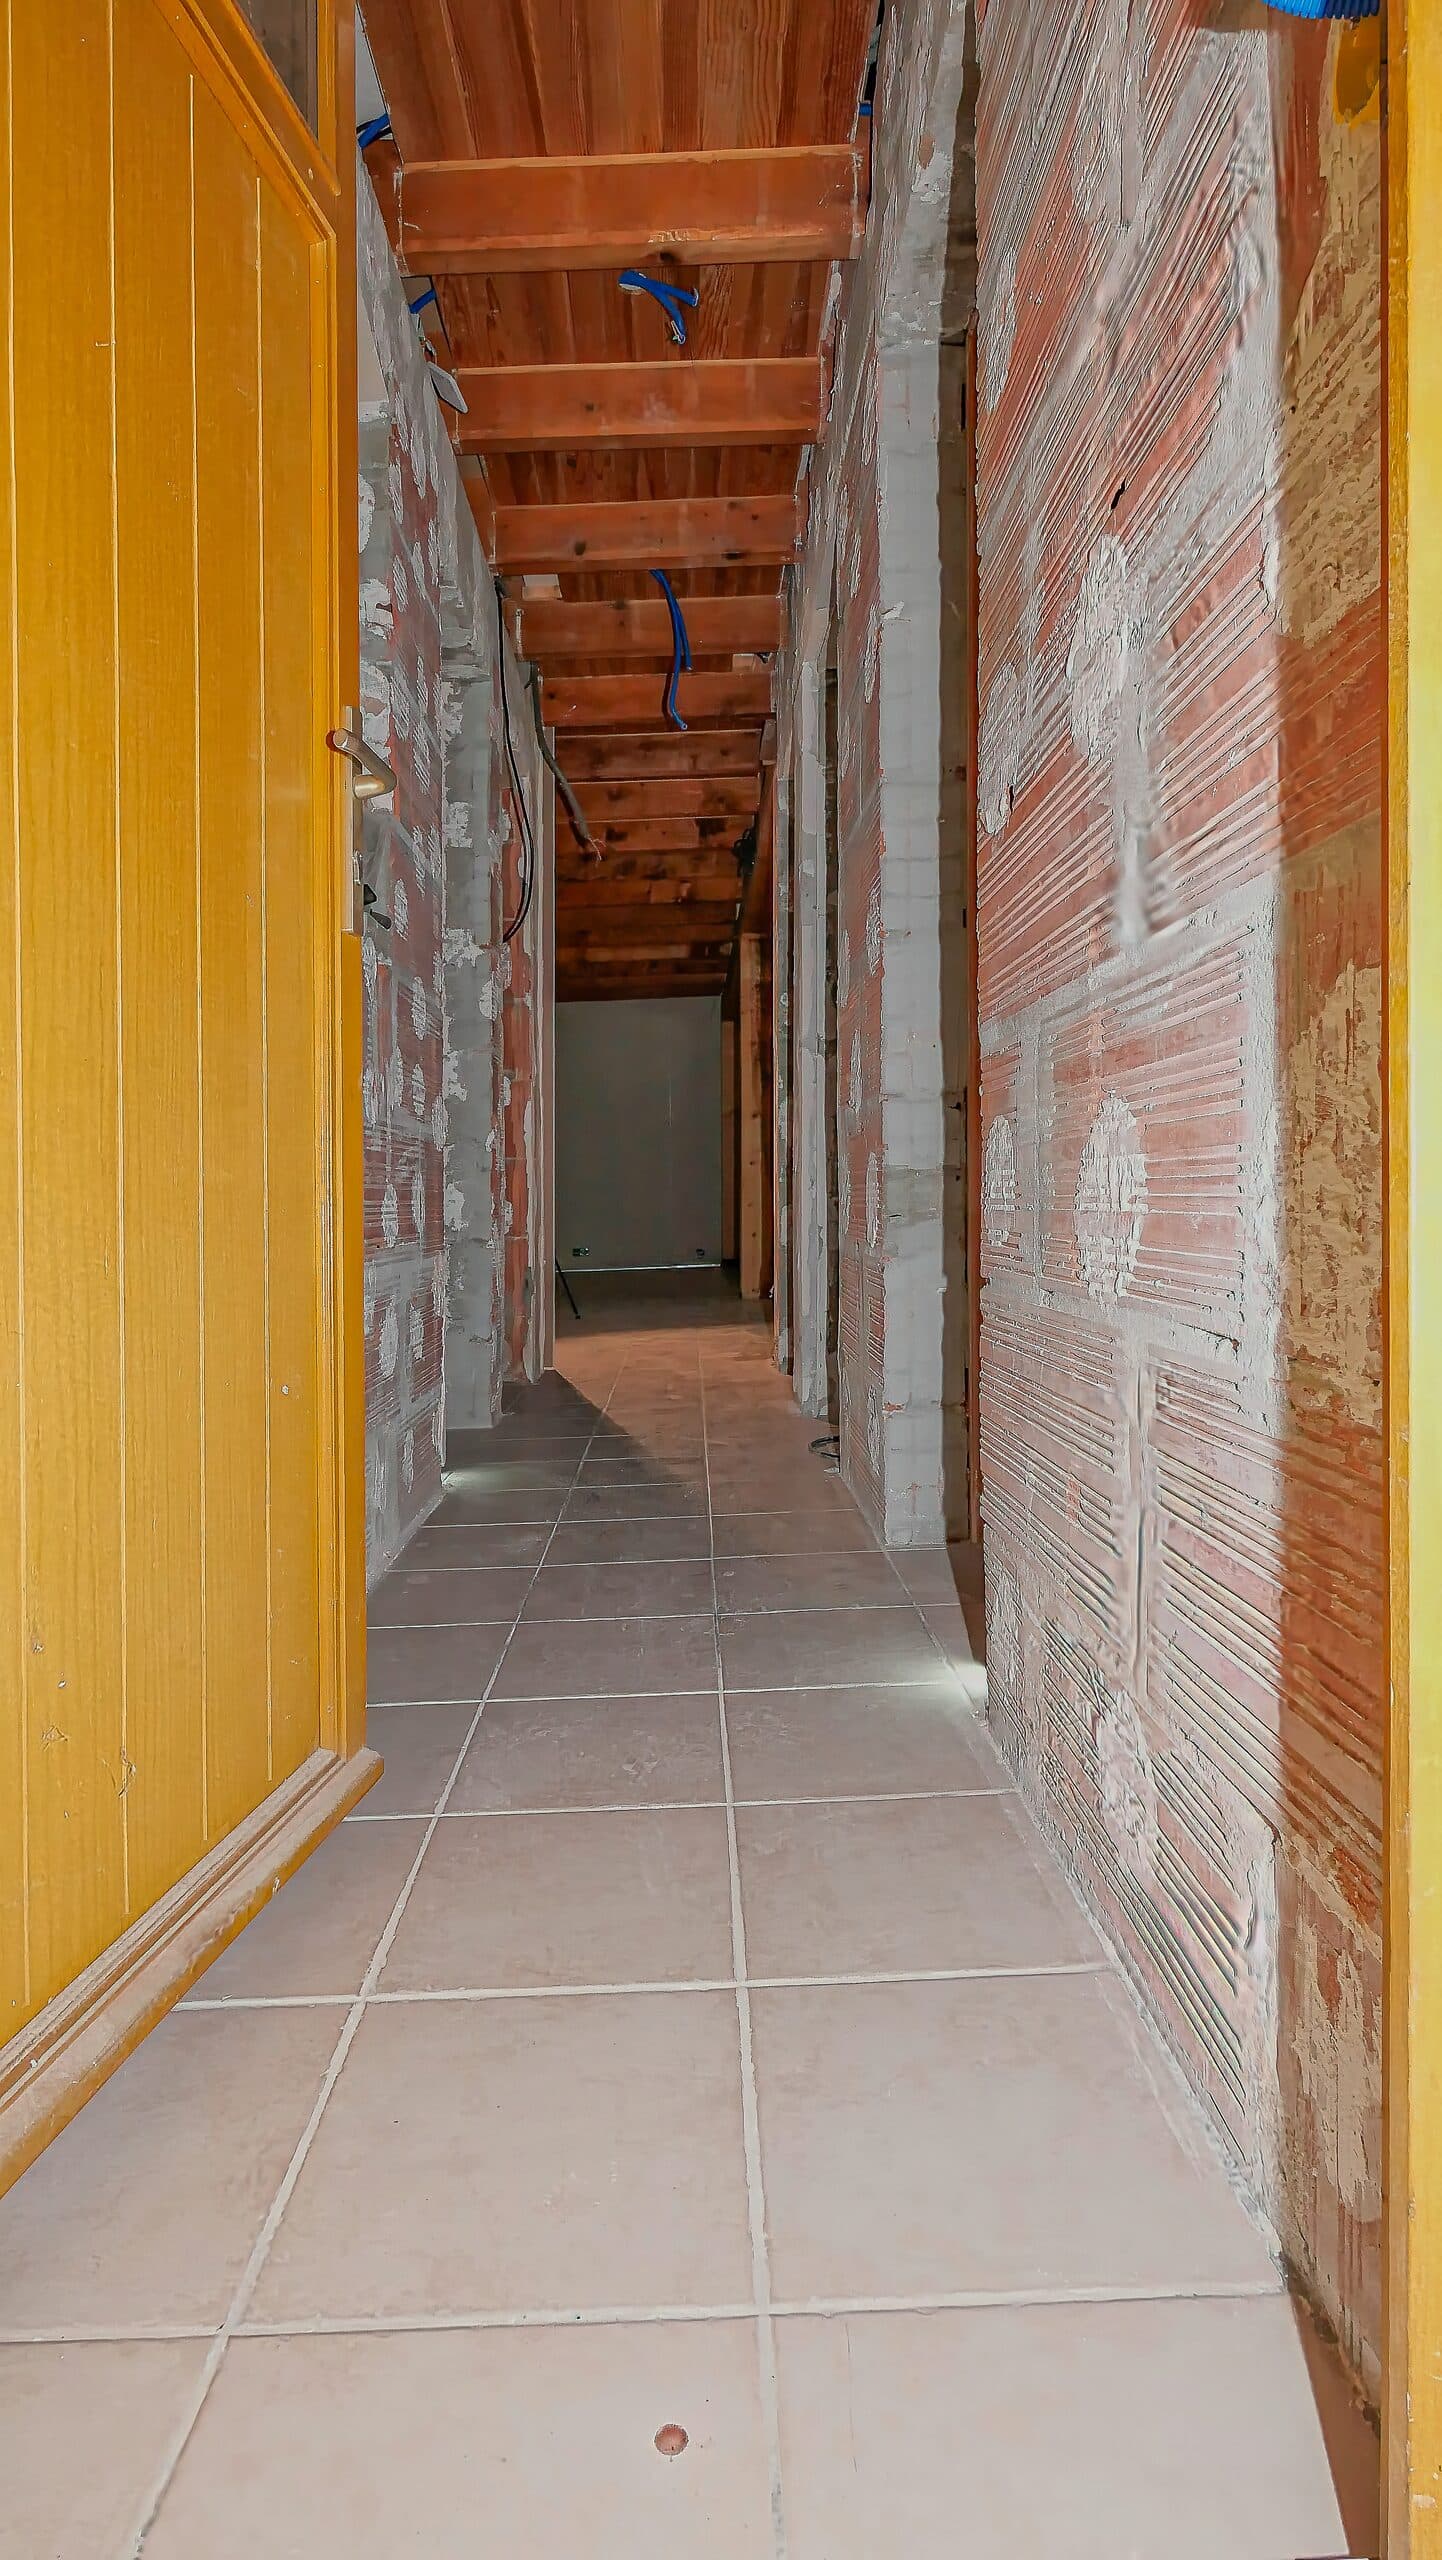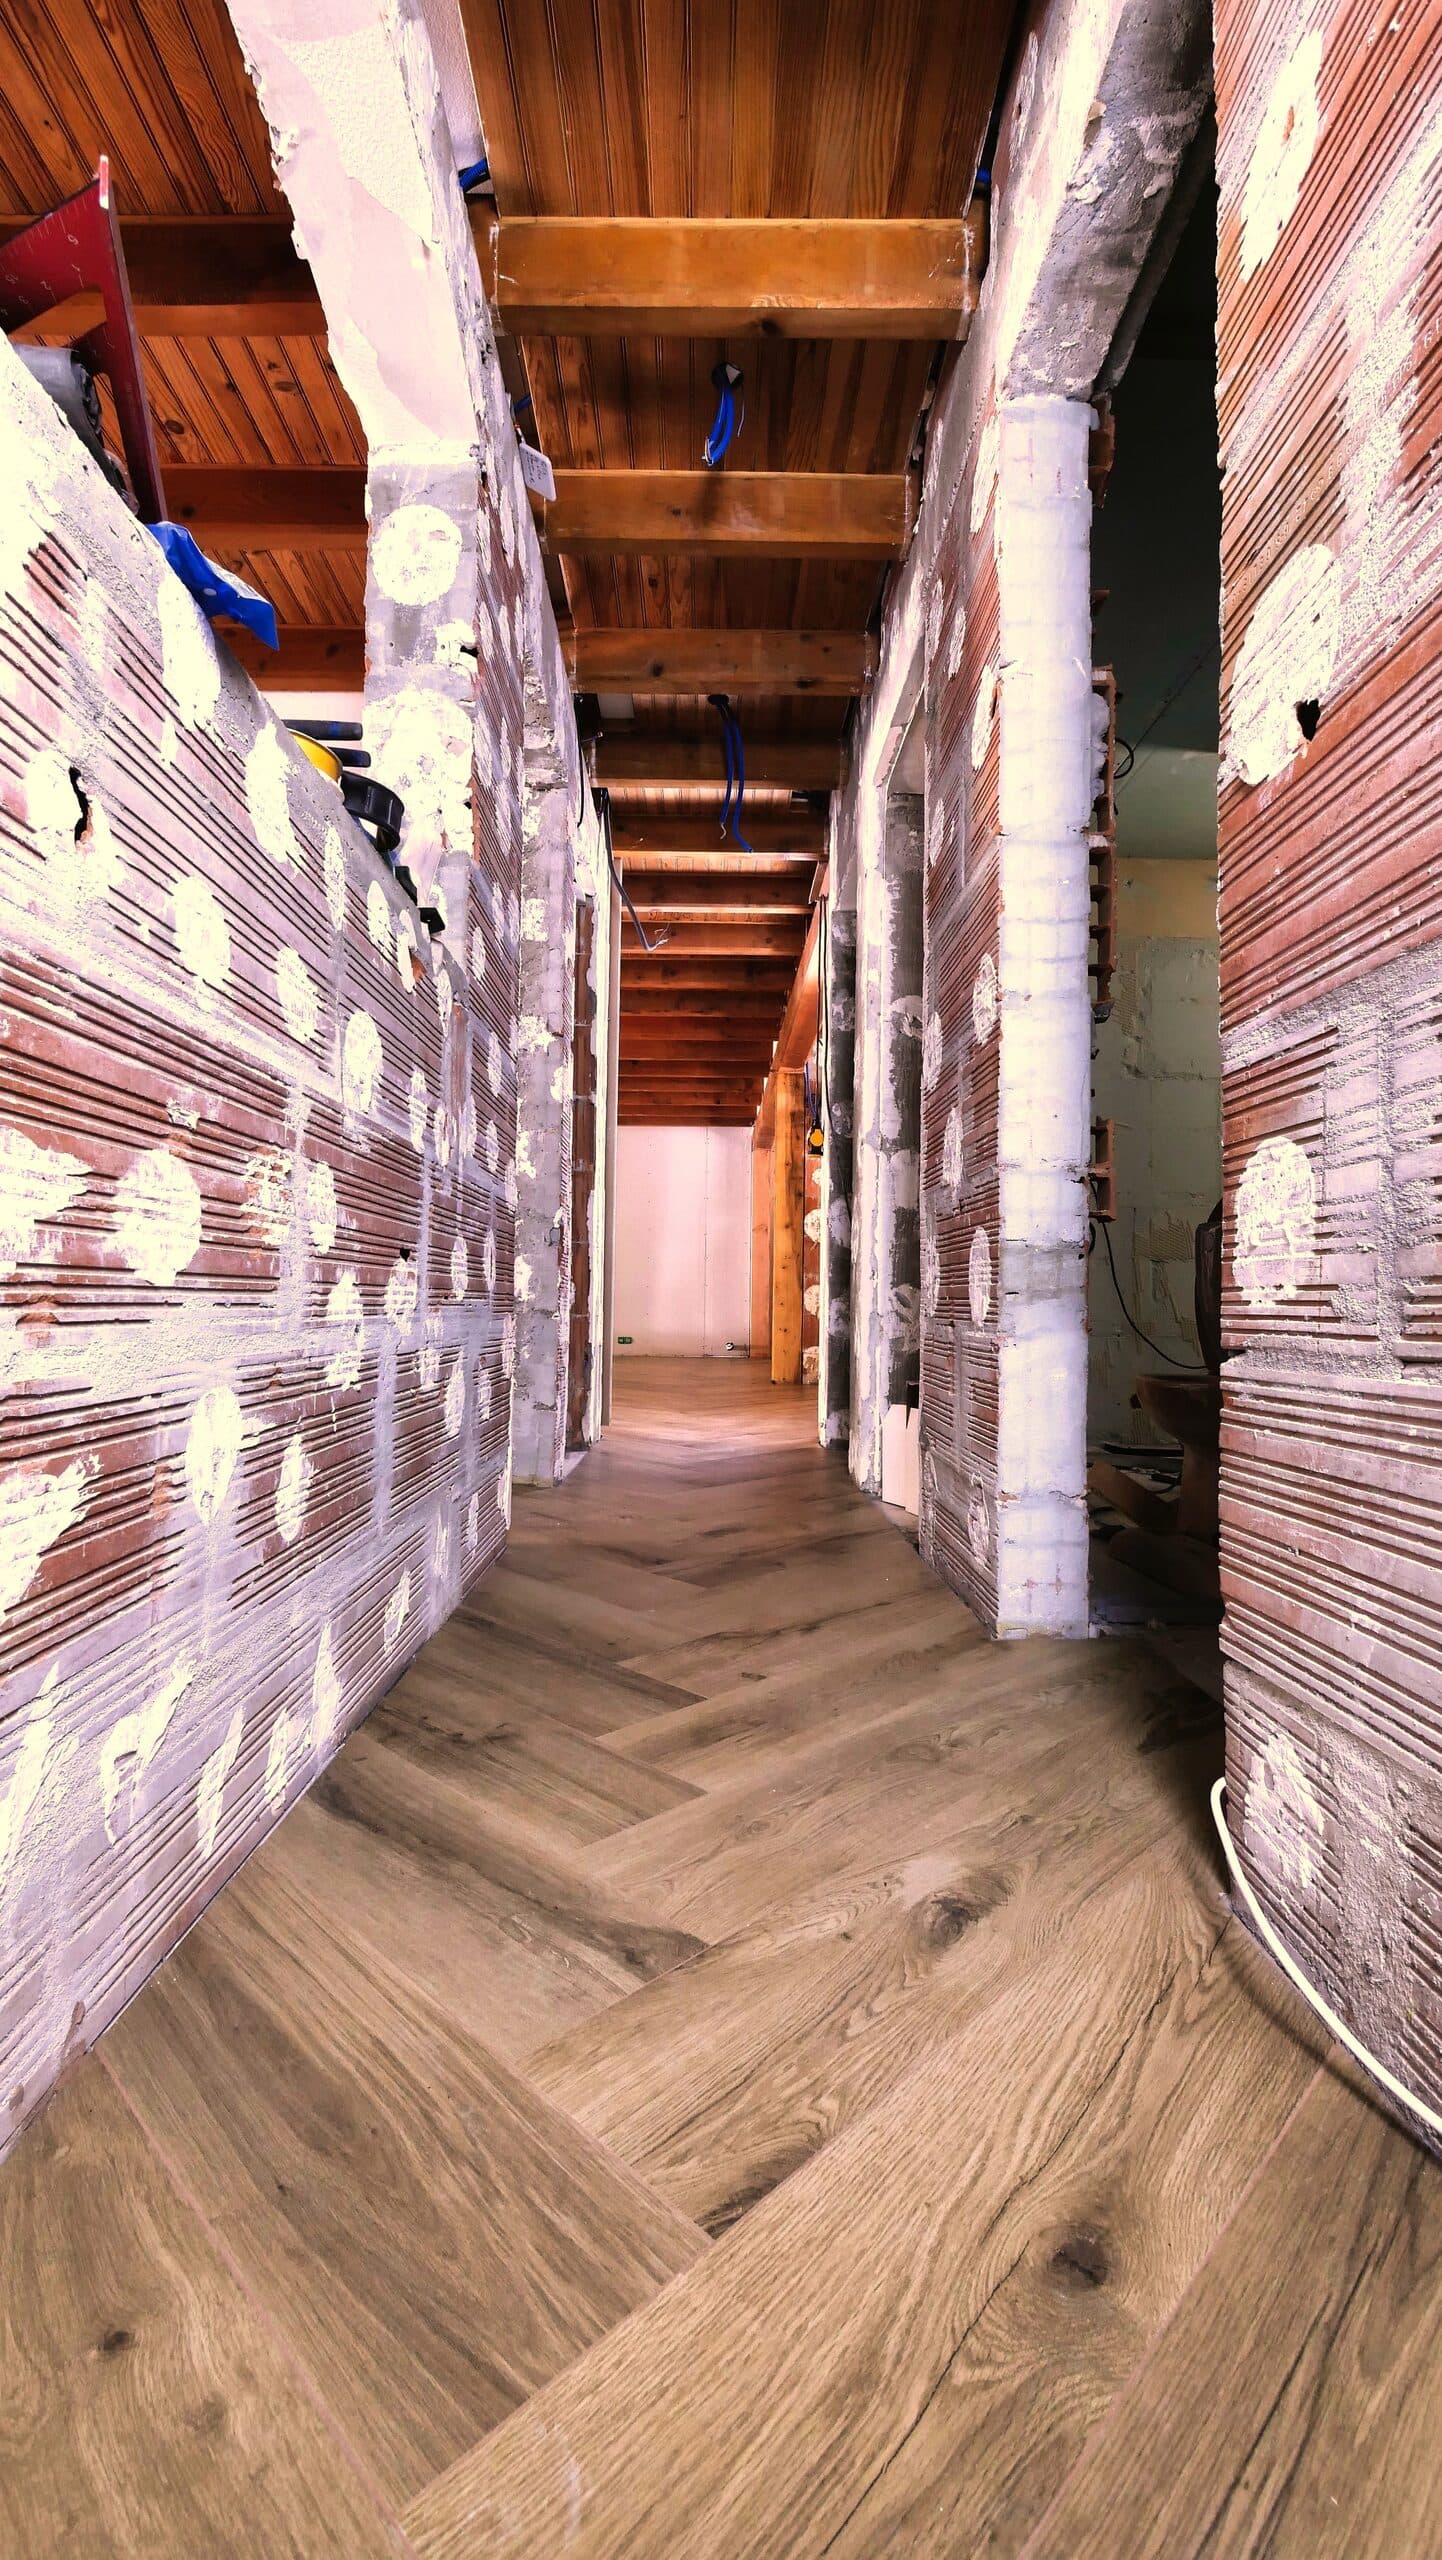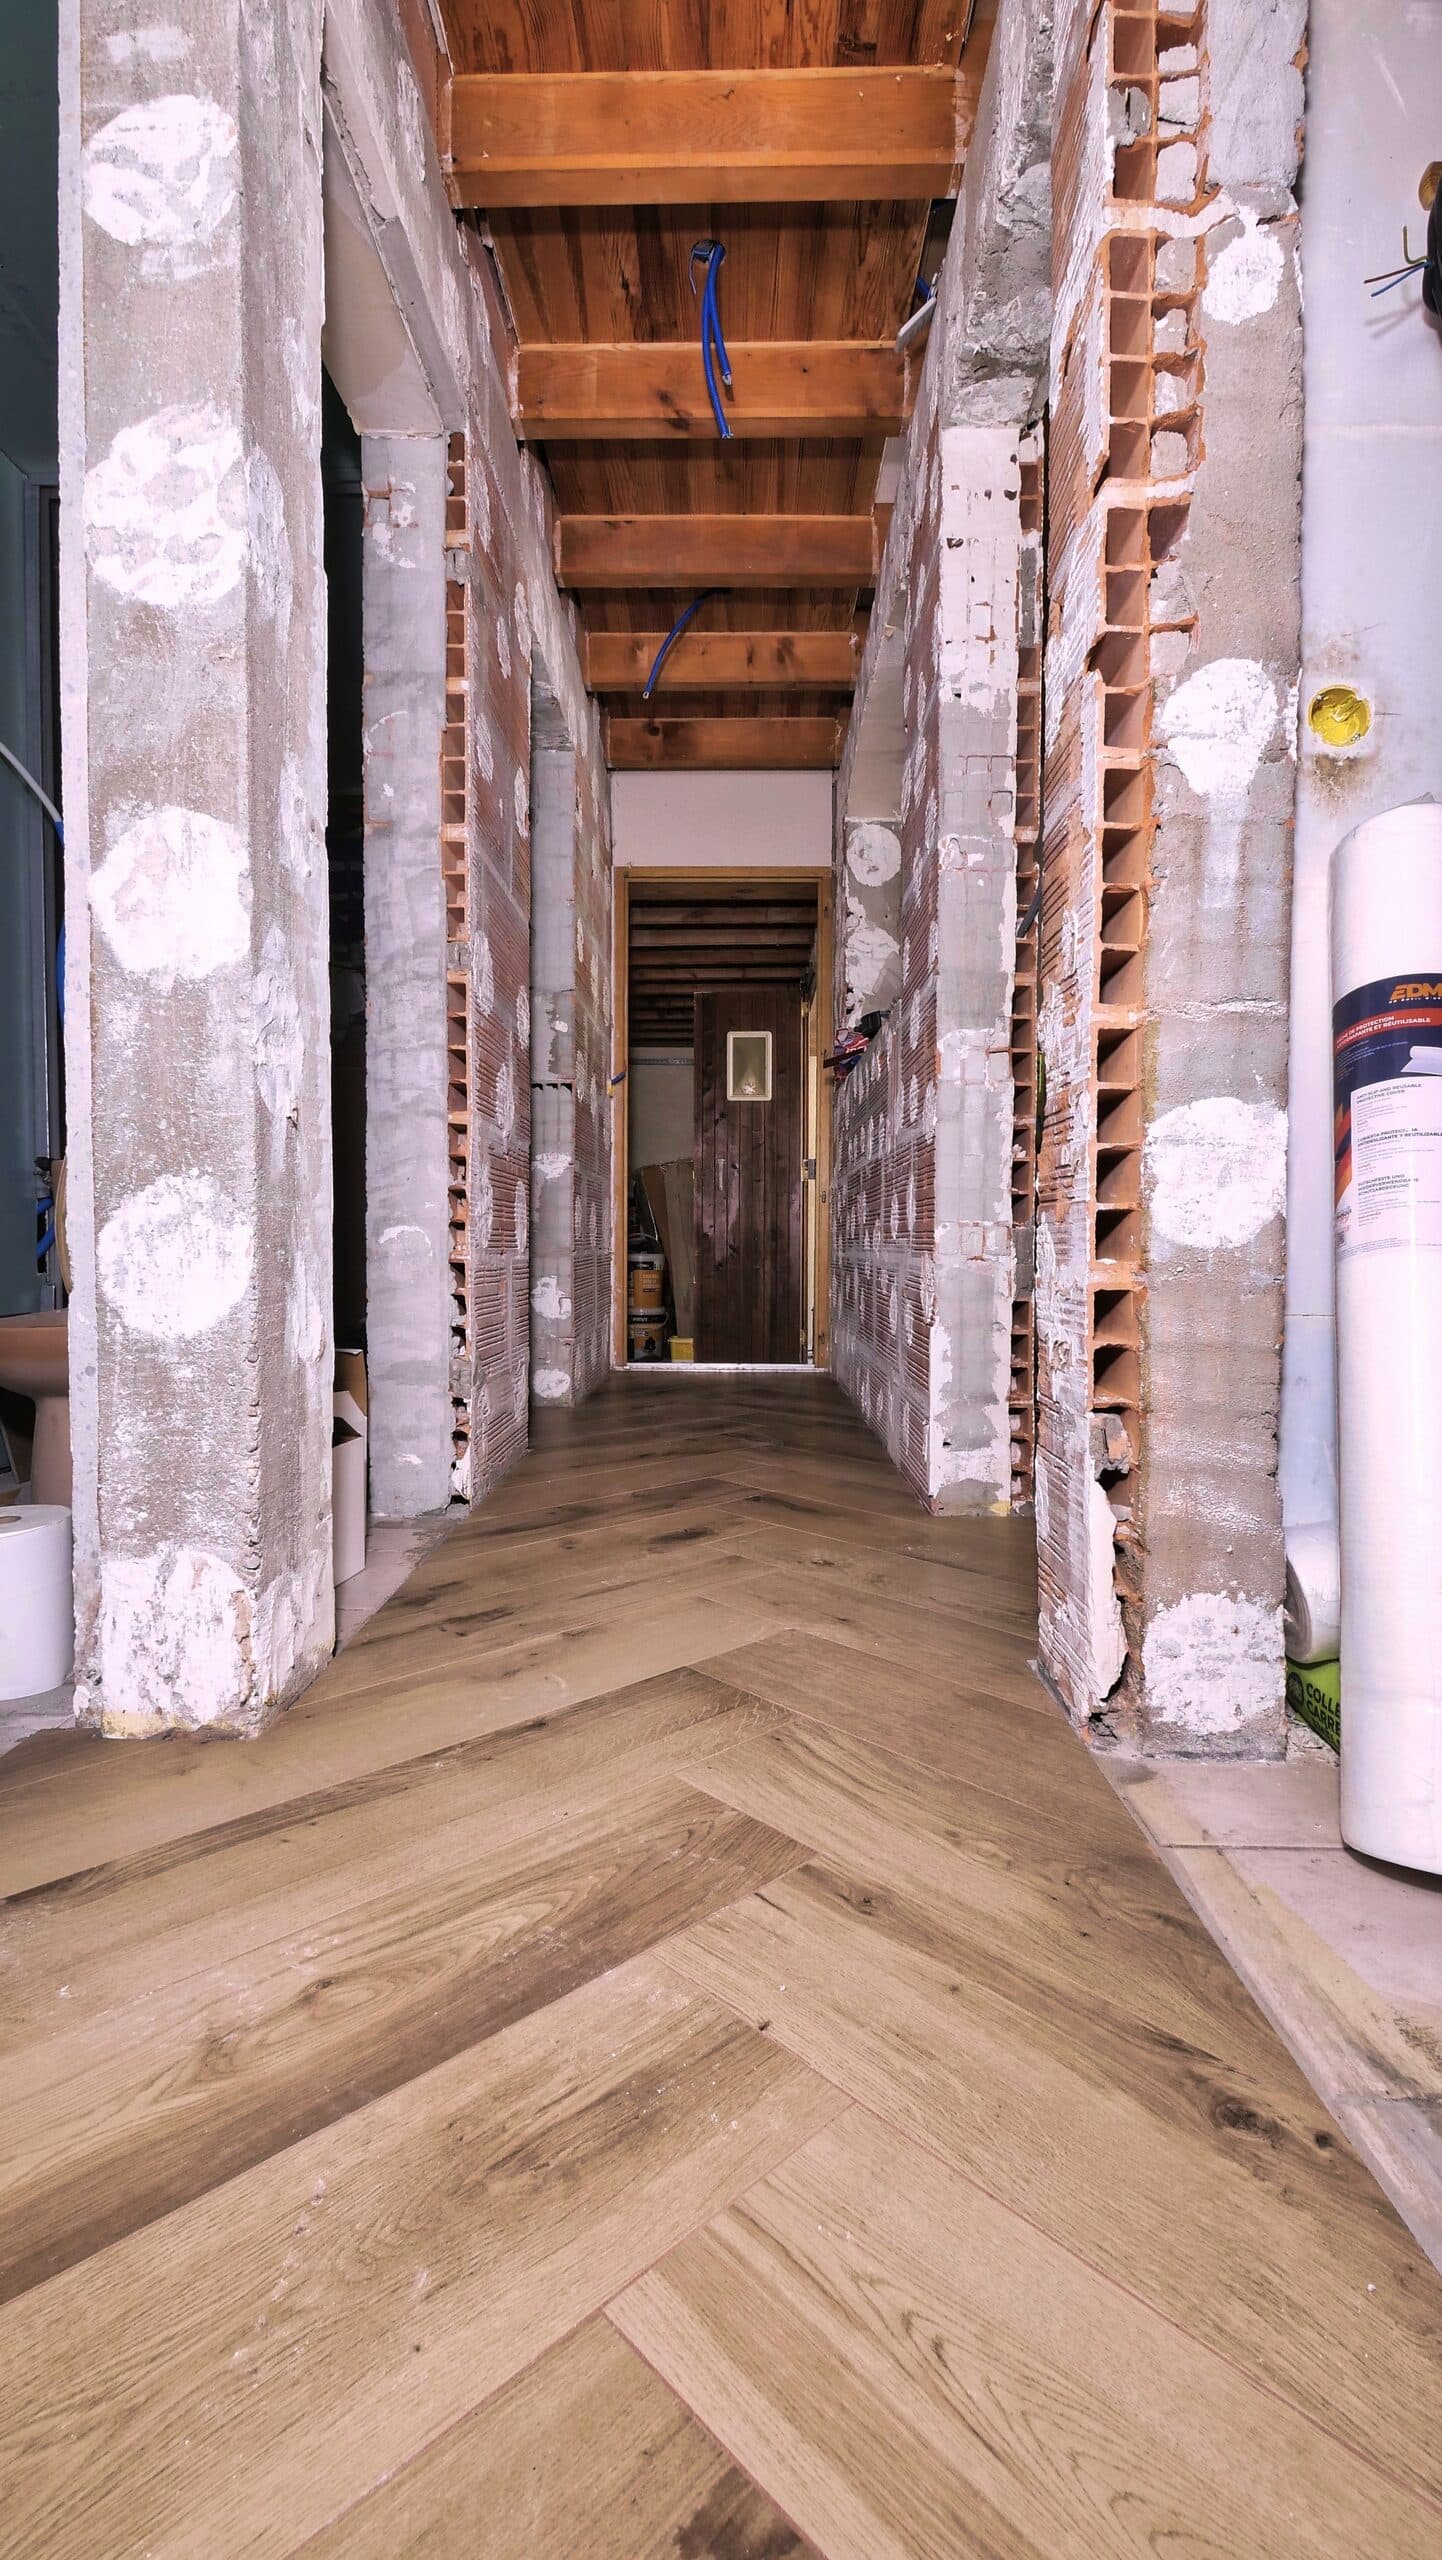
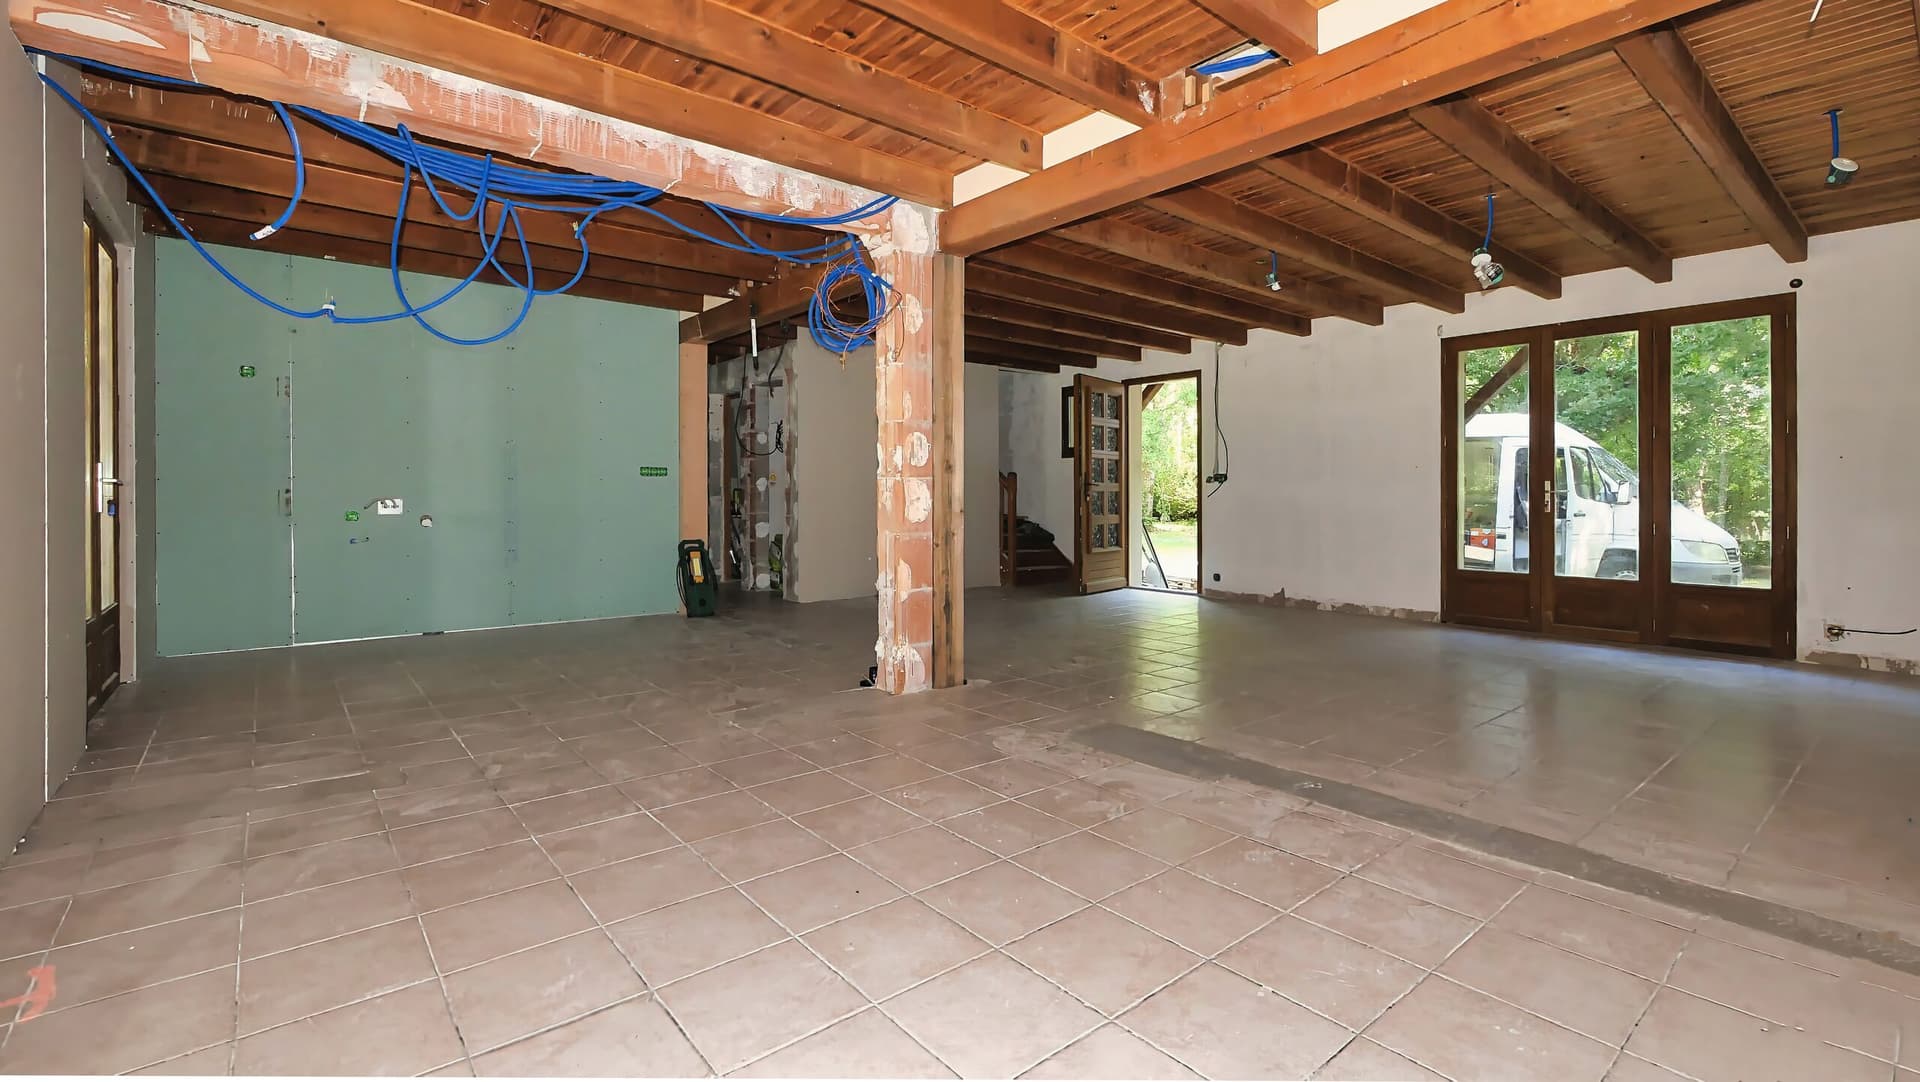
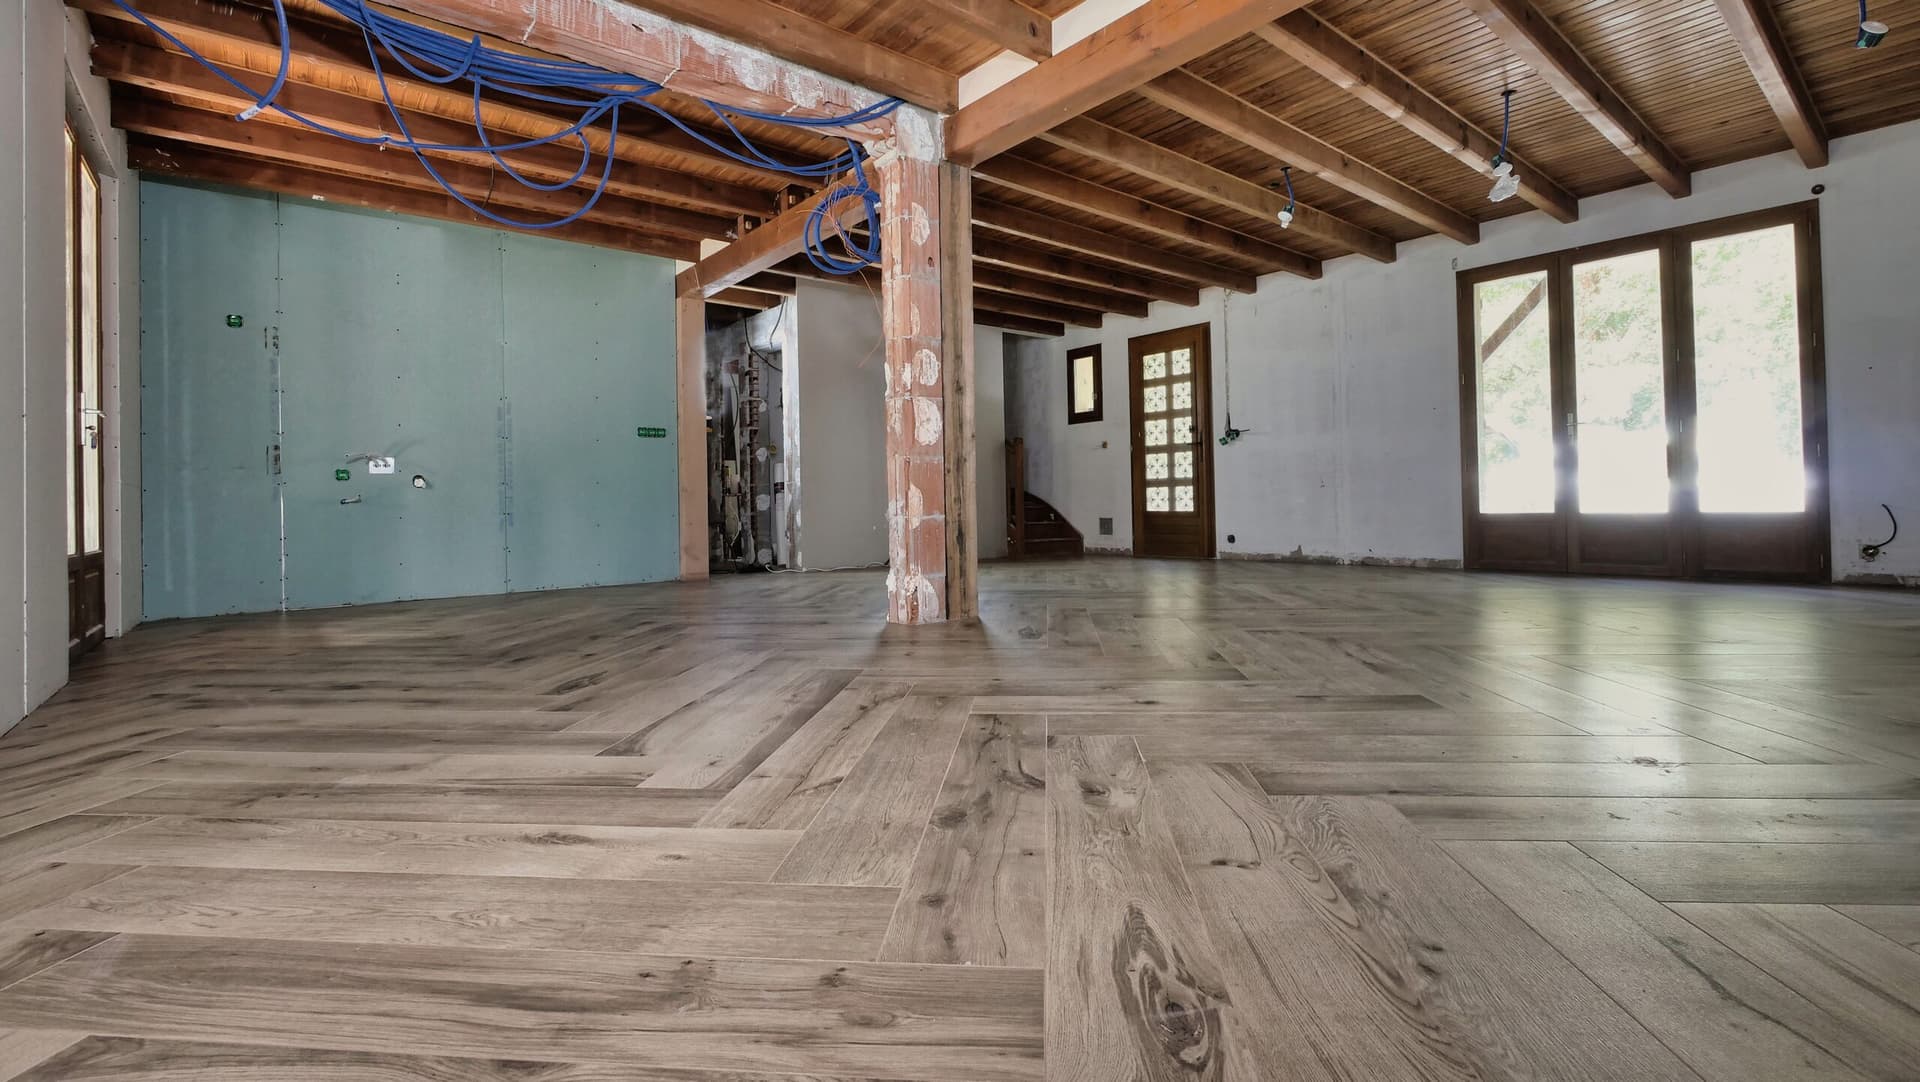
55 m² of 20×120 wood-effect porcelain tiles laid in herringbone directly over the old tiles of a living area and its hallway in Carcans, after localised levelling and a bonding primer.
In Carcans, in a house undergoing a full renovation, we redid the floor of the living area and the hallway: 55 m² of 20×120 wood-effect porcelain tiles, laid in herringbone, directly over the old tiles. The customer chose the tiles and the pattern. The job took 9 days with a team of two.
The customer wanted to avoid lifting the old floor. Before going down that route, we checked that the existing tiles could serve as a base, and that the extra thickness would clear the doors and thresholds.
What we did
- Tapping every old tile with a mallet to find any that sounded hollow
- Checking flatness with a straightedge
- Localised levelling: filling the strips left on the floor by demolished partition walls, and dips outside tolerance
- Cleaning and degreasing the whole surface
- Bonding primer over all of the old tiles
- Setting out the herringbone so the pattern runs unbroken from the living area into the hallway and finishes cleanly at the door thresholds
- Tiles bedded with back-buttering, using a C2S1 flexible adhesive
- Tile levelling clips across the whole floor
- Fine 1 mm grout joints in a colour matched to the tiles
Tiling over old tiles: the conditions
Keeping the old tiles avoids a long, noisy and dusty strip-out, and rubble to take away. But the new floor can only be as sound as the old one. Three checks decide whether it is possible.
The old tiles must be well bonded. A tile that sounds hollow under the mallet has come away from its base: cover it, and sooner or later it will move and crack the tile laid on top.
The base must be flat. Here, demolishing the partition walls had left strips of floor with no tiles, and a few areas were out of tolerance. We levelled those areas locally, without redoing the whole surface.
The adhesive must be able to grip. A tile glaze is smooth and non-porous: adhesive spread straight onto it bonds poorly. After cleaning and degreasing, a bonding primer applied over the whole surface gives the adhesive a reliable key.
20×120 in herringbone
A long, narrow tile leaves no room for error. Back-buttering, with adhesive on both the base and the back of the tile, gives full contact along its length. C2S1 adhesive is flexible: it takes up small movements between the old and new tiles. The levelling clips hold the tiles in the same plane at every joint, so no edge sits proud of its neighbour.
In herringbone, each tile butts against the side of the next. The slightest drift repeats and grows row after row: the pattern wanders off line and the joints stop lining up. With 1 mm joints, the margin is even smaller. So the setting-out was planned before the first tile went down: the pattern runs unbroken from the living area into the hallway, and finishes cleanly at the door thresholds.
Planning a new floor? Ask for a free quote.